Setup Email Services
You can configure the Email Services to handle the inbound messages. Perform the following steps to manually set up Email Services:
- Click
 on the Salesforce navigation bar and then click Setup.
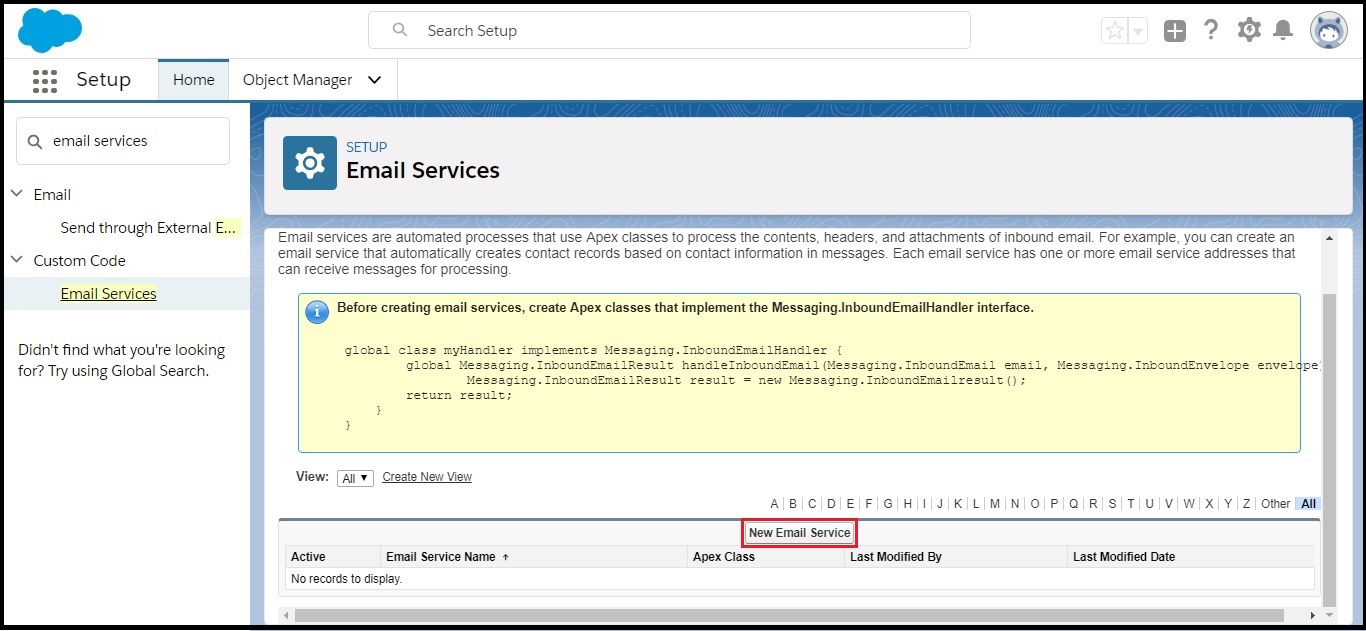
 - Select Email Services by:
- Use the Search Setup/Quick Find search field, or
- Select Platform Tools > Custom Code > Email Services.
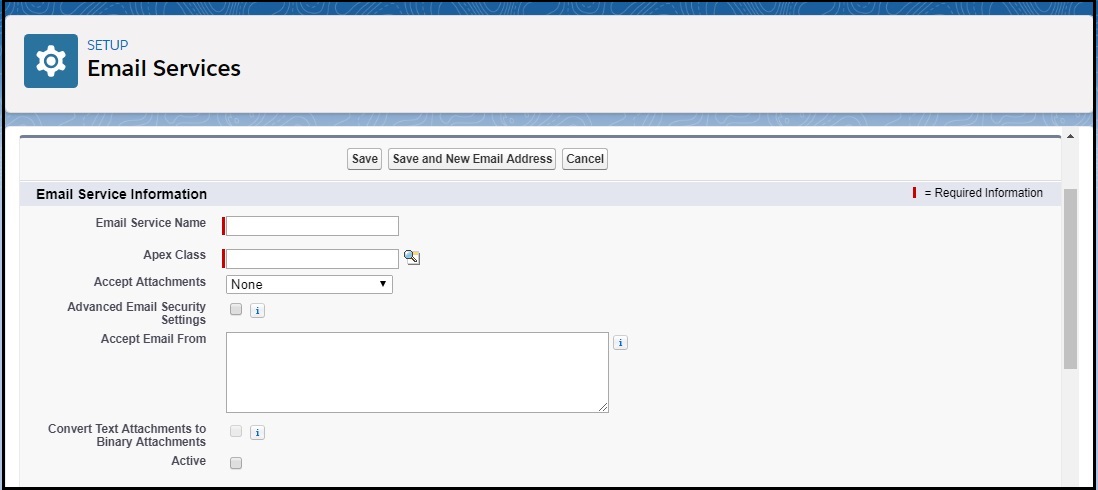
- Click New Email Service.
- Enter NotificationReplyService in the Email Service Name field. This is mandatory.
- Enter NotificationReplyServiceHandler in the Apex Class field. This is mandatory.
- Do not enter values in the Accept Email From text box.
- Select Active to enable the email services.
- Click Save and New Email Address.
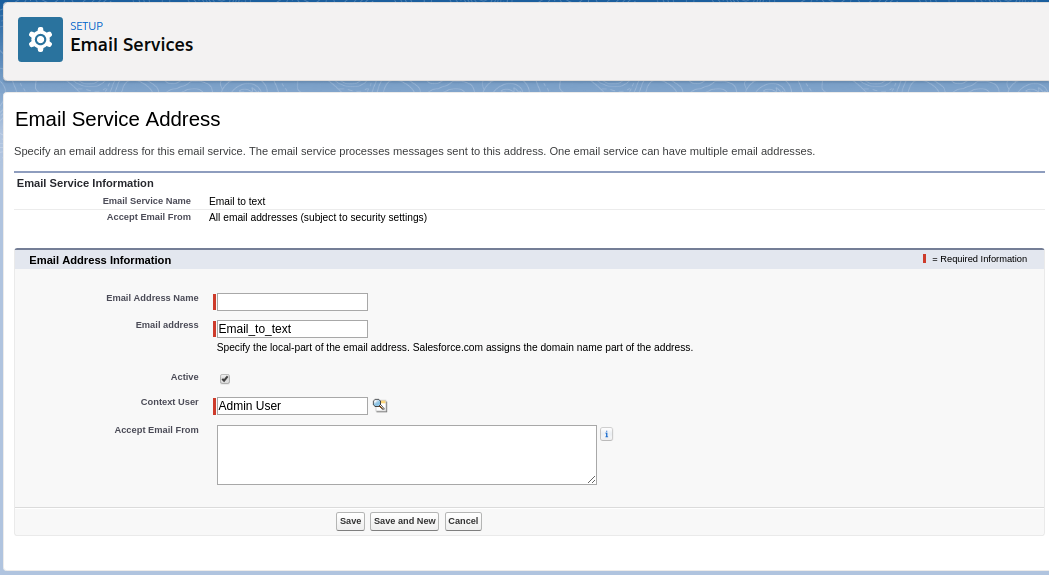
Email Service Address Configuration Steps
- Enter ‘Email Address Name’ in the Email Service Name field. This is mandatory.
- In the Email Address field, enter the local-part of the email service address. Salesforce generates a unique domain-part for each email service address to ensure that no two email service addresses are identical. The generated domain-part appears to the right of the Email Address field.
- Select the Active checkbox if you want the email service address to be activated when you click Save.
- Choose the Context User.
- Optionally, configure this email service address to only accept messages from certain senders by listing their email addresses and domains in the Accept Email From text box. Separate multiple entries with commas.
- Click Save to save your changes, or Save and New to define another inbound email address for this email service.