
Consent Record Operations
1. Edit Consent Records
- Select the checkbox adjacent to the consent record you want to edit.
- Click
and then click on the ‘edit’ button. The Edit Consent Record for <phone number> pop-up window appears:
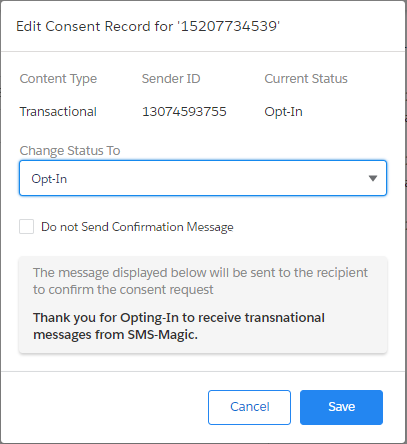
- Edit the details as required. Refer to the table below for more details on individual fields.
- Click on the ‘Save’ button. Consent Record is updated in the list view.
2. View Audit History
1. Click on theicon. The app launcher appears:

2. Under ‘All items’, click on the ‘Consents’ link. The Consent record page appears:

3. Click on the icon and select ‘All’ to remove filters and view all records. The All records view appears:

4. Click a consent record to view details. The Consent details page appears:
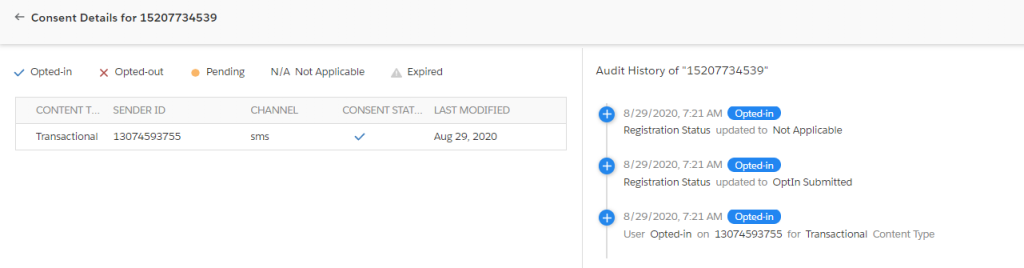
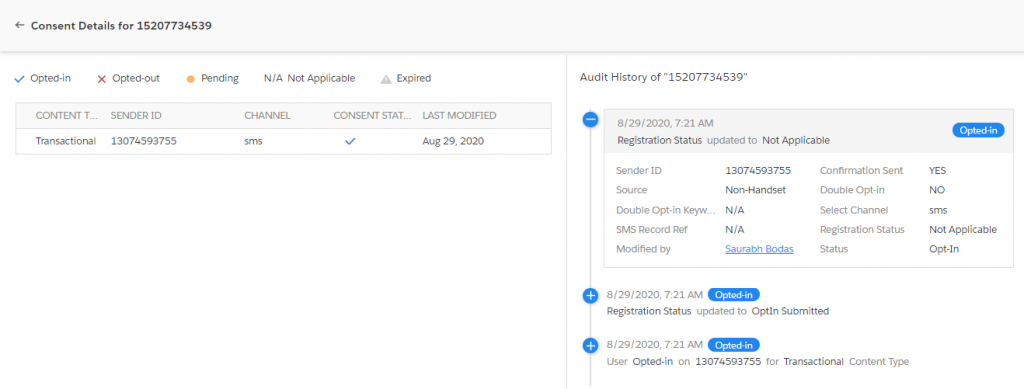
5. Click a consent status on the right to view the audit history details.
3. Change Consent Owner
1. Click on theicon. The app launcher appears:

2. Under ‘All items’, click on the ‘Consents’ link. The Consent record page appears:

3. Click and select ‘All’ to remove filters and view all records. The All records view appears:
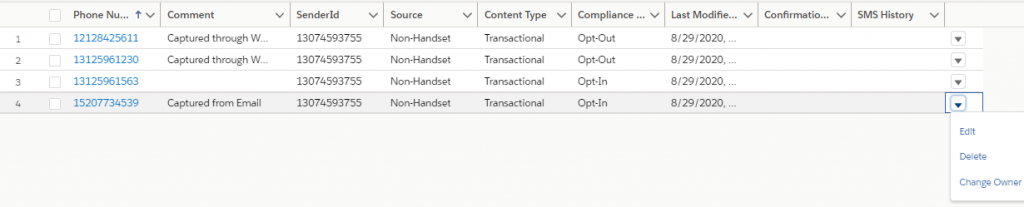
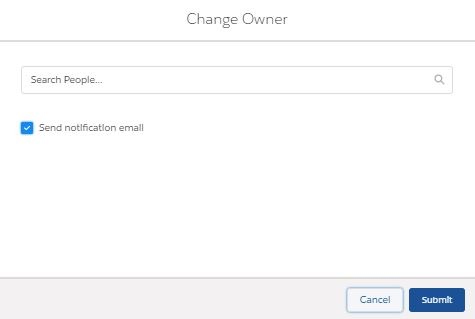
4. Click on the icon and then select ‘Change Owner’ from the drop-down list that appears. The Change Owner pop-up window appears.
5. Type the first three letters to search for the user to whom you want to assign the consent record. The search results appear as a drop-down list:
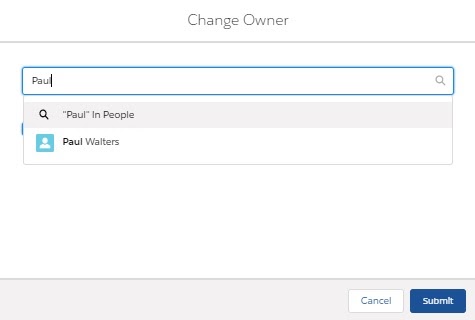
6. Select the user
7. Clear the ‘Send Notification Email’ checkbox if you do not want to notify the selected user of being assigned as the consent record owner.
8. Click on the ‘Submit’ button