
Create a Consent Database
Consent records are the most important prerequisites for sending messages to your customers. It defines the necessary permissions that are required for you to send messages to customers.
Double opt-in consents are another essential requirement in order to continue your messaging practices. These are received in response to requests sent to customers using non-handset sources, like web forms or emails, to record their compliance.
As per regulatory guidelines, all consent, collected through non-handset sources or created manually needs to be maintained and recorded in a database.
Consent is recorded on the basis of the parameters defined in the Compliance Configuration.
Consent can be created in the following ways:
- Create Consent through Process Builders
- Create Consent Manually
Create Consent through Process Builders
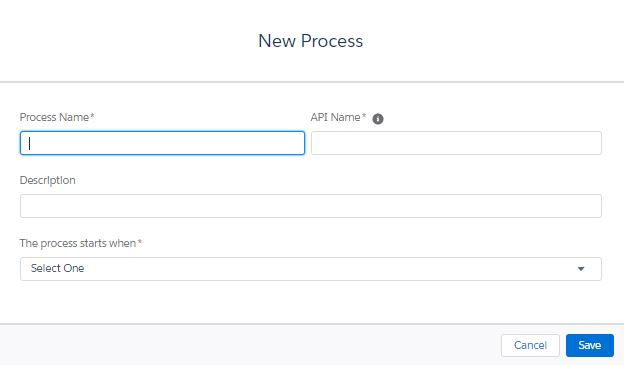
- Under Setup, click Process Builder and then click New. The New Process pop-up window appears
- Enter the following information.
- The Process Name
- The API name
- A Description of the process
- The Action trigger indicating when the process will begin
- Click Save.
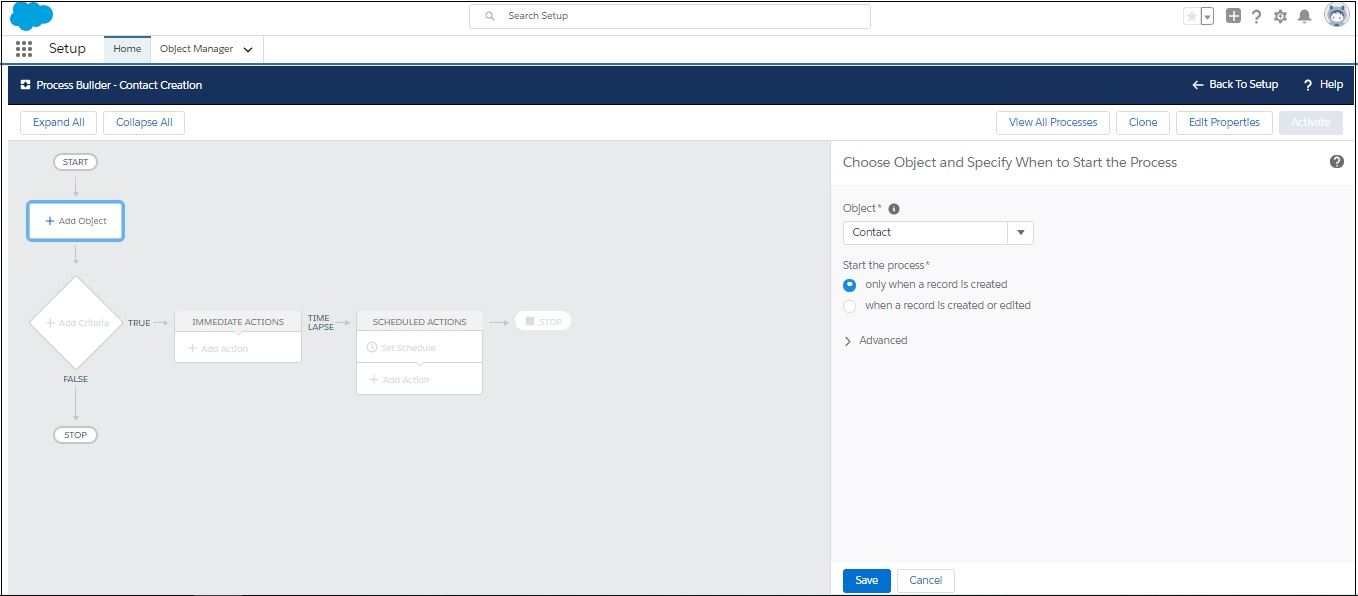
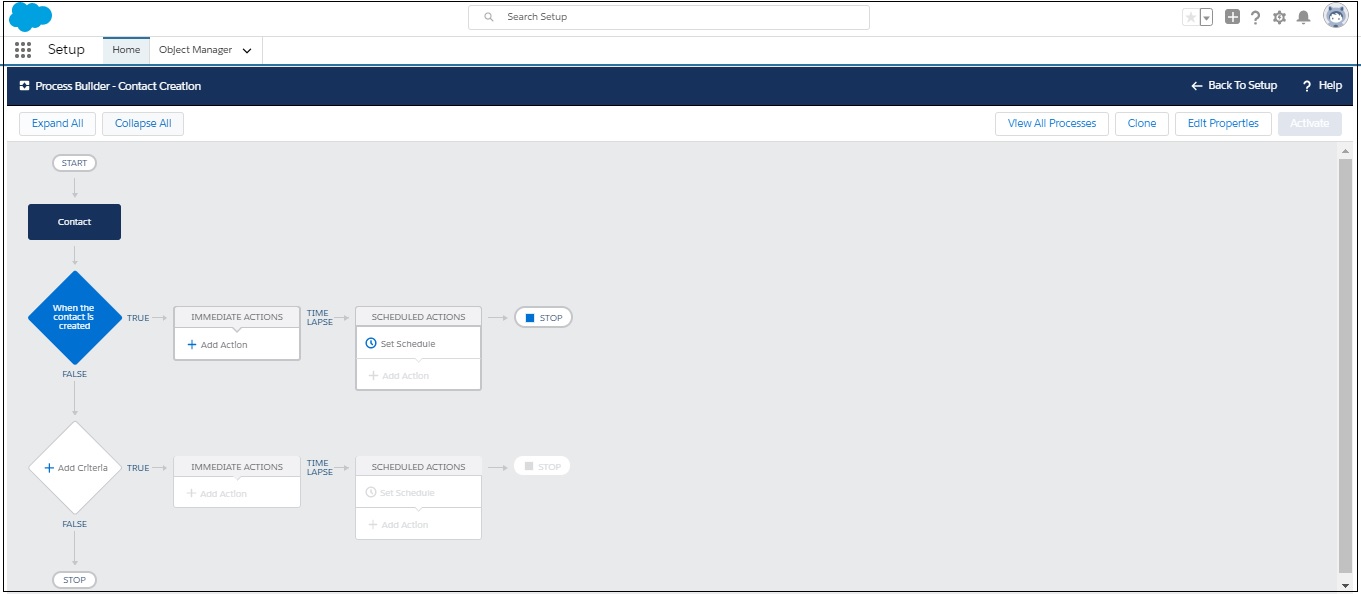
- In the Process Builder page click Add Object.
- Under Object, type the object that will be modified, for example, Contact or Lead.
- Click Save.
- Click Add Criteria.
- Define the criteria as Whenever a new lead is created for the action group.
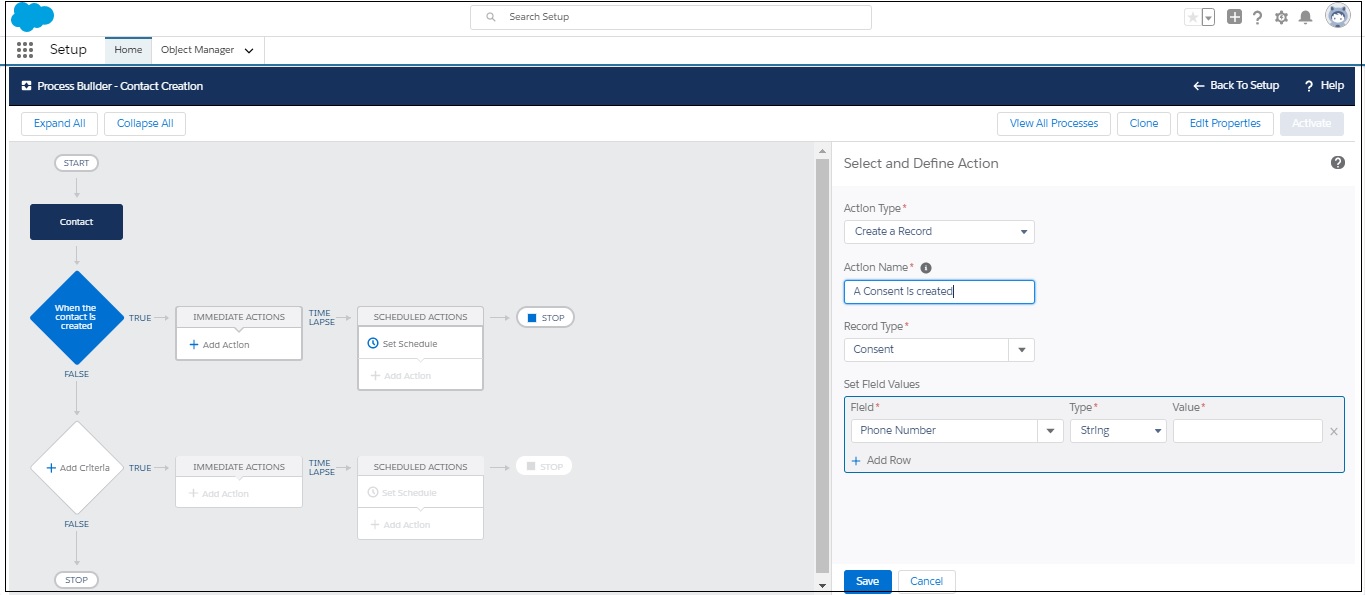
- Click Add Action . The Action fields appear.
- Enter the details, as required. Refer to the table below for more details.
- Click Add Row to include additional fields.
- Click Save.
- Click Activate and then click Confirm.
 .
.
| FIELD | DESCRIPTION |
|---|---|
| Action | Define the Action as: Create a Record. |
| Action Name | Provide a name for the Action. |
| Define Fields these fields need to be configured during the Compliance Configuration process. | |
| Mobile Number | Select the Mobile Number that is selected as the consent parameter for creating the consent record. |
| Sender ID | Select the Sender ID that will be used to create the consent record. This field is important only if you select Sender ID as one of the parameters for creating the consent record. You may skip this field if it has not been defined as a parameter in your compliance configurations. In such a scenario consent record will be created irrespective of the Sender ID the request is received from. |
| Content | Select the Content type for which the consent request will be created. You may skip this field if content type is not selected as a parameter to collect consent requests in your compliance configurations. |
| Confirmation Config | Select the confirmation configuration ID from the Confirmation Config object. This ID comprises the Sender Id from which the confirmation message will be sent. This configuration is completed in Step 3 of the compliance configuration process and will be displayed for Opt-in, optout and double opt-in consent requests. |
| Do Not Send Confirmation | Select this value as true if you do not wish to send a confirmation message. |
| Compliance Status | Select the consent status that shall be recorded i.e. Opt-Out, Opt-In, etc. You will need to create multiple process builders to generate consent records with different compliance status. |
| Source | Select the source for generating the consent and set the value as Non-handset |
| Lead | Select Lead as a record field and select the value for the lead lookup. This can also be contact depending on which object you are selecting. |
Create Consent Manually
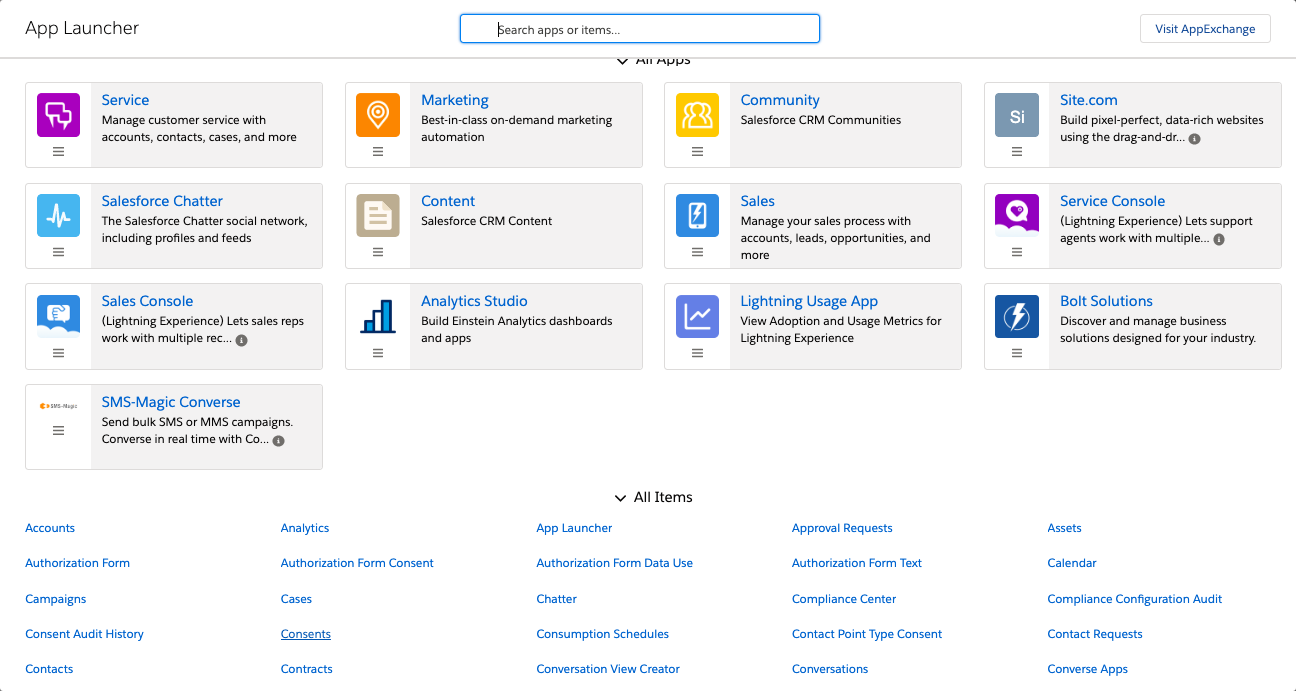
- Click
 . The app launcher appears.
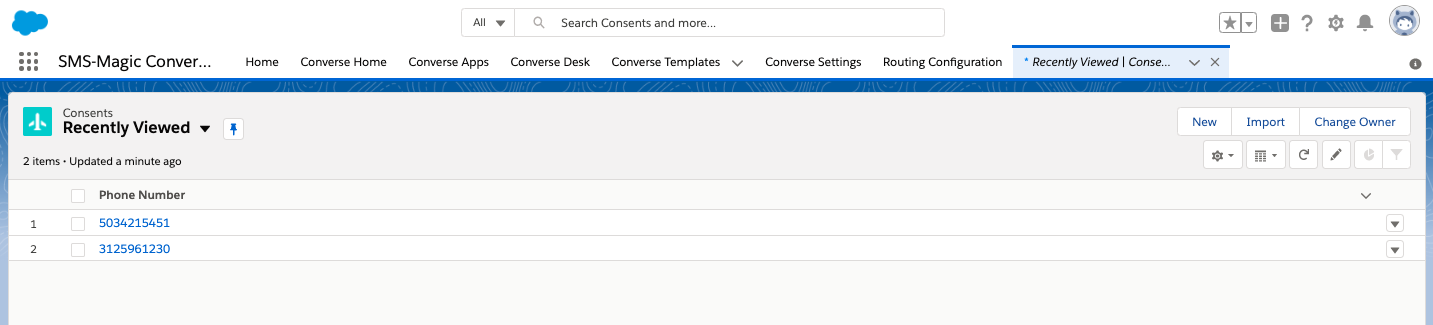
 - Under All Items, click Consents. The Consent List view page appears.
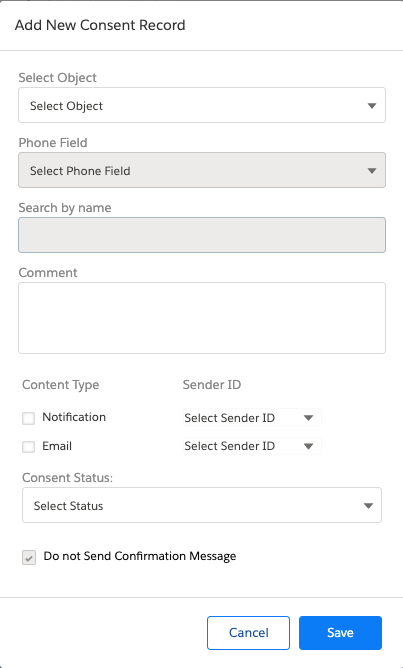
- Click New. The Add New Consent Record pop-up window appears.
- Enter the details as required.
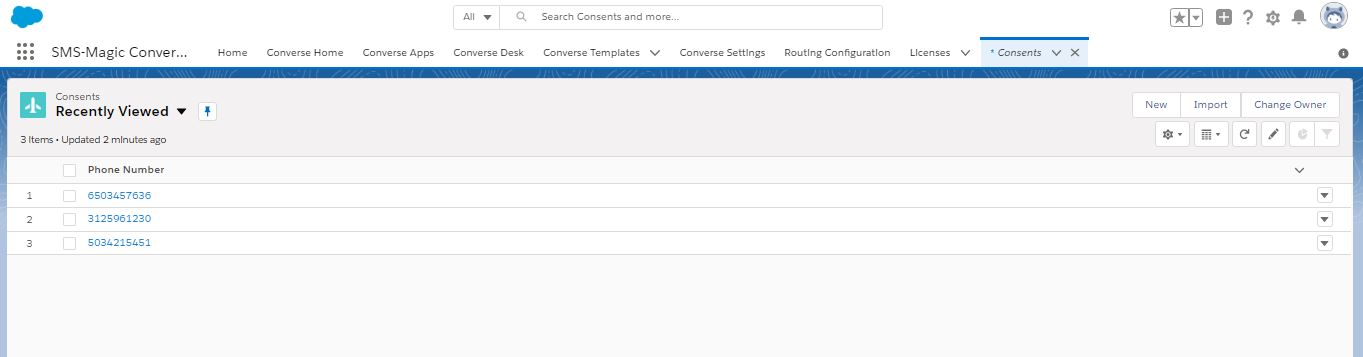
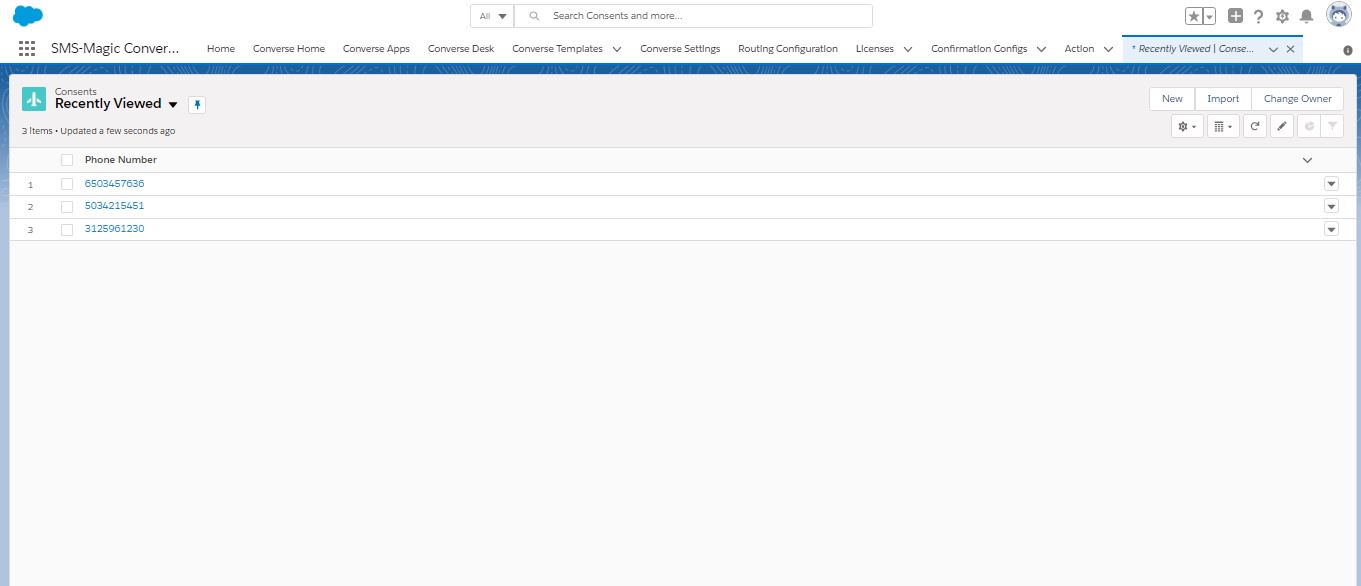
Refer to the table below for more details on individual fields. - Click Save. The Consent Record List is added to the consent database and appears as shown.
- Click individual record and the record details appears as shown.

| FIELD | DESCRIPTION |
|---|---|
| Select Object | Select the object for which you want to create the consent record. |
| Phone field | Select the phone field from which consent records will be considered. |
| Search By name | Search the Contact name for which the consent record will be created. |
| Comment | Type a comment for the record. |
| Content Type | Select the appropriate checkbox next to select the appropriate content type. This parameter will appear only if they have been configured in Step 1 of the Compliance Configuration process. Contact your System Admin for more details on the consent record parameters configured. |
| Sender ID | Select the Sender ID from which consent will be initiated. This is available only if Sender ID is configured as a consent record parameter in Step 1 of the Compliance Configuration process. Contact your System Admin for more details on consent record parameters configured. If Sender ID is not configured then consent will be created from any Sender ID. Once the consent record is created, a confirmation message is sent back to the same Sender ID to complete the process. If a Sender ID is configured then consent will be created only when request is received from the specified Sender ID. |
| Consent Status | In the drop-down list select the status of your consent. The available options are: Opt-In, Opt-Out, and Pending. |
| Do not send Confirmation Message | Select this check-box to avoid sending a message to confirm the consent status of the customer. |
| Confirmation Message Sender ID | Select the sender ID that will be displayed when the confirmation message is sent to the customer. |
Edit Content Records
- Select the checkbox adjacent to the consent record you want to edit.
- Click
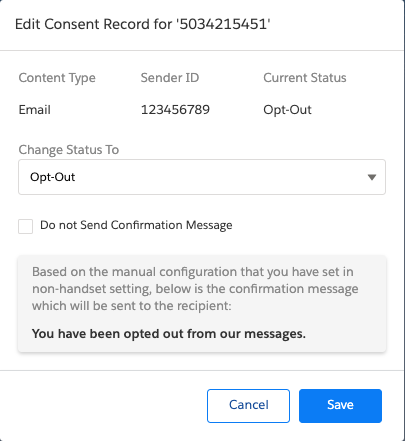
 and then select edit. The Edit Consent Record for <phone number> pop-up window appears.
 - Edit the details as required. Refer to the table below for more details on individual fields.
- Click Save Changes. Consent Record is updated in the list view.
- Click the record number. The Consent Details appear.
| FIELD | DESCRIPTION |
|---|---|
| Content Type | Displays the content type for which consent has been added. |
| Sender ID | Displays the default Sender ID for receiving the consent. |
| Current Status | Displays the current consent status. |
| Change Status To | Select the new consent status. |
| Do not send Confirmation Message | Select this check-box to send a message confirming the consent status of the customer. |
| Confirmation Message Sender ID | Select the Sender ID that will be displayed when the confirmation message is sent to the customer. |
| Opt-out confirmation message | Type the confirmation message that will be sent in case the consent status is set to Opt-Out. |
Change Consent Record Owner
- Log in to Salesforce.
- Click
 . The App Launcher pop-up window appears.
 - Under All items, click Consents. The Consents record page appears.
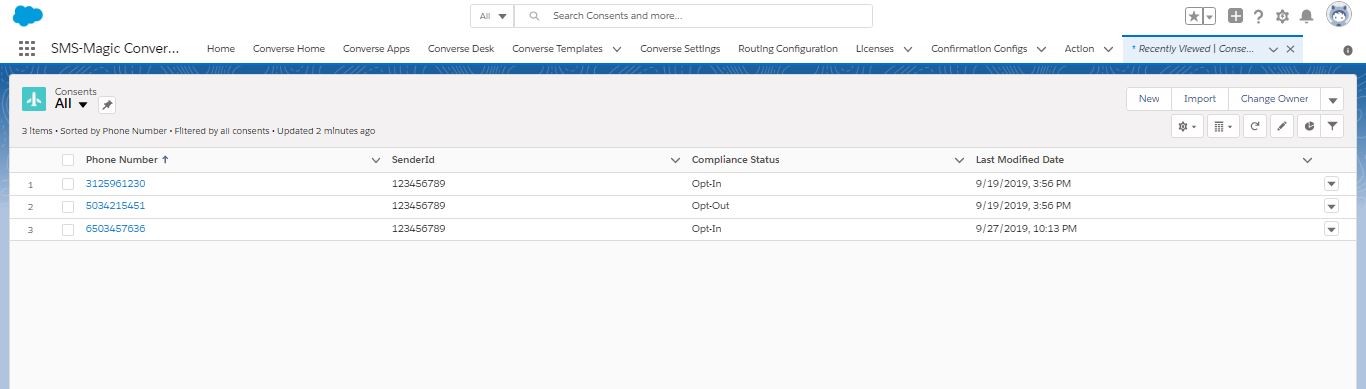
- Click and select All to remove filters and view all records. The All records view appears.
- Select the checkbox adjacent to the consent record you want to edit.
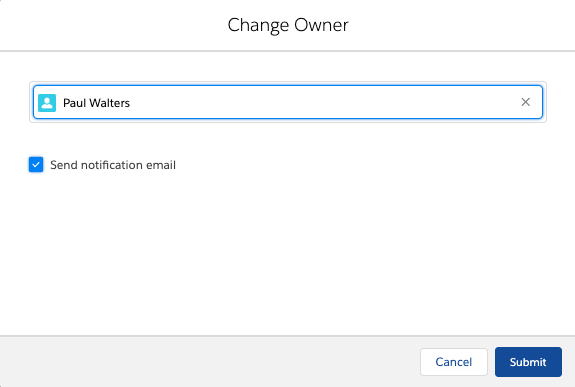
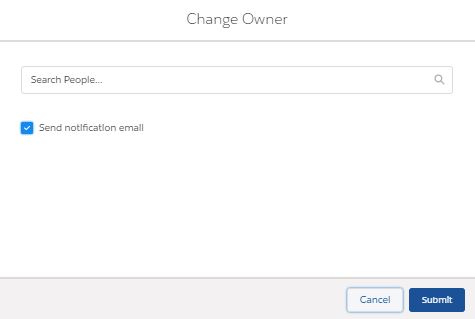
- Click and then select Change Owner. The Change Owner pop-up window appears.
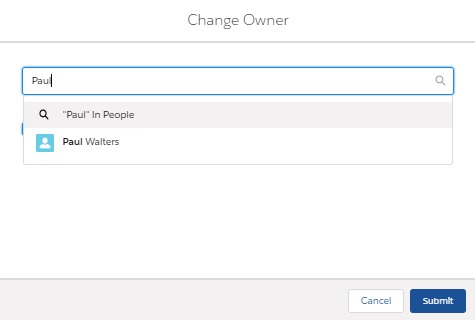
- Type the first three letters to search for the user you want to move the consent record. The search results appear as a drop-down list.
- Select a user.
- Clear the Send Notification Email checkbox if you do not want to send an email to notify the selected user of being assigned as the consent record owner.
- Click Submit.

View Audit History
- Log in to Salesforce.
- Click . The App Launcher pop-up window appears.
- Under All items, click Consents. The Consents record page appears.
- Click and select All to remove filters and view all records. The All records view appears.
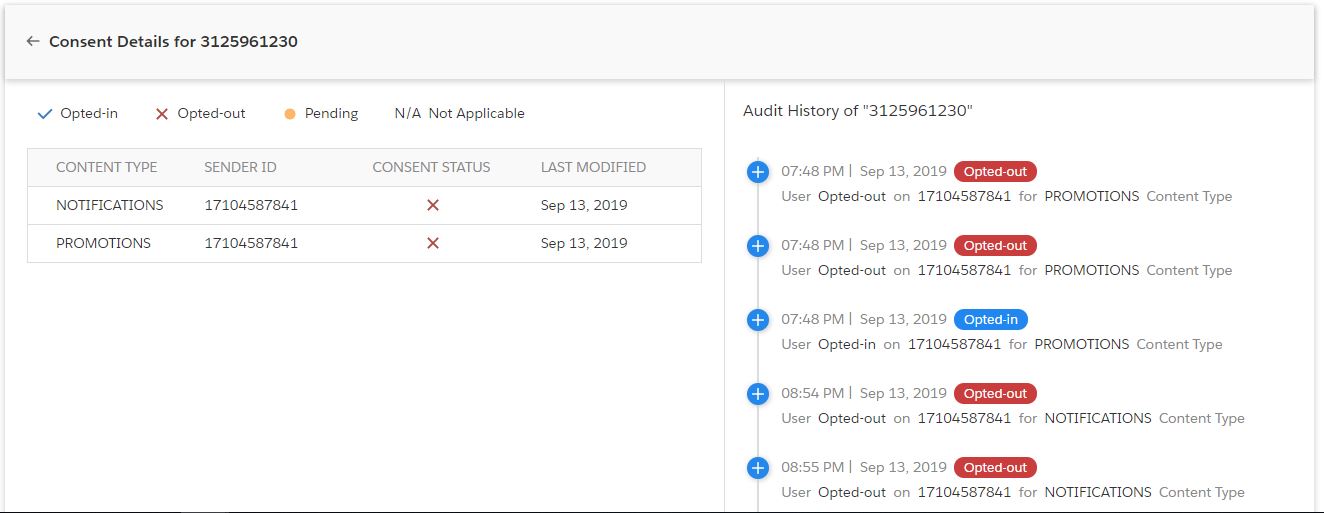
- Click a consent record to view details. The Consent details page appears.
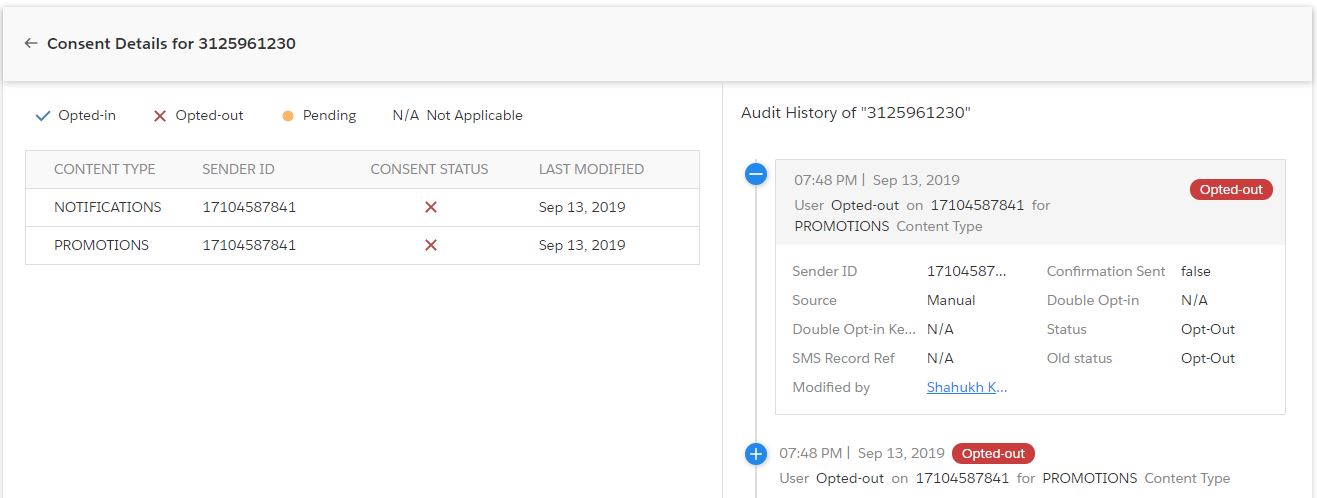
- Click a consent status on the right to view the audit history details.
| FIELD | DESCRIPTION |
|---|---|
| Sender ID | Displays the Sender ID who sent the consent. |
| Confirmation Sent | Displays whether a confirmation message has been sent out for the consent received. |
| Source | Displays the source from which the consent is received. |
| Double Opt-In | Displays whether a double opt-in request is sent to the customer. |
| Double Opt-in Keyword | Displays the Double opt-in keywords that is shared with customer. This field displays value only if the Double opt-in request is sent to customers. |
| Status | Displays the current consent status of the record. For example, Opt-in, Opt-out or Pending. |
| SMS Record Reference | Displays the reference number of the SMS History record. |
| Old Status | Displays the previous consent status of the record. |
| Modified By | Displays the ID of the user who modified the record. |
Change Consent Owner
- Log in to Salesforce.
- Click
 . The App Launcher pop-up window appears.
 - Under All items, click Consents. The Consents record page appears.
- Click
 and select All to remove filters and view all records. The All records view appears.
 - Select the checkbox adjacent to the consent record you want to edit.
- Click and then select Change Owner from the drop-down list that appears. The Change Owner pop-up window appears.
- Type the first three letters to search for the user to whom you want to assign the consent record. The search results appear as a drop-down list.
- Select the user.
- Prior to selecting a user, ensure that read permissions are enabled for the current record and all related records.
- Clear the Send Notification Email checkbox if you do not want to notify the selected user of being assigned as the consent record owner.
- Click Submit
Upload Existing Consent Database
Why do I Need to Create a Consent Record for Using SMS-Magic Converse with the Compliance Feature?
Prior to the 1.59 release, we used to store consent information like Opted-In or Opted-Out on the object record detail page. The disadvantage of this style of storing consent information is that if the same number exist for two lead records and one record has opted-in and another record has opted-out information. The system will block one message but will still send the message to another record.
To overcome the above problem, we maintain consent information in Consent object and not at the object record level. These consent records are referred to when a user attempts to send messages via bulk, automated or manually. So, for example, the Bulk source, the Consent Required is configured, the system will always check for an Opt-In entry in Consent object.
When Do I Need to Create or Migrate Consent Records?
Consent migration is required for the following scenarios:
- If you have explicit consent obtained via the website, email or mobile handset captured at the object record level.
- If you have explicit consent obtained via contract or paper forms.
Consent Obtained via Website, Email, or Mobile Handset
You have explicitly obtained consent for the recipient via Web, Email or Mobile Handset and stored at the object record level. SMS-Magic Converse have no information where and how the consent information is stored. In order to map this consent information with the SMS-Magic Converse, admins need to create these records in Consent object along with consent type (Opt-in or Opt-Out).
To create consent records previously obtained from the recipient’s mobile numbers, you need to create a CSV file with all the fields mentioned below.
| FIELD | DESCRIPTION |
| Phone Number | The mobile phone number from which the consent is obtained. |
| SenderId | The phone number or virtual number used by SMS-Magic customers to obtain consent. |
| Content Type | If the consent has been obtained for a specific program. |
| Compliance Status | Opt-In or Opt-Out or Pending (In case of double opt-in). |
| Lead, Contact or Custom Object | Lookup Id for lead, contact, or any custom object. |
| Confirmation Config | Id of confirmation configuration created in Step 3 of the compliance setup. |
| Do Not Send Confirmation | When set true, no confirmation message will be sent to the recipient mobile number. |
| Comment | Add text on how the consent was obtained. |
Once the consent record is created for the recipient from whom the consent is obtained. The next step is to define the configuration when the record is created in CRM so that the consent record is automatically created.
Consent Obtained via Contract or Paper Forms
Steps remain the same as above for creating consent via contract or paper forms.
How to Ensure that Consent Records are Created Automatically for a New Contact?
Again, you would need to create a consent record for contacts for the following scenarios:
- Explicit consent obtained via the website, email or mobile handset captured at the object record level.
- Explicit consent obtained via contract or paper forms.
Explicit Consent Obtained via Website, Email, or Mobile Handset
We recommend that you use a process builder and create the consent record when the record is created or edited. Write a process builder on record creation and create a consent record with the below fields.
| FIELD | DESCRIPTION |
| Phone Number | The mobile phone number from which the consent is obtained. |
| SenderId | The phone number or virtual number used by SMS-Magic customers to obtain consent. |
| Content Type | If the consent has been obtained for a specific program |
| Compliance Status | Opt-In or Opt-Out or Pending (In case of double opt-in) |
| Lead, Contact or Custom Object | Lookup Id for lead, contact or any custom object |
| Confirmation Config | Id of confirmation configuration created in Step 3 of the compliance setup. |
| Do Not Send Confirmation | When set true, no confirmation message will be sent to the recipient mobile number. |
| Comment | Add text on how the consent was obtained. |

Please note, when records are created via non-mobile handset like web forms, one needs to get the opt-in via a mobile handset. This process of confirming consent via mobile handset by contact created by web forms is called as Double Opt-in.
To initiate double opt-in, the admin needs to use Confirmation Config field and add Compliance Status to Pending to initiate a double opt-in process. One can find Confirmation Config Id under Converse Settings > Compliance > Double Opt-In & Other > View Details.

Explicit Consent Obtained via Contract or Paper Forms
If you need to capture the consent on a continuous basis and whenever the records are created or edited. We recommended the same process as mentioned above. You must use the comment fields when creating a consent record so that during the audit process you can confirm the source of the consent.