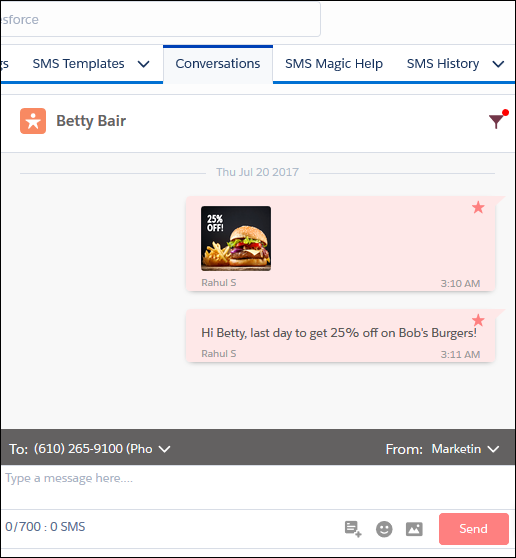
A. View Summary of Each Message Sent/Received
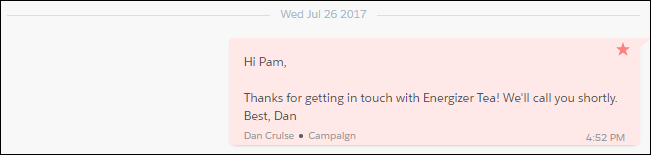
1. You can see the date and time each message has been sent or received
2. View Sender ID and Incoming Number
![]()
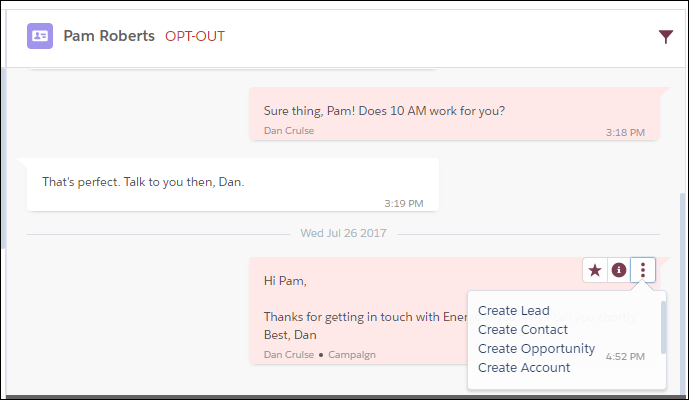
3. View optout status
You will see optout only if a record has opted out. Otherwise, this is not visible.

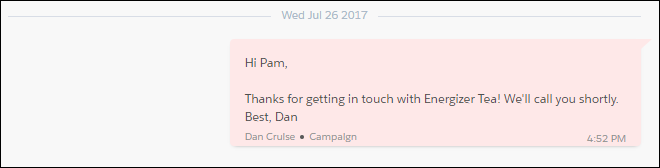
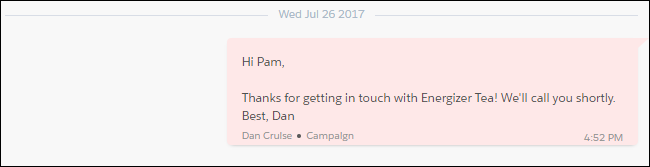
4. View the source from where the message was sent out
If the message was sent as part of a campaign, or bulk SMS, etc, you will see that next to the sender’s name. If you sent the text from the Converse Desktop itself, the source will not be mentioned..
B. Act Quickly on Messages
Hover over a text to see options.
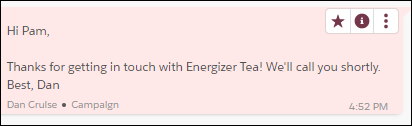
1. Mark messages for reference
You can mark particular texts with a star, to refer to them later or filter them.
Click on the star icon to mark it and view it later by simply filtering out starred messages
2. See more details about the message
Click on i for information. You can see the number you texted. You’ll also see the Sender ID you used. Finally, you can see the message source with details. Let’s say a contact was part of a campaign. You will see that as message source, along with the name of the campaign.

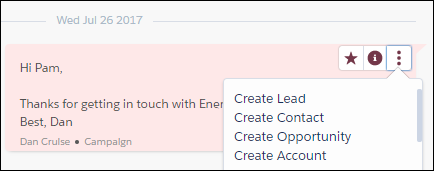
3. Execute Salesforce actions
Click on the three dots to quickly create a lead, case, contact or opportunity.
C. Segregation of Messages by Date
1. You will see messages in chronological order.
D. Send Message Section
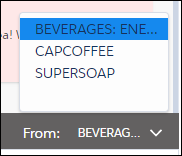
1. Select Sender ID
Click on the From: dropdown to choose the Sender ID you want.
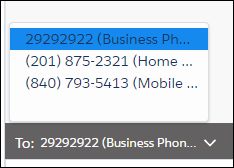
2. Select destination number
Click on the To: dropdown to select the number you want to text.
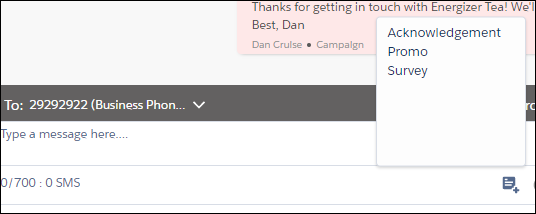
3. Pick a template
Click on the add template icon to use a template.
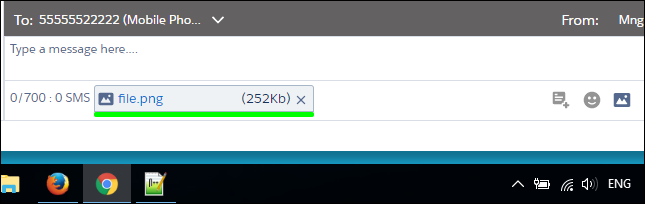
4. Add a media file to your message.
Click on the image icon to use an image.
5. Add emoticons in your message
Click on the emoticon icon to use an emoticon.
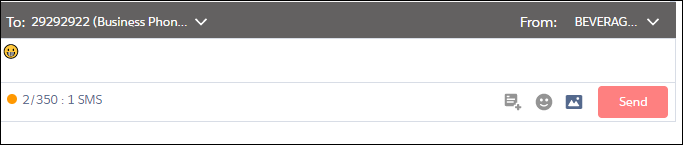
6. View character count and get notification of Unicode message
You will see the character count limit reduce from 700, as you have added Unicode characters. An orange dot will also appear, which is the symbol for a Unicode message.