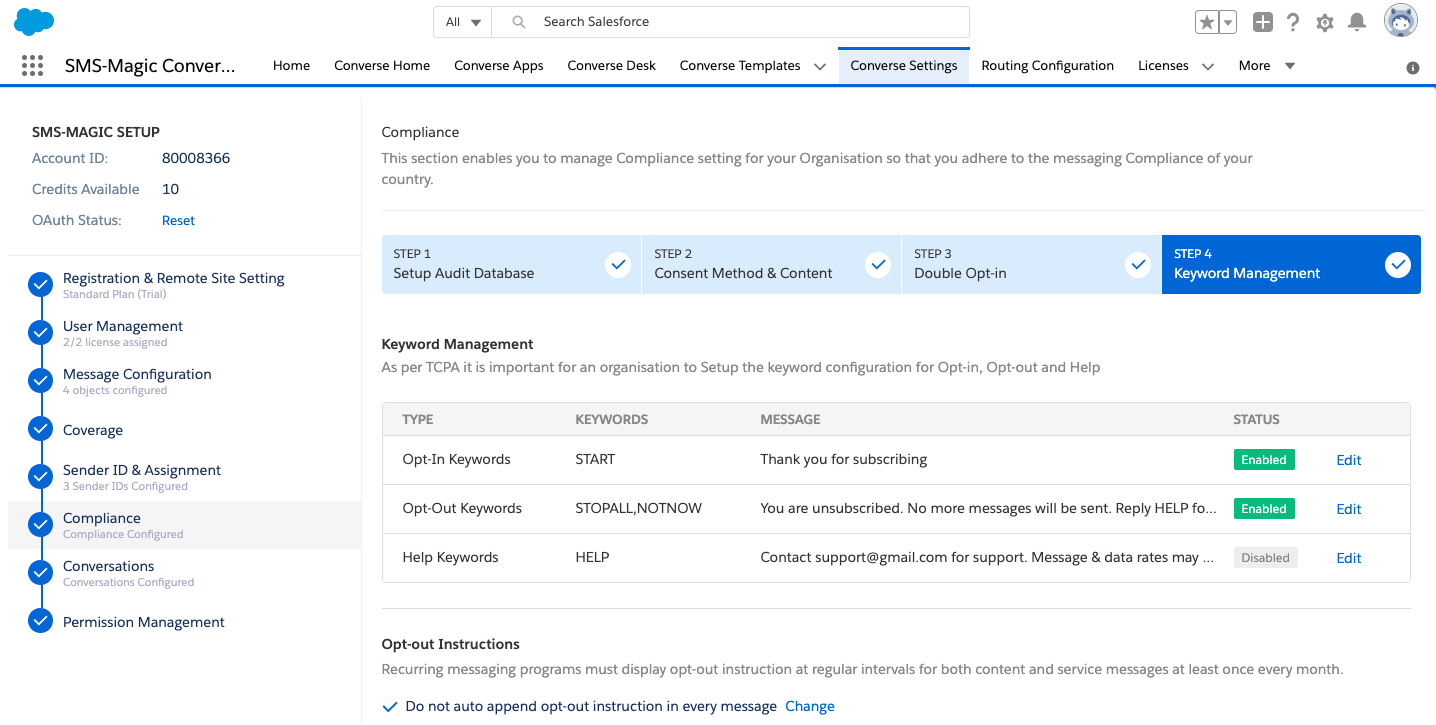
To comply with industry standards, you must respond to keywords for HELP & STOP. Any user who opts-out using the STOP keyword must be added to an opt-out list (blacklist) and must not be sent any further messages until or unless they opt back in. You can configure mandatory keywords for the three keyword types provided. These are:
For each keyword type, some default keywords have already been pre-defined. You can also create new ones following industry specific norms.
Create keywords using the following guidelines:
- Use Alphabets
- Do not add spaces
- Do not include special characters
When a customer uses the keywords defined under Opt-out keyword type, they will be opted out or blocked from receiving messages for all campaigns and other activities. You cannot send anymore messages to all such customers.
Similarly, when a customer uses the keywords defined under Opt-in keyword type, they choose to opt-in for receiving messages from any team within the organization.
You can define separate keywords to help customers opt-in for specific content type messages, for example, notification or promotions. These keywords will be considered for receiving consent for that specific content-type.
Refer to Create Content type for more details on creating Content type keywords.
Content-type opt-ins are useful in ensuring that you can continue sending messages to customers for a specific content-type. Therefore, in case the customer is applying for a blanket opt-out instruction, in the opt-out confirmation message they receive, you specify the content-type opt-in they can send if they wish to continue receiving messages for that specific content-type.
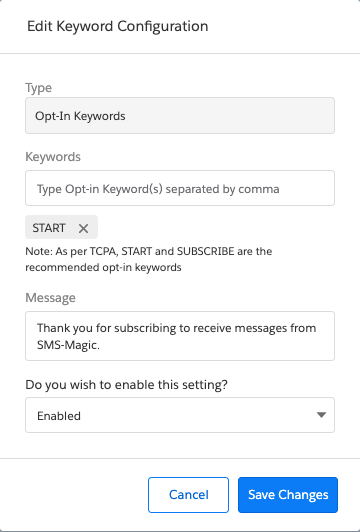
- Under Keyword Management, click Edit next to the Keyword type you want to modify. The Edit Keyword Configuration pop-up window appears.
Refer to the table below for more details on the Keyword options.
You cannot edit the default keywords.
| FIELD |
DESCRIPTION |
| Opt-In Keywords |
Displays the opt-in keywords that will be used at the organization-wide level.
You can define Opt-in keywords that are specific to a content type.
Refer to the section on Create Content Type for more details. |
| Opt-Out Keywords |
Displays the opt-out keywords that will be used at the organization-wide level. This will opt-out users from all the campaigns/content types.
No further messages can be sent to customers from any teams in the organization. |
| Help Keywords |
Displays the help keywords that will be used at the organization-wide level. This will redirect customers to request for support based on the keyword you provide. |
- Enter the following details to add keyword configuration.
| FIELD |
DESCRIPTION |
| Type |
Displays the keyword type that you have selected to edit. For example, Opt-out, Opt-in, Help. |
| Keywords |
Type the new keywords that you want to configure for the keyword type.
You can type multiple keywords for a single keyword type.
The new keywords should not be the same as the default keywords. |
| Message |
Type the message that will be sent to customers who have sent the consent details. |
| Do you wish to enable this setting? |
In the drop-down, select to indicate whether you want to enable the keyword type.
If you disable the keyword type configuration, then customer consent sent for the keyword type will be ignored. For example, Customers who wish to Opt-out using the defined keywords will continue to receive messages if opt-out Keyword type configuration is disabled.
Similarly, customers who wish to opt-in with the defined keywords will not be included in the subscription list if Opt-in keyword type configuration is disabled. |
- Click Save Changes. The Keyword Management section appears.
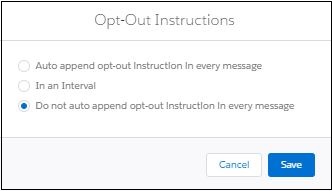
- UnderOpt-out instructions click Change next to the pre-configured instruction. The Opt-out Instructions pop-up window appears.
Refer to the table below for more details on the Keyword options.
| FIELD |
DESCRIPTION |
| Auto append opt out Instruction in every message |
Select the option if you want to add an opt-out instruction to every message that is sent out. |
| In an Interval |
Select this option to send messages only after the defined number of weeks. The recommended practice is to send 1 message in every 4 weeks.
You can select the interval period in the drop-down list that appears. |
| Do not Auto-append opt out instructions in every message |
Select this option if you do not want to add an opt-out instruction to every message that is sent out. |
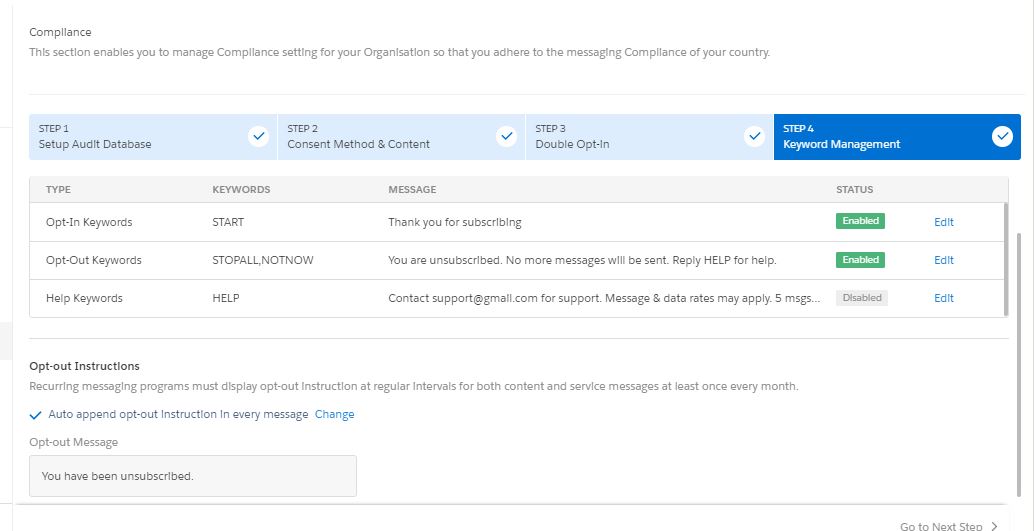
| Opt-out Message |
Type the message you want to append as an opt-out instruction.This field appears only if you select the Auto append opt out Instruction in every message |
- Click Save.The opt-out instructions, if added, appears as shown.
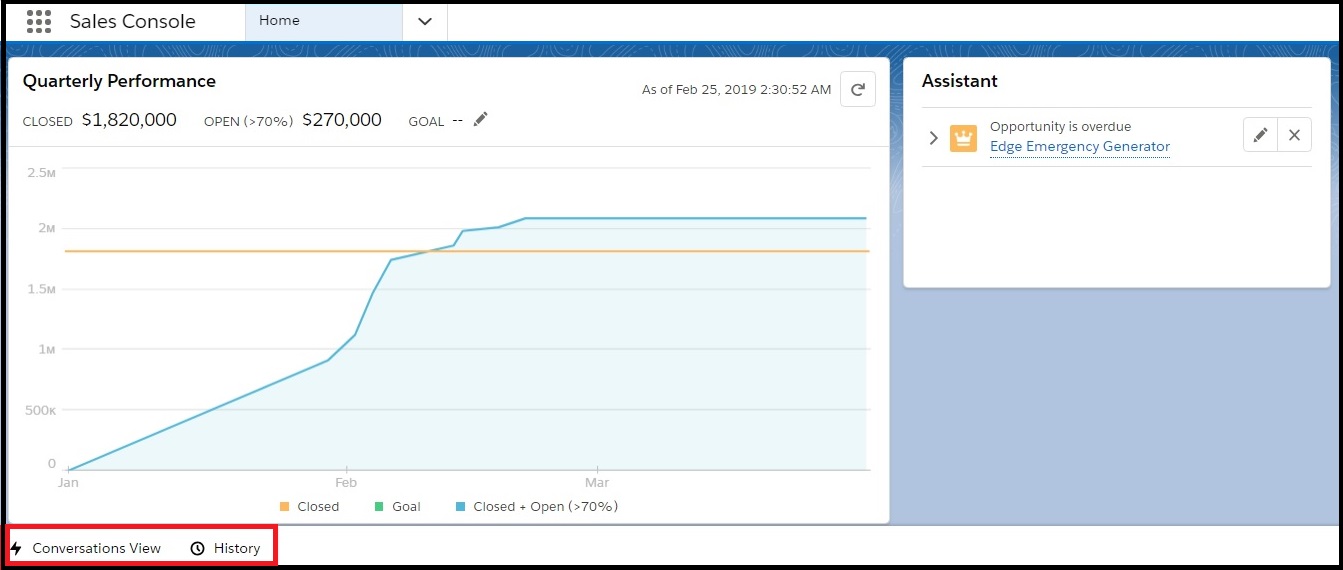
 . The App Launcher page appears.
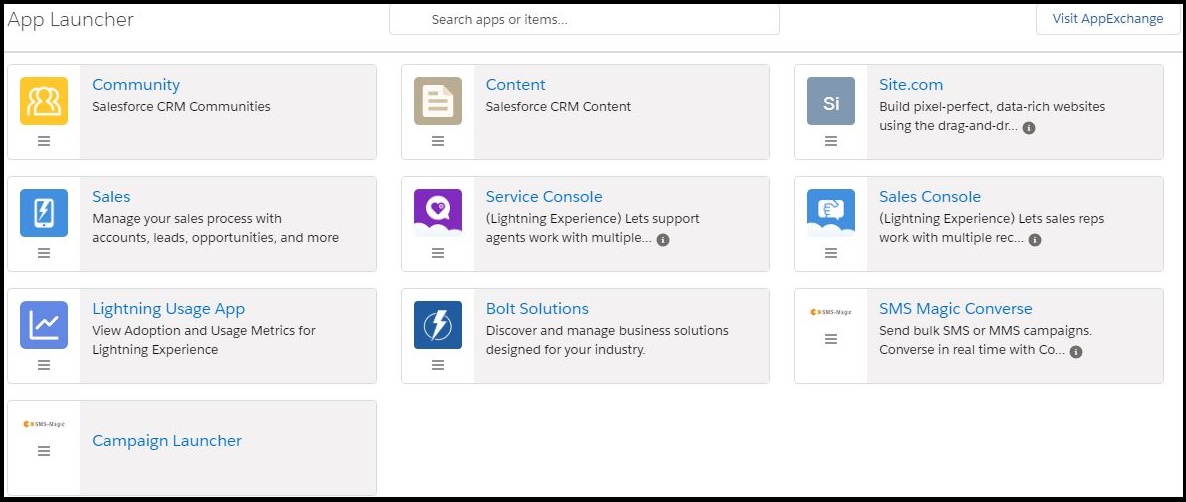
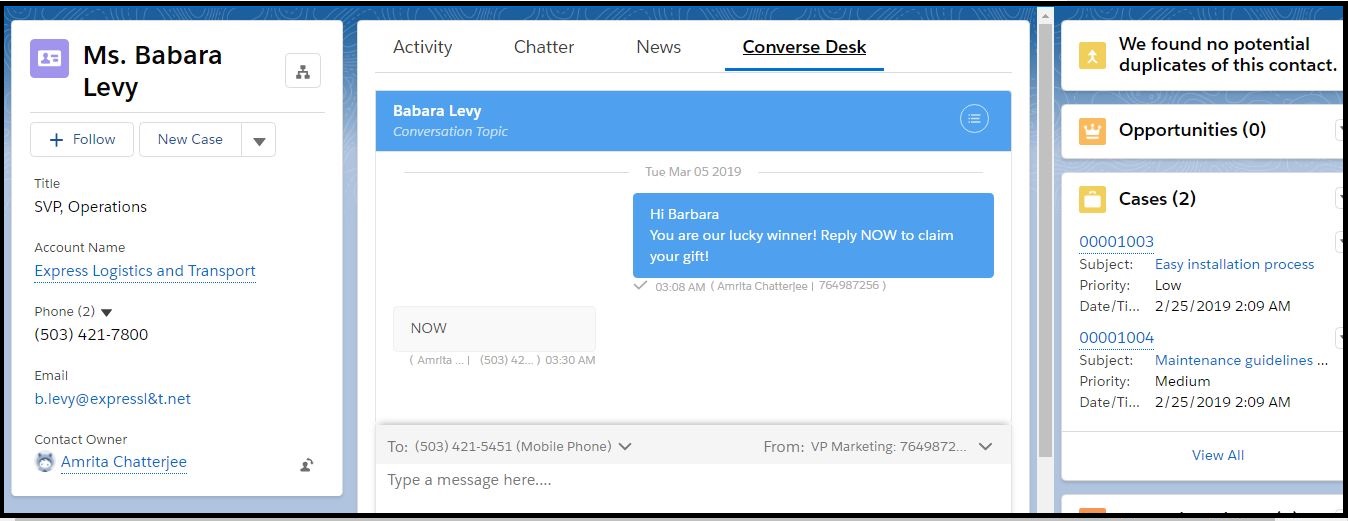

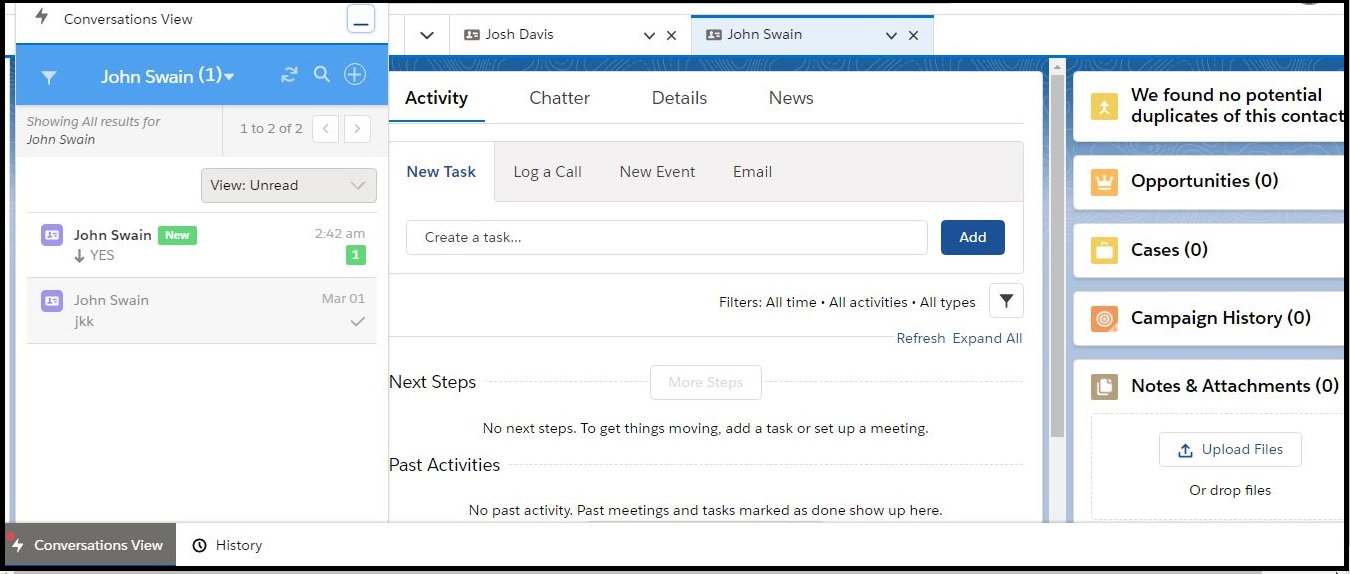
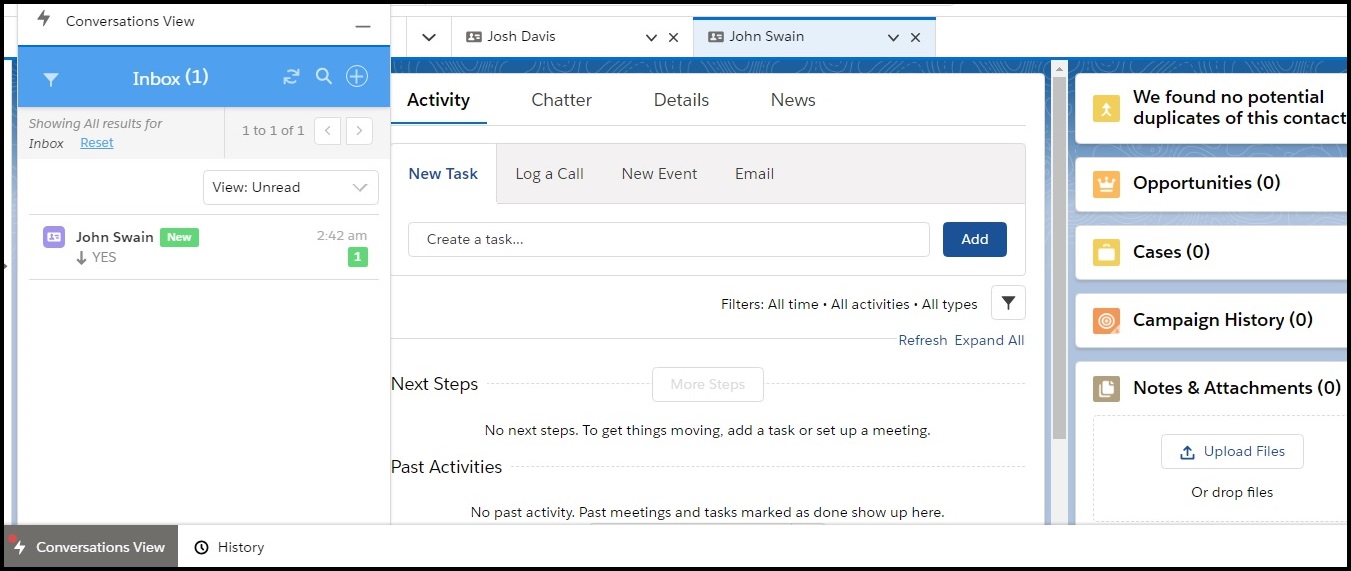
 next to the contact name and then click All. The available conversation details belonging to all records appear.