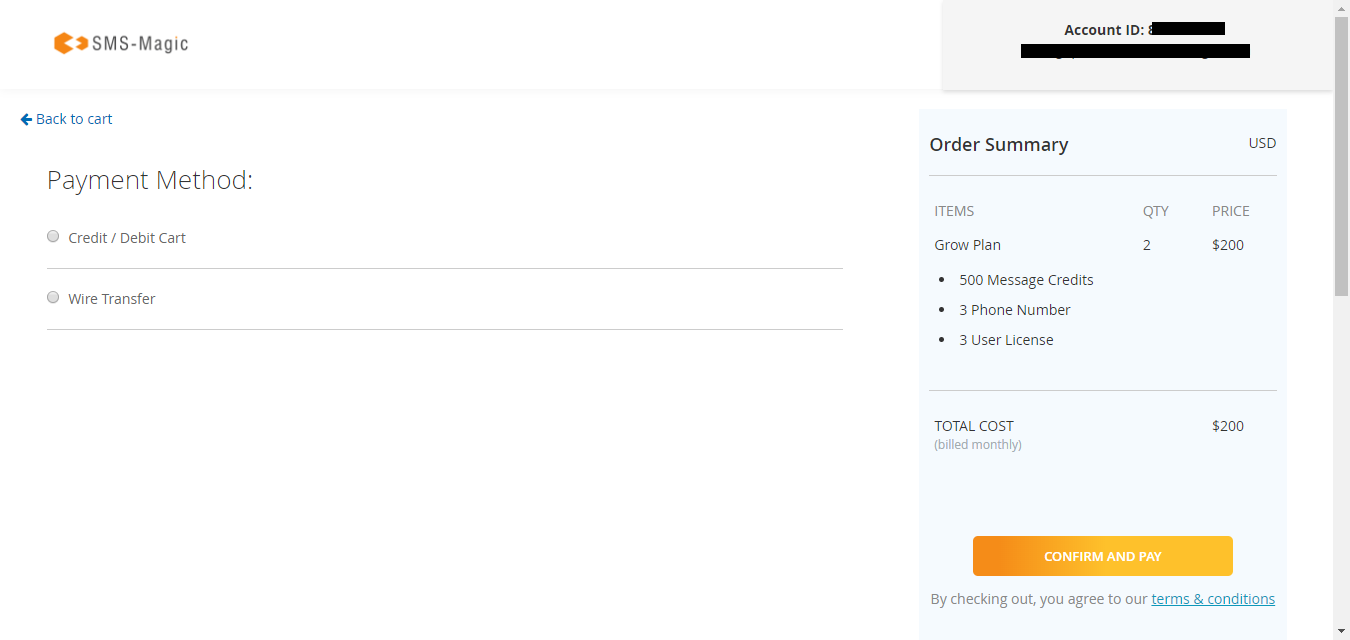
Buy a Subscription Plan
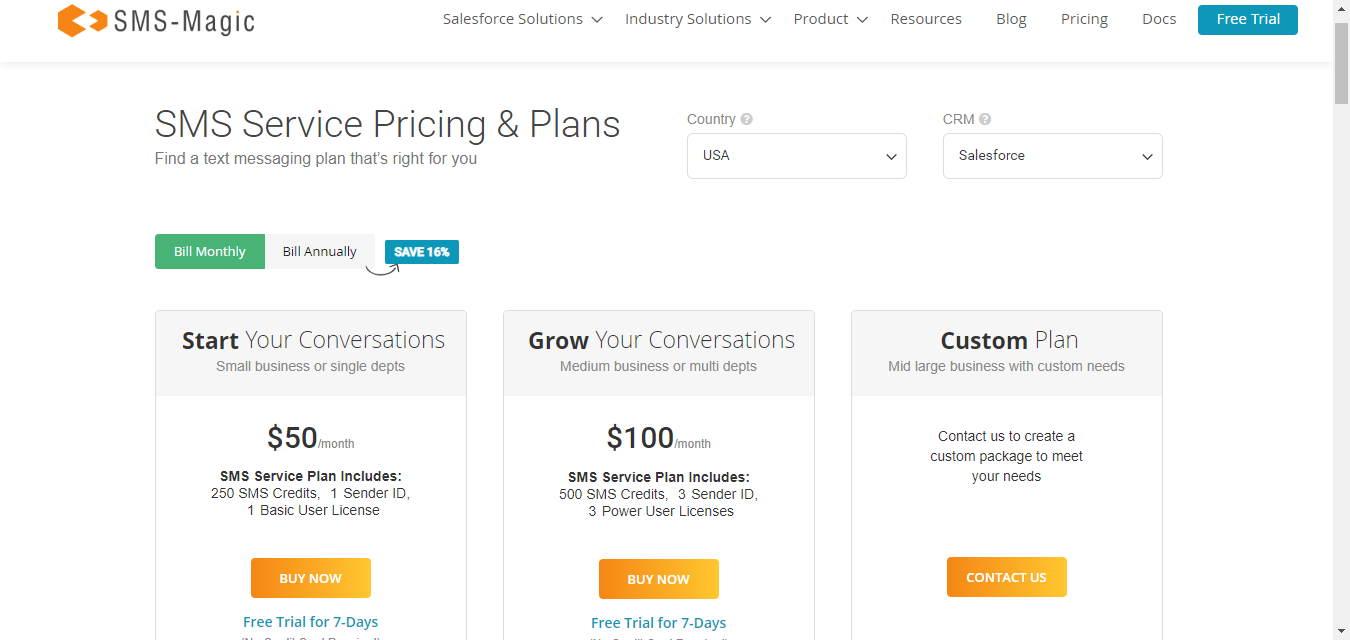
In Converse Home, you can manage your subscription plans. Available plans are Start your Conversations, Grow your Conversations, and Custom Plans.
| Business Requirements | Plan |
| Seema( Marketing) wants to run lead nurture, profiling, and keyword-based automation | Start your Conversations |
| Thomas(Service) wanted SMS software to manage the volume of customer issues | Grow your Conversations |
| Morgan wants to buy additional 500 licenses and needed discount with additional dashboards | Custom Plan (We also provide light licenses such as Converse Desk, Automation, View Only, and more on top of your Start or Grow plans. Please contact your SMS-Magic account manager to know more about custom plans.) |
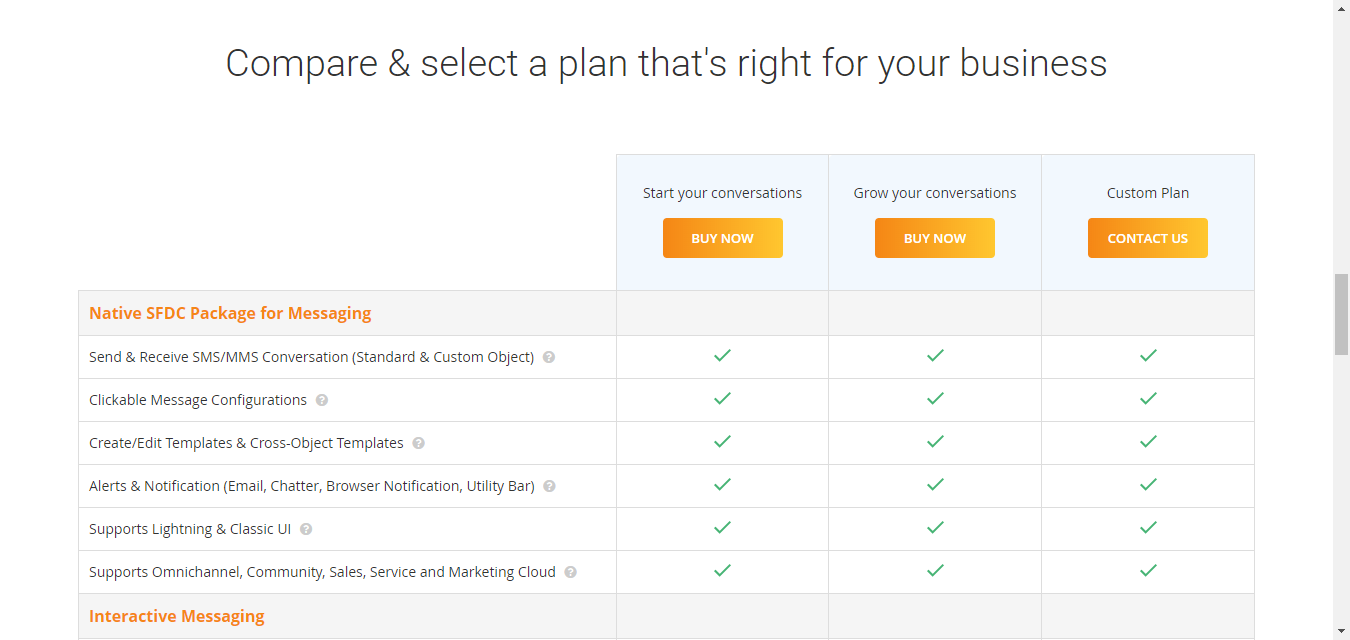
For information about the feature available in each plan, see Pricing and Plans.
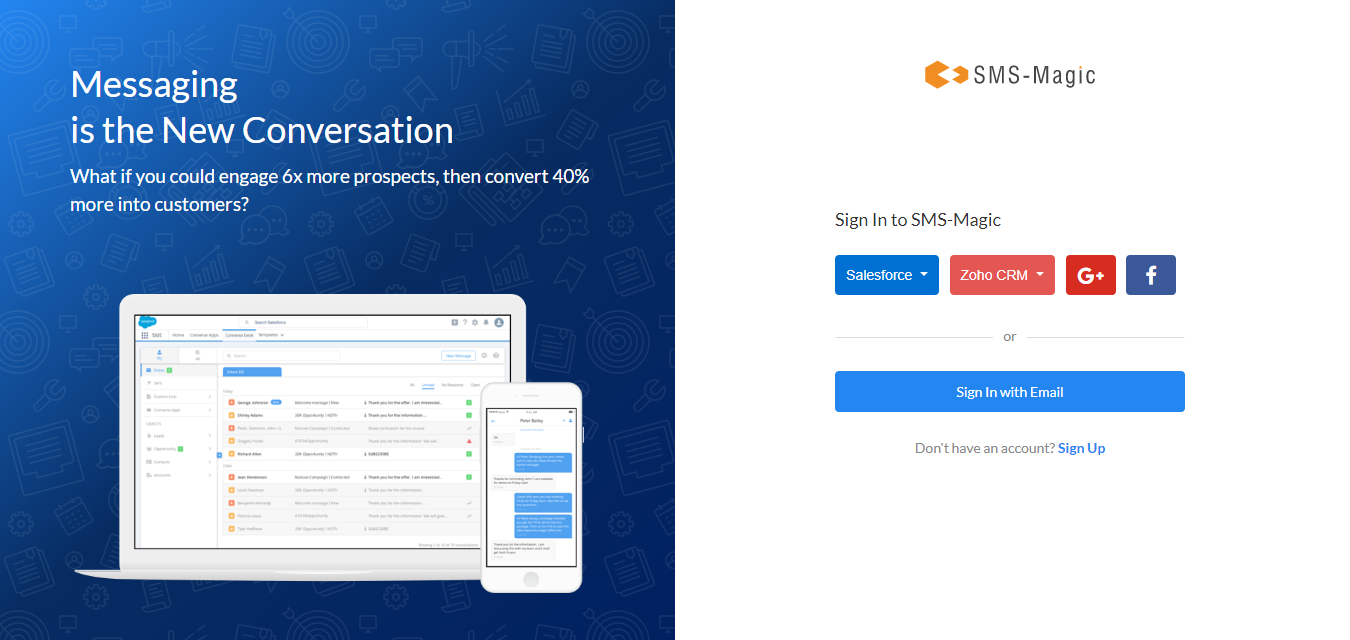
- Log in to SMS-Magic Converse.
- Click Buy Plan. The Pricing and Plan page appears.
To buy a subscription plan:
Converse Dashboard – Team
Refer the following table for more details on Converse Dashboard – Team Report
| Report Name | Description |
| Total Conversations | Displays the number of conversations that the team has managed in the last 30 days. This includes any conversation where at least one message was sent or received. |
| Unread Conversations | Displays the number of conversations that were created in the last 30 days and displays its status as “Unread”. |
| User Reply Pending | Displays all open conversations where the last message was incoming and was received within the last 30 days. |
| Customer Response Awaited | Displays all open conversations where the last message was outgoing and was sent within the last 30 days. |
| New Conversations | Displays the number of conversations that were created in the last 30 days. |
| Closed Conversation | Displays the number of conversations that currently displays its status as “closed” and were created within the last 30 days. |
| Total Conversations by User | Displays the number of conversations that were managed by the team during the last 30 days. |
| New Conversations by User | Displays the number of new conversations that were initiated by the team in the last 30 days. |
| Closed Conversations by User | Displays the number of conversations initiated by the team in the last 30 days and currently displays its status as “Closed”. |
| Average Exchanges by User | Displays the average number of exchanges conducted by the team on closed conversations. An exchange is any message that is sent or received on a conversation. |
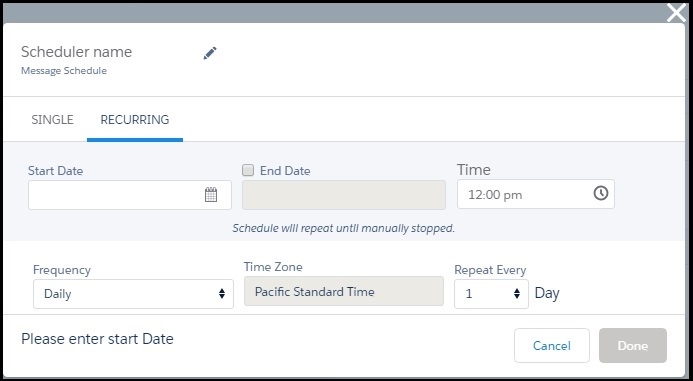
Schedule Bulk Campaigns
- Click Schedule. The Schedule dialog box appears.
- Enter a name for the message schedule in the Message Schedule field.
- Select the schedule frequency as single occurrence or recurring.

| Action | Description |
| Date | Select the date to send the bulk message. This field is in the single and recurring tabs. |
| Time | Select the time to send the bulk message. This field is in the single and recurring tabs. |
| Time Zone | This field is based on the time zone set during the configuration of the application. This field is in the single and recurring tabs. |
| Start Date | Select the start date to send the bulk messages. This field is in the recurring tab. |
| End Date | Select the end date to stop sending the bulk messages. This field is in the recurring tab. |
| Frequency | Select the frequency of when to send the bulk message. Select between Daily, Weekly, Monthly, or Yearly. This field is in the recurring tab. |
| Repeat Every | Select the number of times the bulk message will be sent out. Depending on the frequency of selection this field will change. This field is in the recurring tab. |
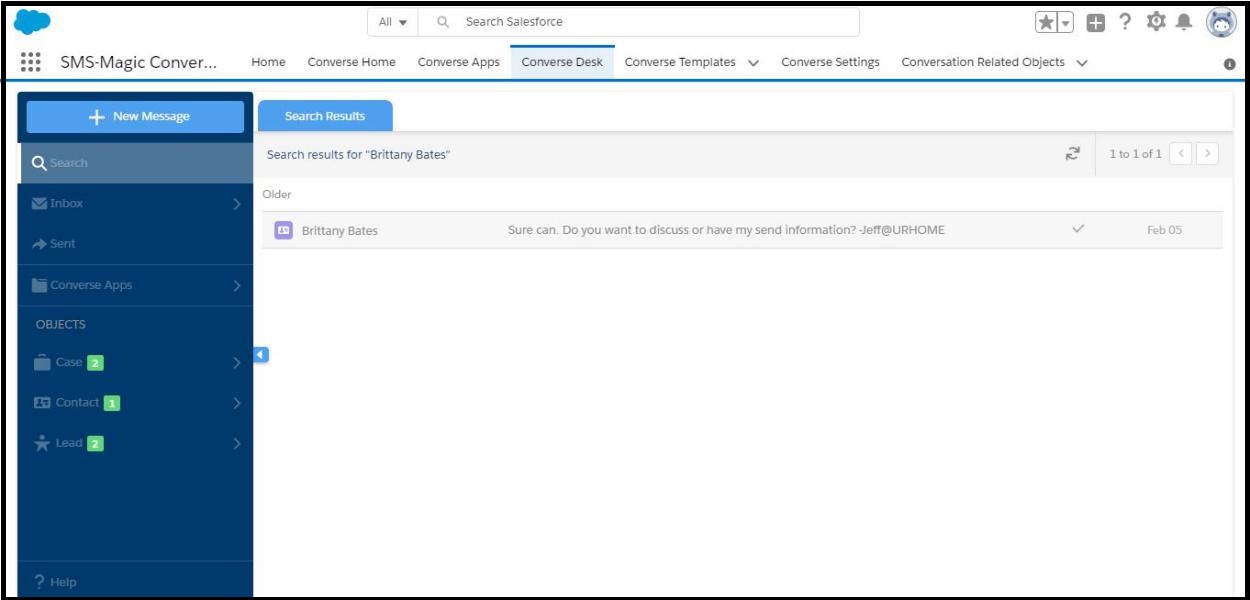
Search Conversations
- Log in to the SMS-Magic Converse.
- Click the Converse Desk tab.
- Type the first three letters or any three digits of the phone number in the Search field.
- Select from the displayed results.
- The conversation list view displays the possible matches.
 to refresh the Converse Desk view and check for new incoming messages.
Converse Home Dashboard
The following reports are available on Converse Home:
| Report | Description |
| Messages | Displays a count of all incoming and outgoing messages that have occurred within the last 30 days. |
| Conversations | Displays a count of all active and new conversations that occur within the last 30 days. |