1

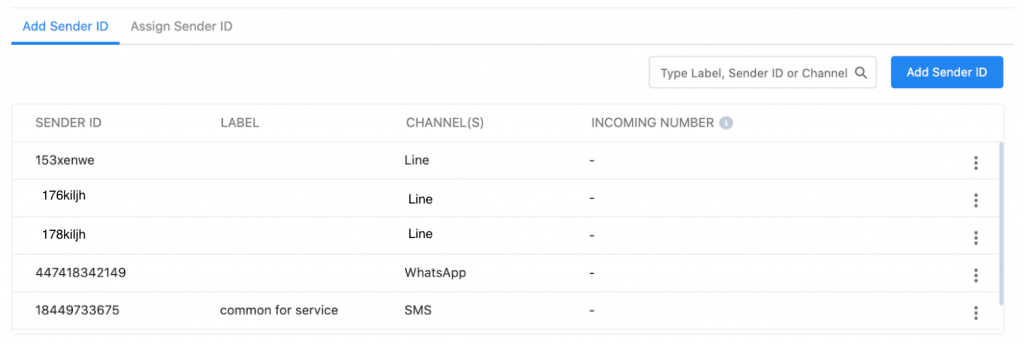
Operations with Sender ID

Edit Sender ID

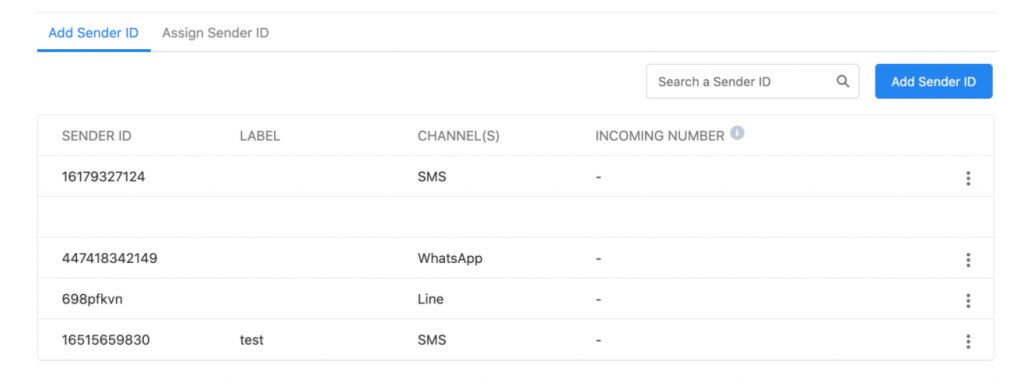
1. Click on the Options icon next to the Sender ID that you want to edit

2. Click on the Edit button. The Edit SMS Sender ID pop-up window appears:

3. Change the information as needed. Fields marked with a red asterisk are mandatory. Refer to the following table for more details on individual fields.

Field Description
Label A name to identify the new number or Sender ID.
Sender ID The number procured and assigned to the account.
Used For The Admin assigns how the Sender ID is used based on the requirements of the organization. The options are:• Both – The Sender ID is used for both incoming and outgoing messages.• Incoming – The Sender ID is used only for incoming messages.• Outgoing – The Sender ID is used only for outgoing messages.When you select this option you can associate another number with this Sender ID for sending incoming messages.
Description A brief description of the Sender ID.

4. Click on the Save button
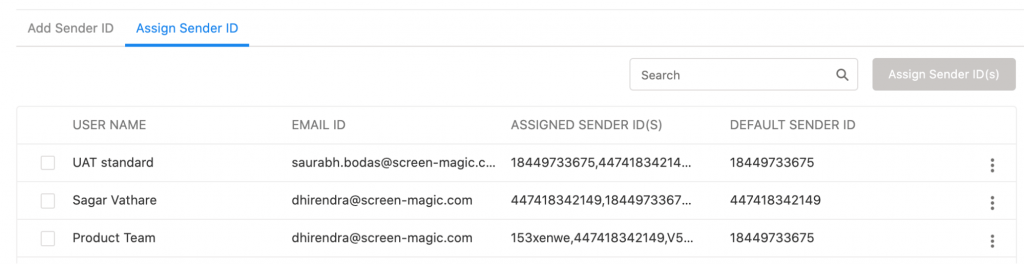
Assign Sender ID

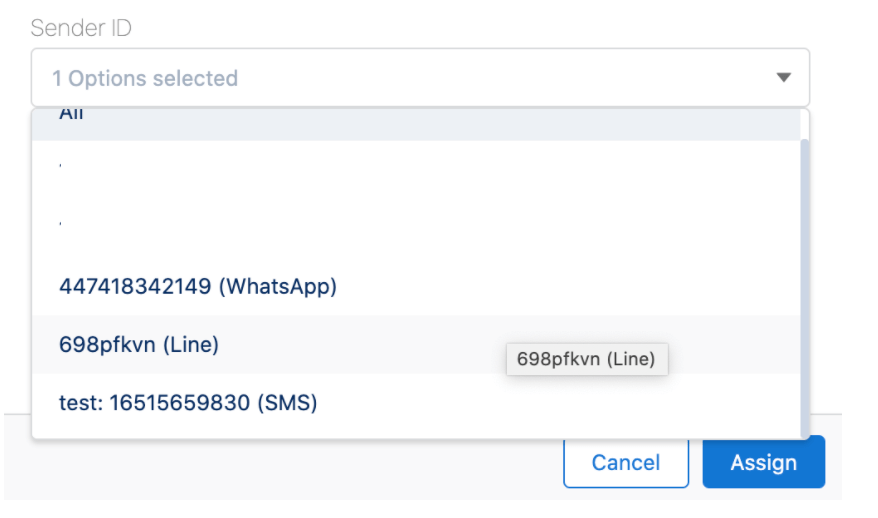
  1. Choose a Sender ID and click  and click on the ‘Assign to Users’ option:
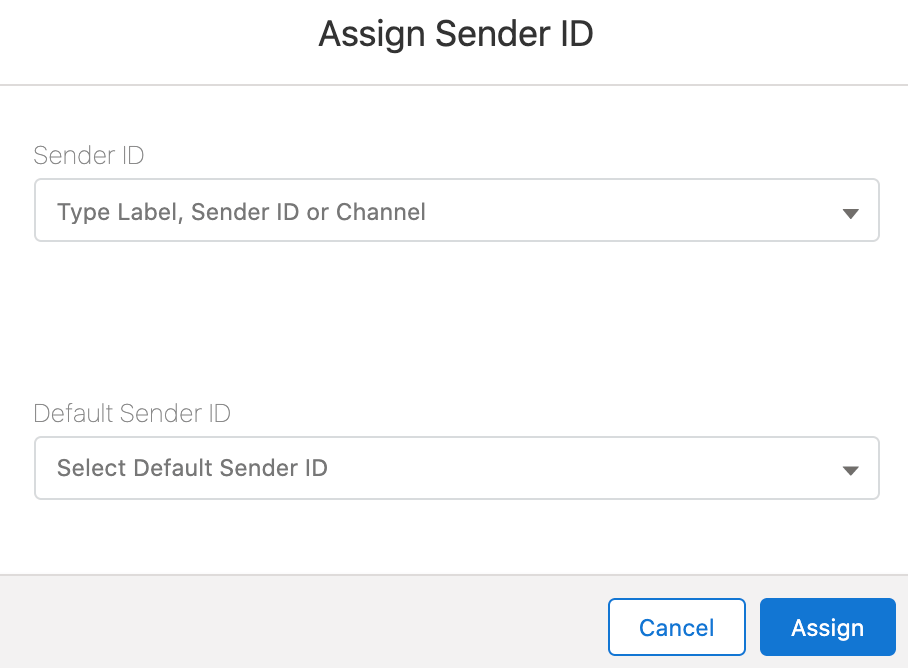
  2. The Assign to Users pop-up window appears:
  1. Search a user by entering the name or email ID. Enter at least 3 characters to search for users or profiles.
  1. Click on the Add button. The users or profiles are assigned to the Sender ID.
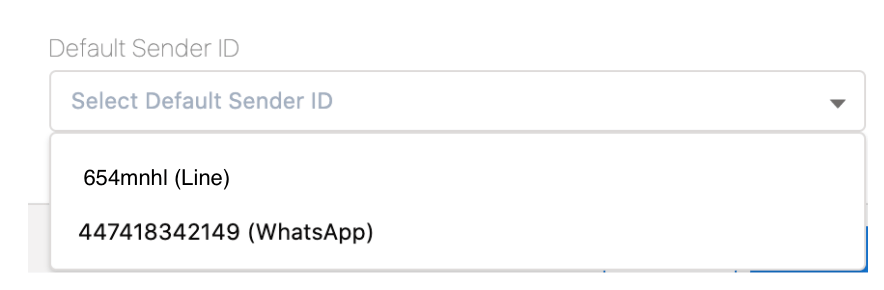
  1. This user will now see the default assigned Sender ID pre-selected across messaging interfaces

Manage Notifications

This section will help you enable notifications at the Sender ID level, which will in turn help you to stay up to date whenever you receive a message.

  1. Click  and click on the ‘Manage Notifications’ option to enable notification. The following window will appear:
  1. In the Manage Notification pop-up window verify the pre-filled details
  2. In Recipient, select the recipient who will be notified of receiving an incoming message. Refer to the following table for more details on the available options for notifying recipients.
Field Description
Don’t notify anyone The Sender ID does not receive a notification.
User assigned to Sender ID The user assigned to the Sender ID receives the notification.
Last Sender The last user of the Sender ID receives the notification. This is relevant when the Sender ID is assigned to multiple users or a profile.
  1. Select an Email Template if you wish to use some other template in place of the default template
  2. Select an Email ID if you wish to be notified through that
  3. Select the ‘Enable’ option from the drop-down list in the ‘Do you want to enable Email To Text setting’ field and a new drop-down appears
  4. Select an Email ID if required or continue with the default notification method
  5. Click on the ‘Save’ button
  6. Enable Notification on incoming using the toggle button

The above function can be managed from the Default Configuration Section when you click on the ‘Edit’ button as shown in the image below.


Overview

Sender ID is an alphanumeric name or number that appears on the mobile device and helps to identify the sender of the message. It can be a long code or shortcode that you assign to a single user, multiple users, or a profile. Inbound numbers should be used as the Sender ID to receive replies to your outbound messages.

There are some countries that allow you to send SMS with Alphanumeric Sender ID. To get replies you’ll need to procure an Inbound number and give reply instructions in the text of the SMS you send. For example, Dear Customer, Enjoy the Rewardz Festival on your Credit Card. To know more, SMS ‘JOIN’ to 5676756 and register now. For TnC, please visit https://short.link . Alphanumeric sender ID is not allowed in some countries including the U.S., Canada, and Brazil because of carrier regulations. Therefore, non-compliance to these local carrier regulations may prevent your messages from getting delivered.

You can configure Sender IDs for different organizations, teams, or individuals, or campaigns, or messaging programs to appear as you want on the customer’s mobile device.


Add and Assign Sender ID

With v1.64, we are giving users an ability to choose and assign Sender IDs on your own, of type ‘long code’ corresponding to the destination country selected. To procure and assign channel-specific Sender IDs or Shortcodes or toll-free numbers you will have to contact sales@sms-magic.com. To know more about bringing your own numbers/providers you can check details at link  BYON (Bring your own Number) or BYOP (Bring your own Provider)

Add Sender ID

1. Add Sender ID 

  • Click on the ‘Add SenderID’ button
  • If you have chosen a specific country as the destination for your messages, the country selection dropdown will be disabled
  • Users can select number type as ‘Long code’
  • Select the Sender ID(s) from the list displayed on the page
  • Click on the ‘Save’ button

2. For Destination Country= ‘All’ 

  • Click on the ‘Add SenderID’ button
  • If you have selected the destination country as ‘All ‘ in the Registration & Setup step from the Converse Setting considering you want to do messaging in multiple countries, the ‘Add Sender ID’ section allows you to choose a specific country; and on search, the associated country-specific Sender IDs will be displayed provided the number licenses for the selected country are available.
  • You can select the Sender ID from the search result and click on the ‘Save’ button to get the Sender ID assigned.
  • Repeat the same steps for the other destination countries where you want to assign Sender IDs.

3. Channel Type Assignment

On the Sender ID and Assignment section page, a table will display the ’Channel(s)’ for associated Sender ID.

Channel Type Assignment

To procure and assign channel-specific Sender IDs or Shortcodes or toll-free numbers, you will have to contact sales@sms-magic.com. Our support team will help you with the required information and configuration from our end. The channel type associated with the Sender ID will be reflected in the Sender ID & Assignment table.

The available channel types are:

  • Whatsapp
  • Facebook
  • LINE

4. Channel Type Assignment in Inbox

The Sender ID selection drop-down in the conversation view should display separate rows with Sender ID & channel information.

Channel type assignments in inbox

Assigne Sender ID

  • Assign Sender ID
senderid

Once you complete the steps for adding a Sender ID, you then need to assign it to the users. Click on the ‘Assign Sender ID’ tab, the following page will appear:

Assign SenderId

Here, you can see the details such as user name, email ID, default Sender IDs, and assigned Sender IDs. 

  • Click on the checkbox beside the user name to select one or multiple users
  • Click on the ‘Assign Sender ID(s) button. The following window will open:
Assign Sender ID
  • Select Sender ID, channel, or label from the ‘Sender ID’ dropdown field:
assignsenderid
  • Select the default Sender ID:
defaultsenderid
  • Click on the ‘Assign’ button to assign the selected Sender ID(s)