1

Overview

You need to organize and monitor your conversation status to adopt a better approach in resolving customer queries, avoid bottlenecks, retain customer engagement and generate better business.

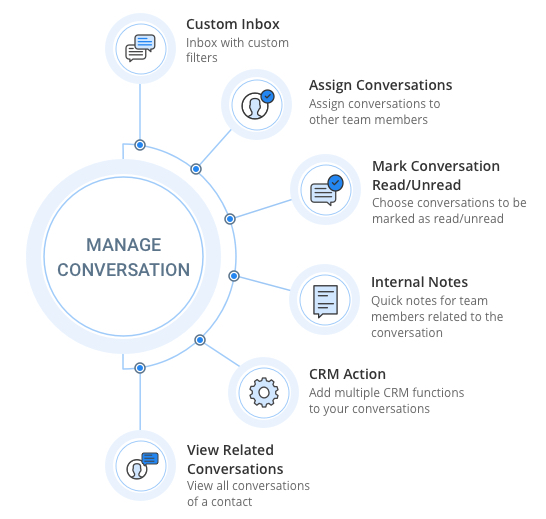
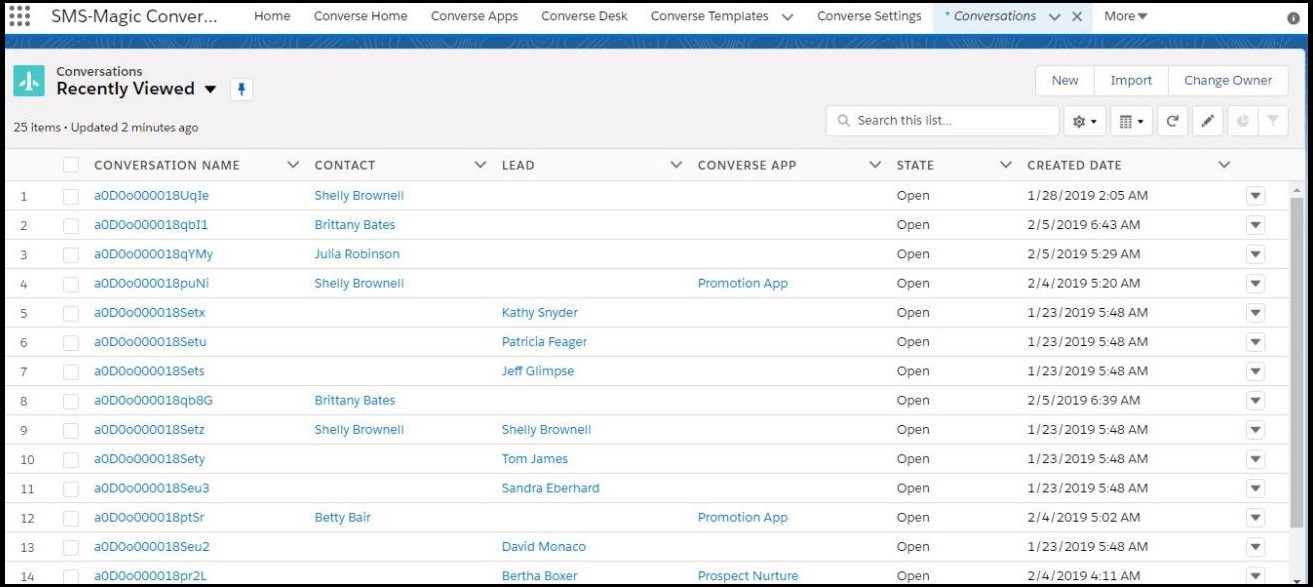
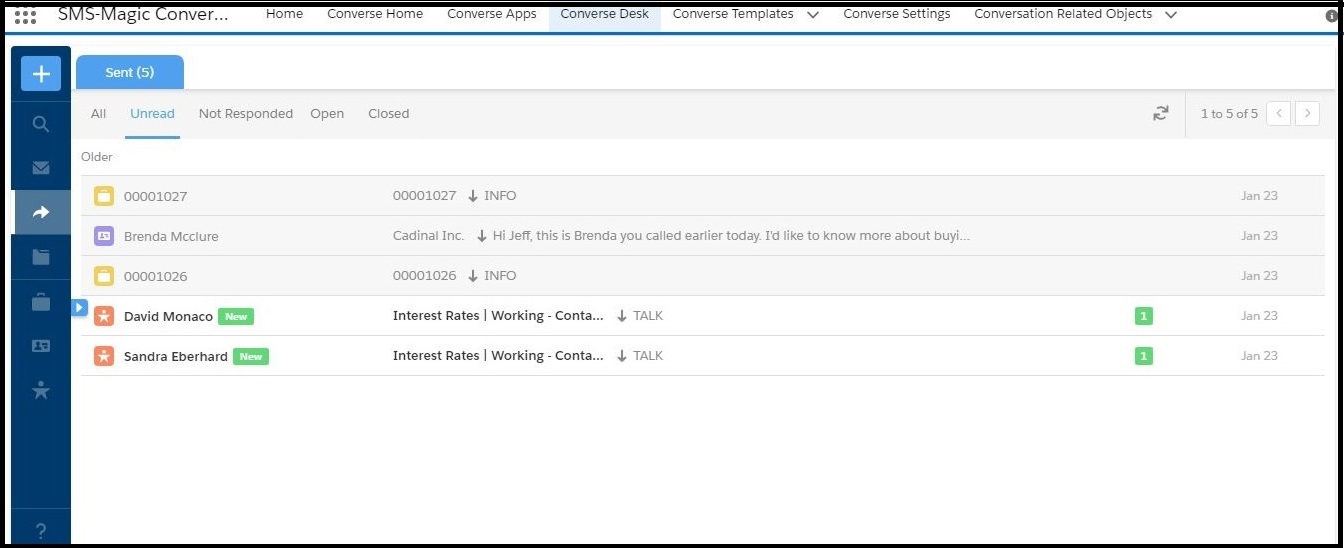
The Converse Desk provides you with multiple features to manage your conversations. This section will elaborate on ways in which you can manage conversations and will include:

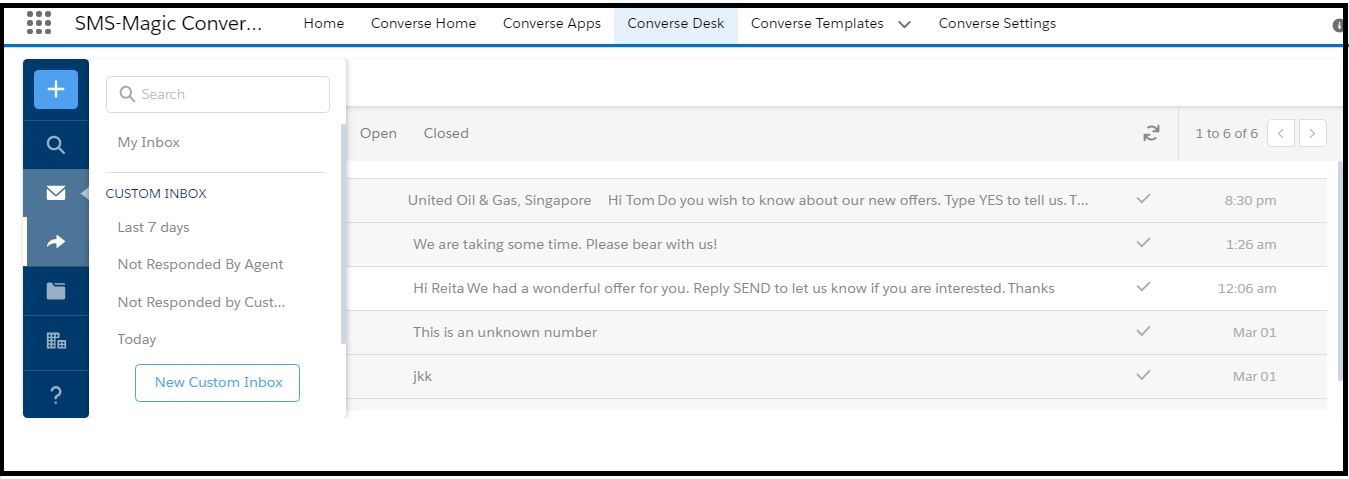
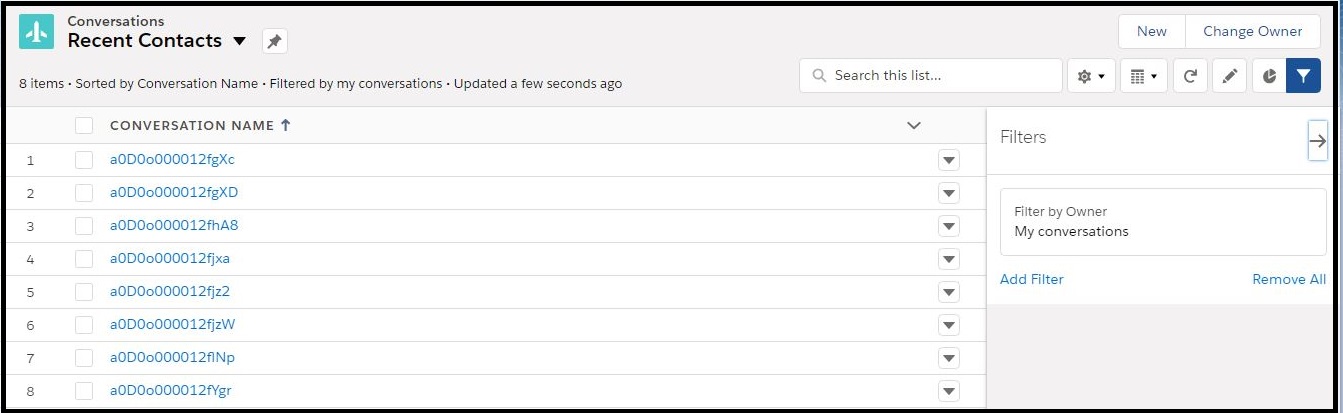
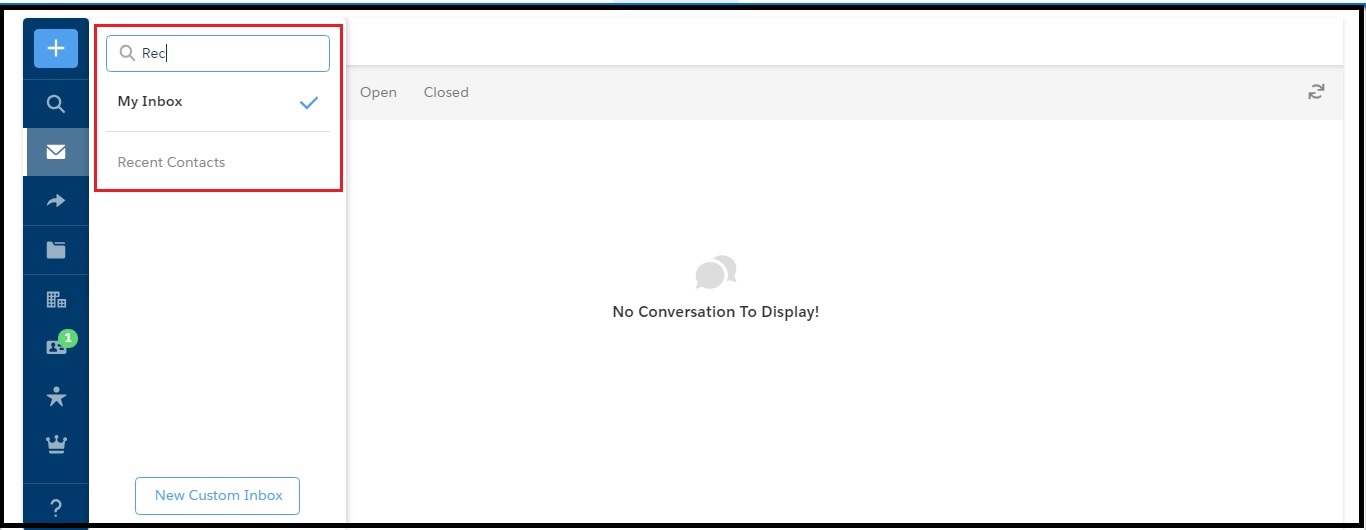
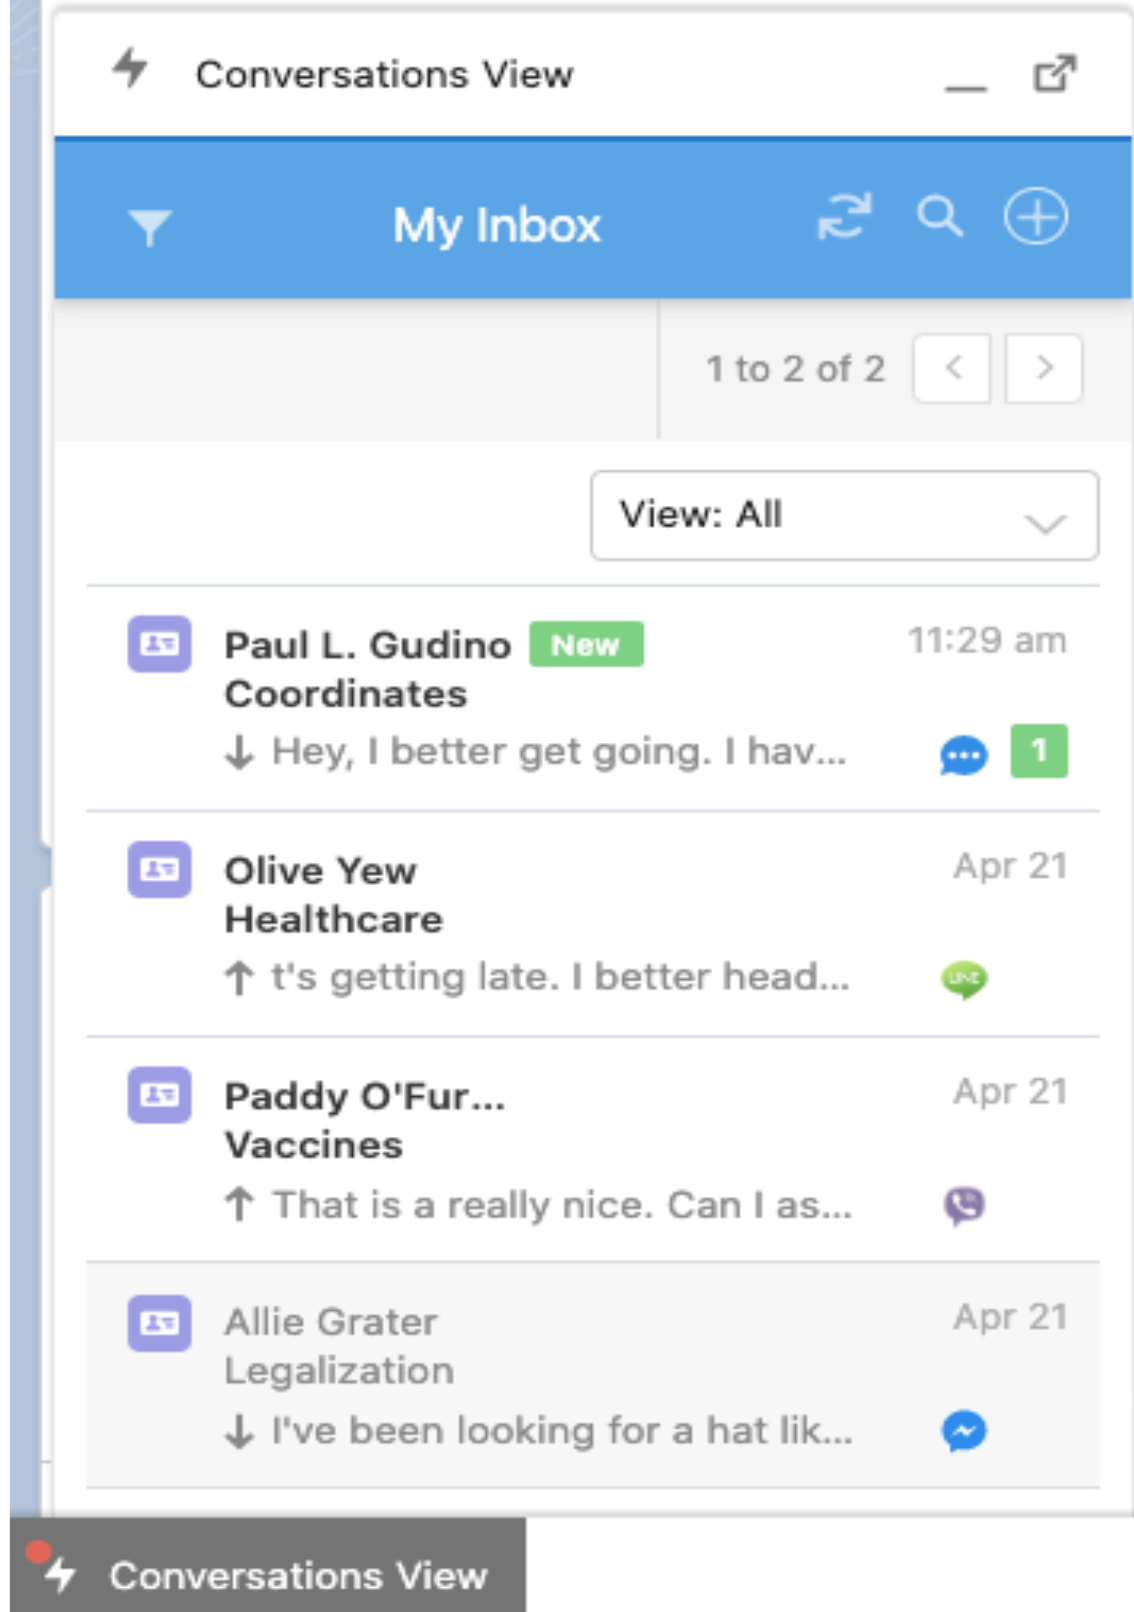
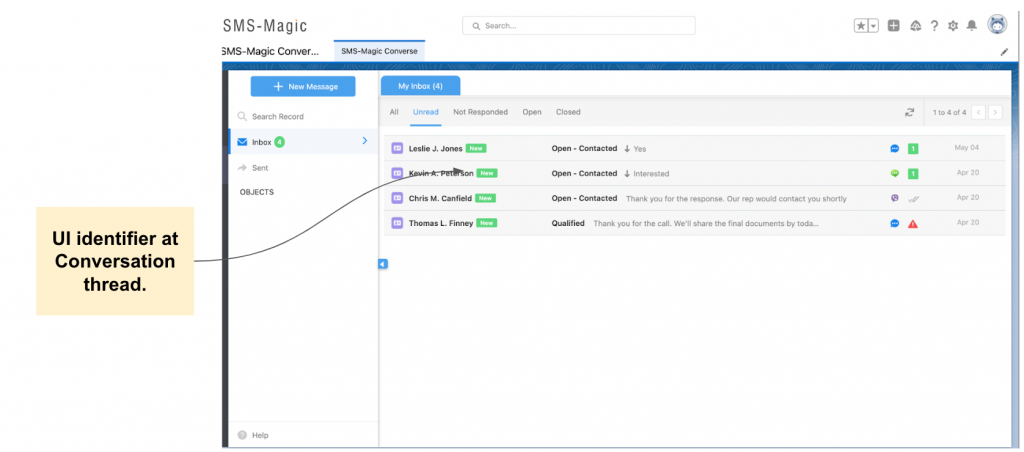
  • Creating a Custom Inbox – You can group multiple conversations under a single category that can be displayed as a list. These list views can be shared with multiple users forming a shared Inbox for all the selected users. SMS-Magic Converse provides a set of default list views to help you categorize your conversations based on your requirement.

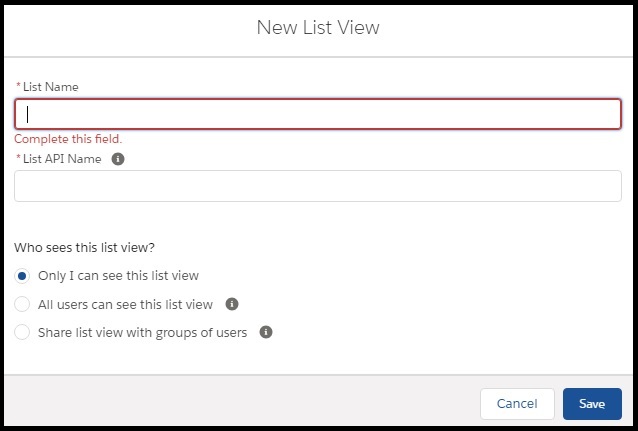
    You can create custom list views, also known as Custom Inbox, to meet additional requirements. You can define filters to specify how you wish to categorize conversations to be grouped under these Lists. You can change filter conditions to modify custom Inbox views.

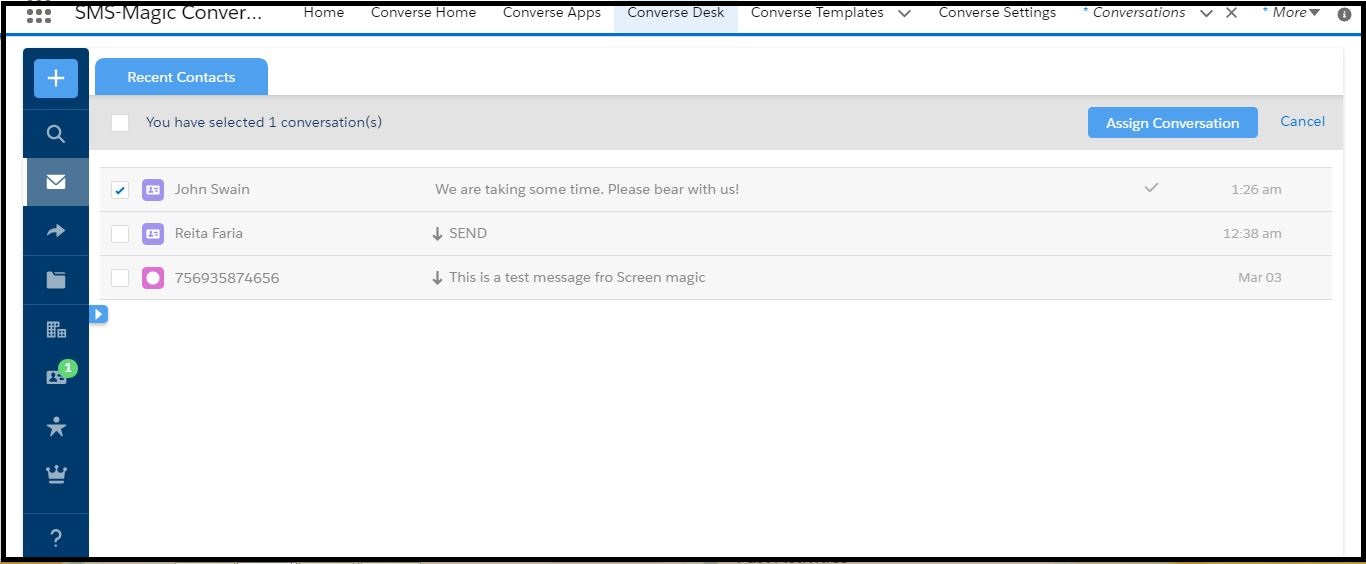
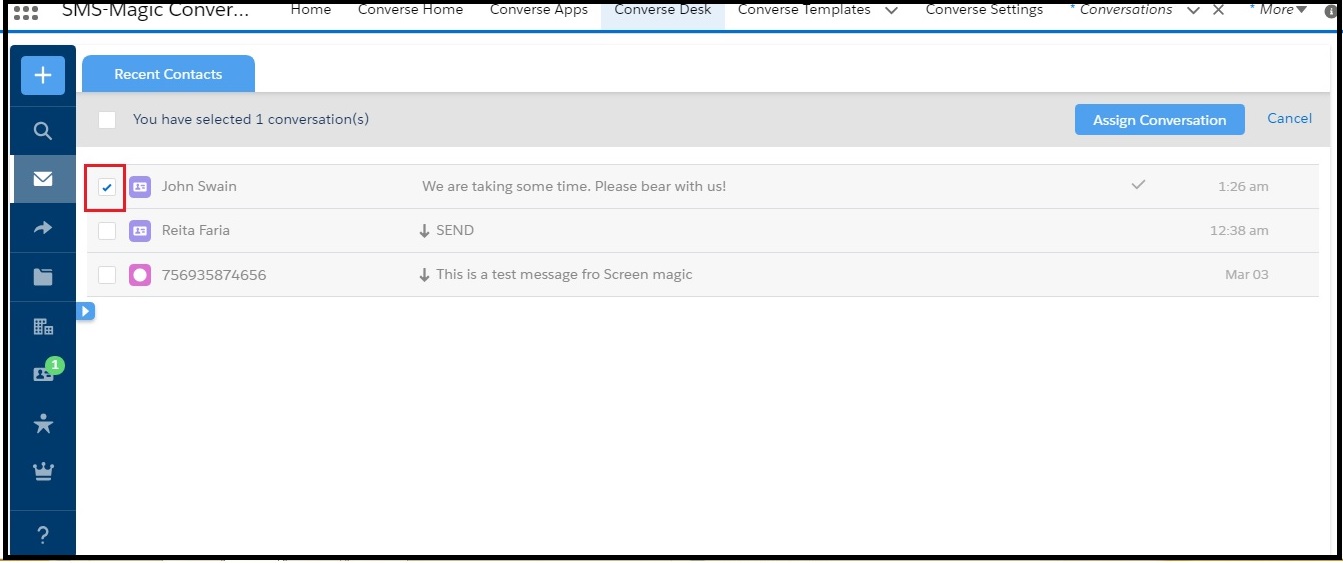
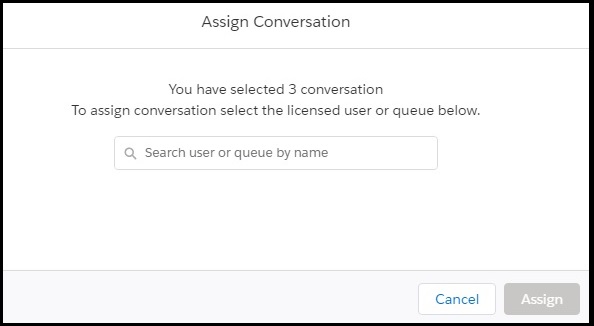
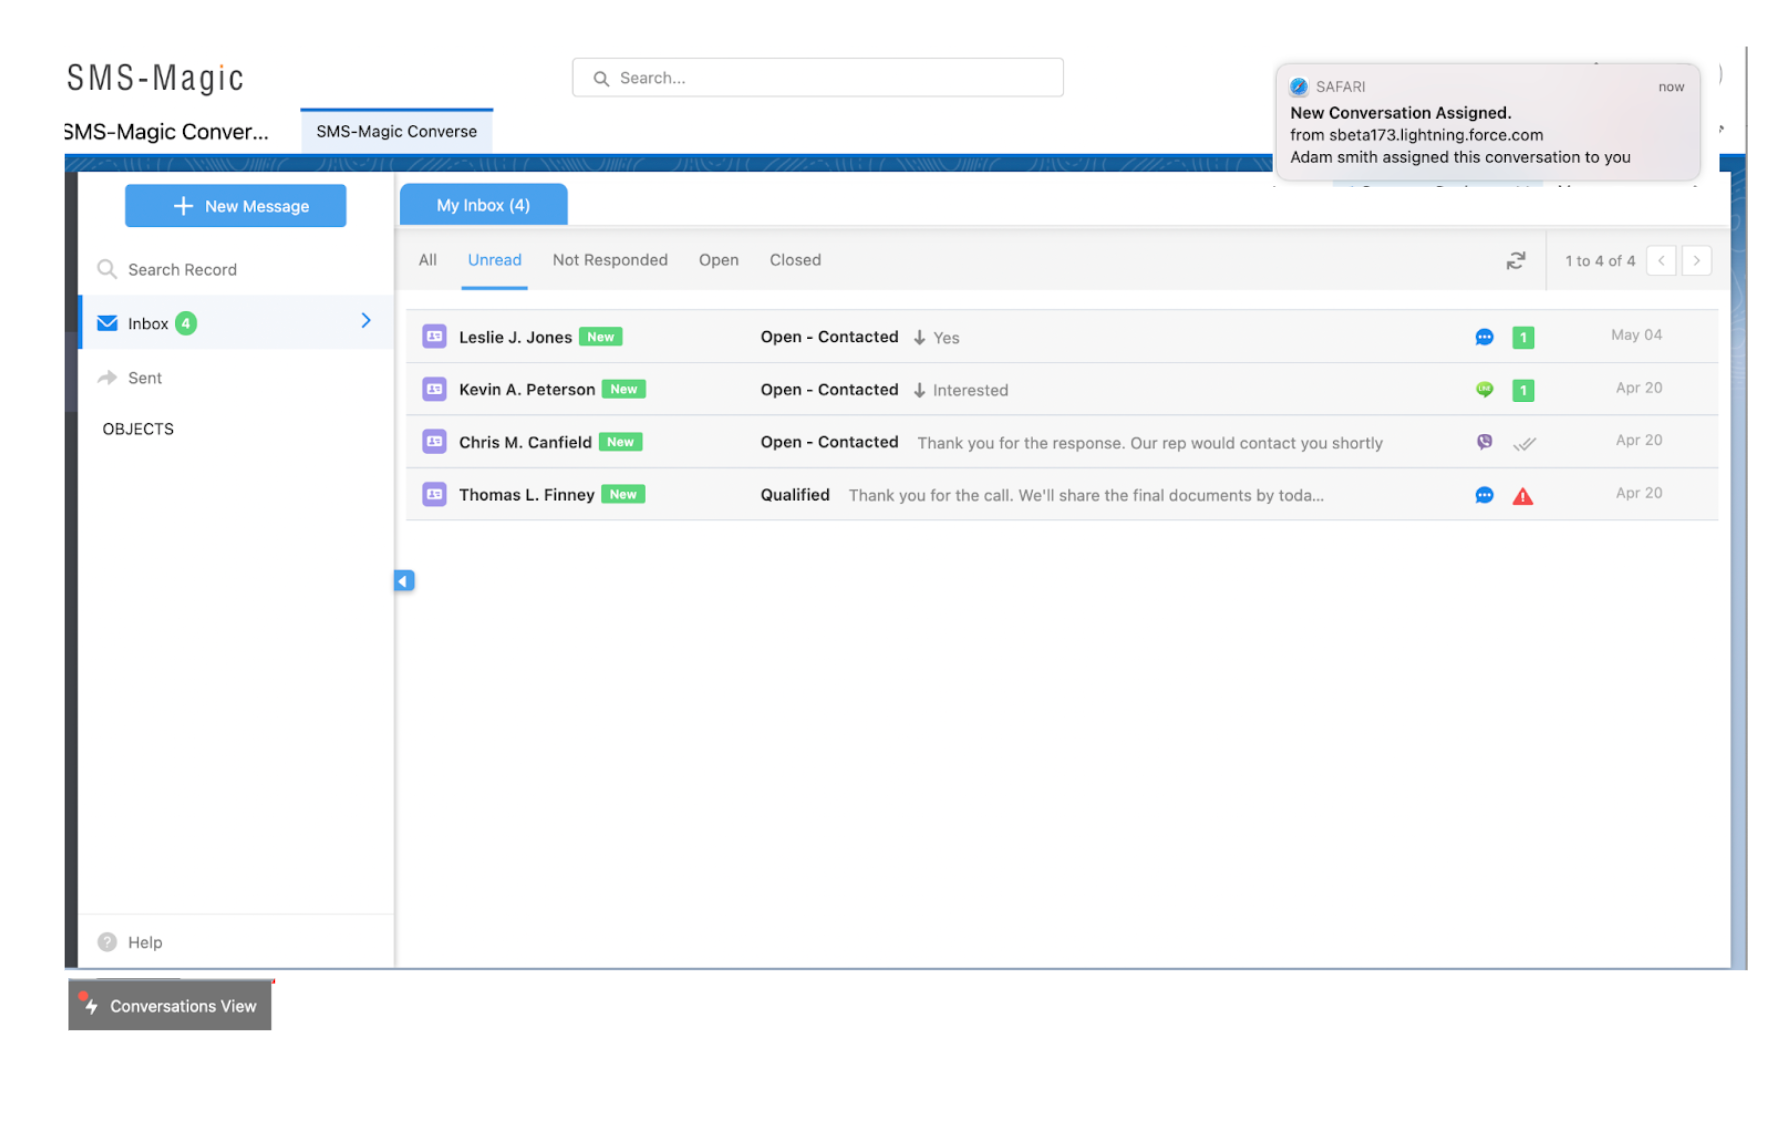
  • Assigning Conversations – You can assign any existing conversations to other users within your team if you are unable to resolve them. Once assigned, the conversations will be available in the Inbox of the assigned users for edits or modifications. You can select and assign multiple conversations to other users.
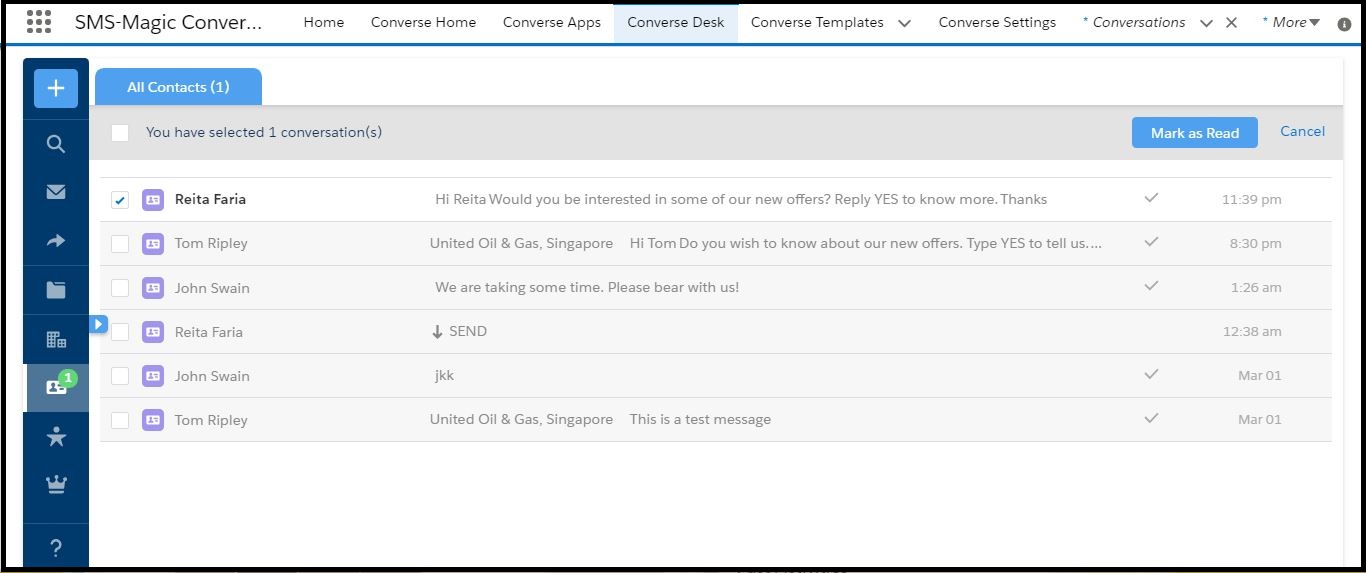
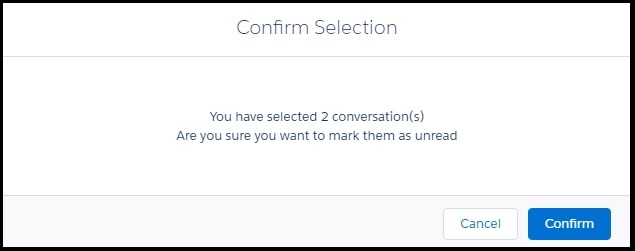
  • Marking a conversation as Read or Unread – You can mark all conversations that you have recently received, as “Read”. Similarly, all existing conversations can be marked as “Unread” to ensure that they are revisited by other members in your organization if required. The current version of SMS-Magic Converse also allows you to mark multiple conversations as read or unread based on your requirement.
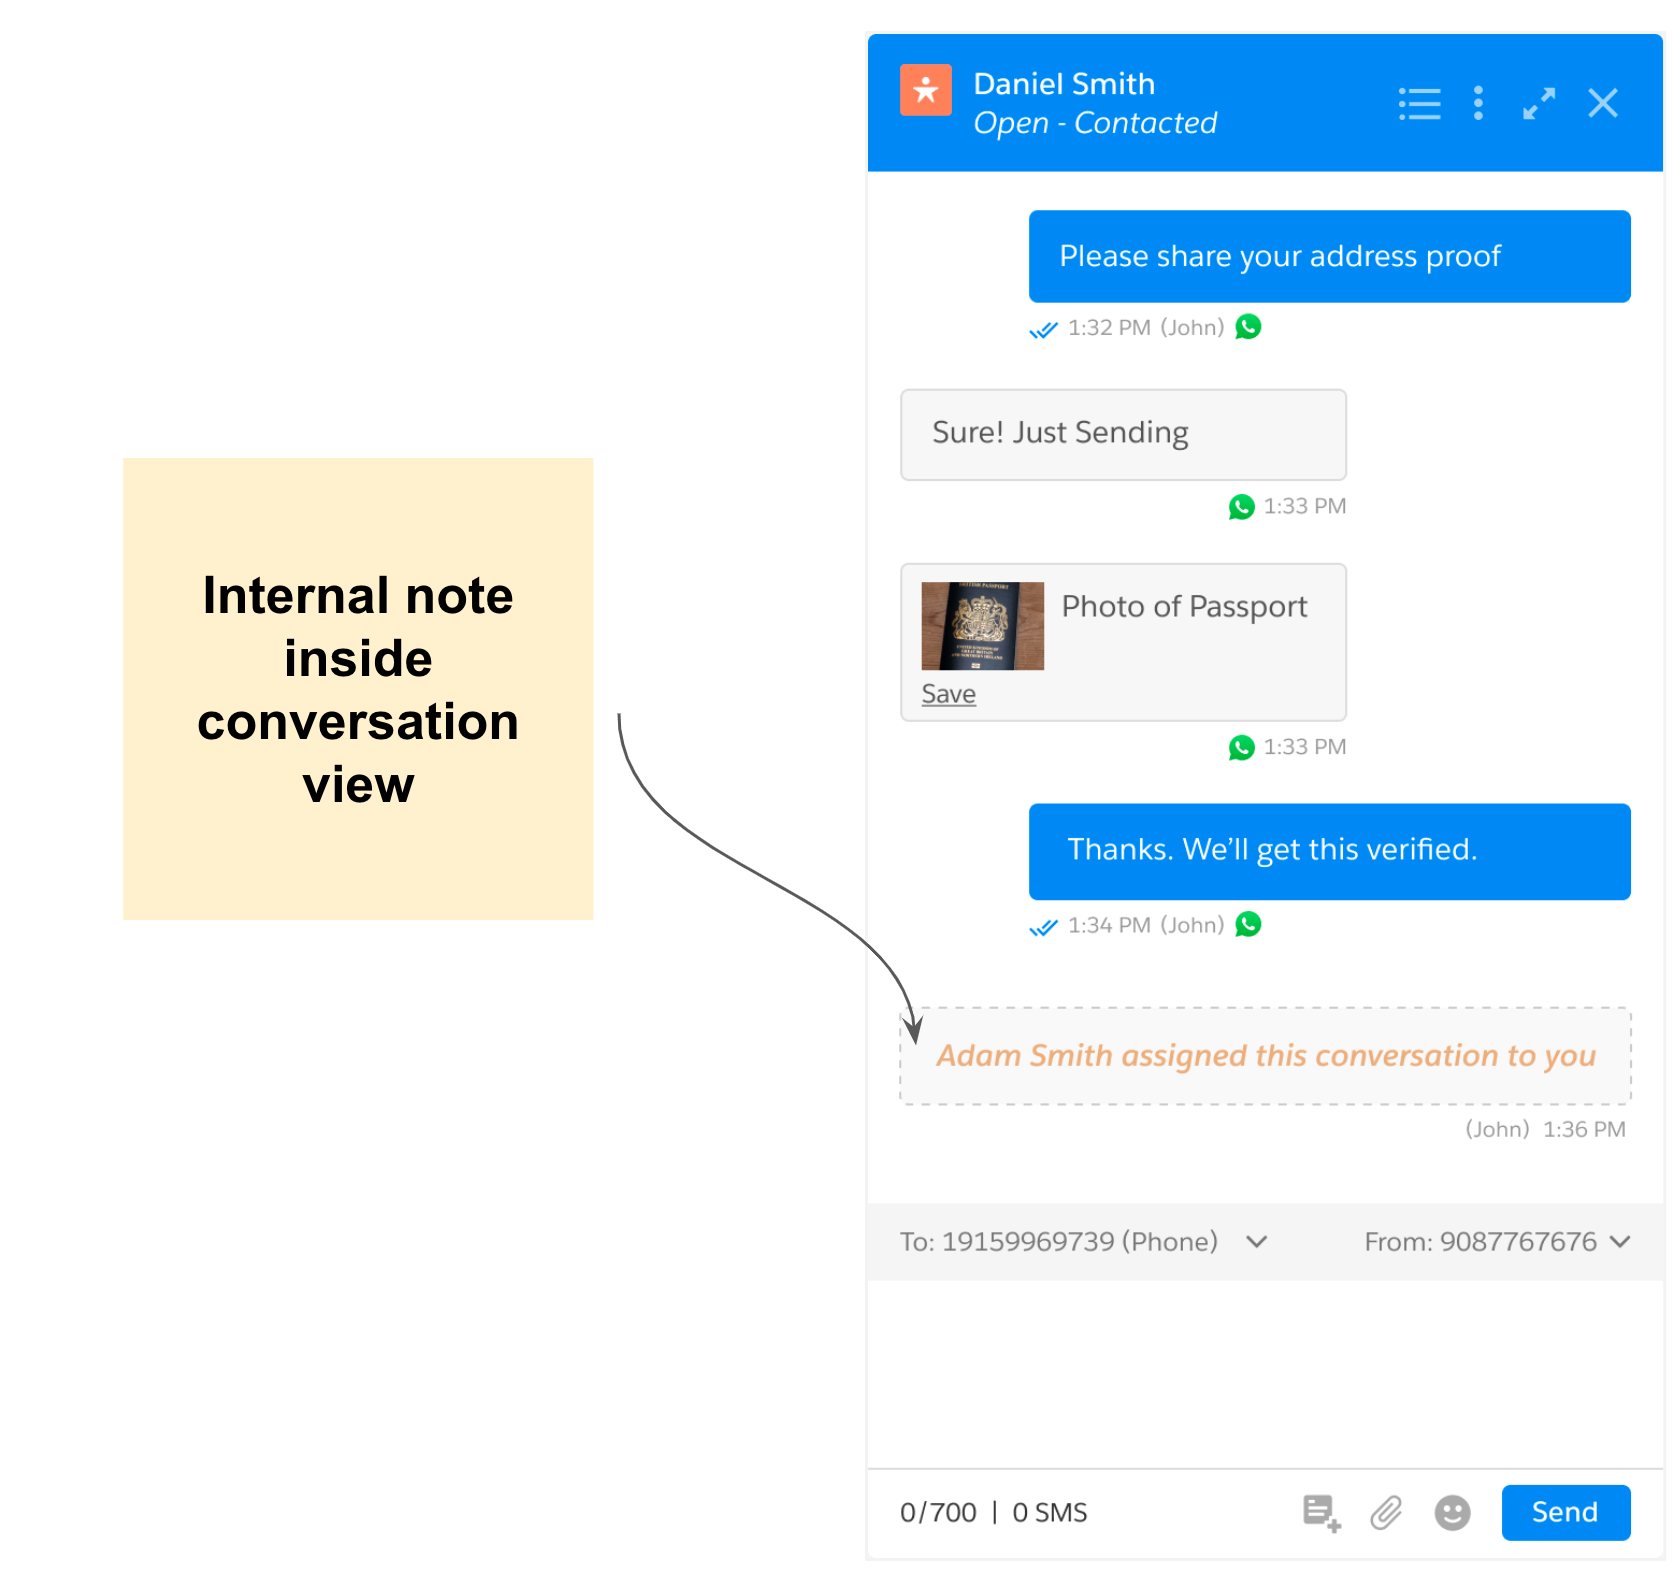
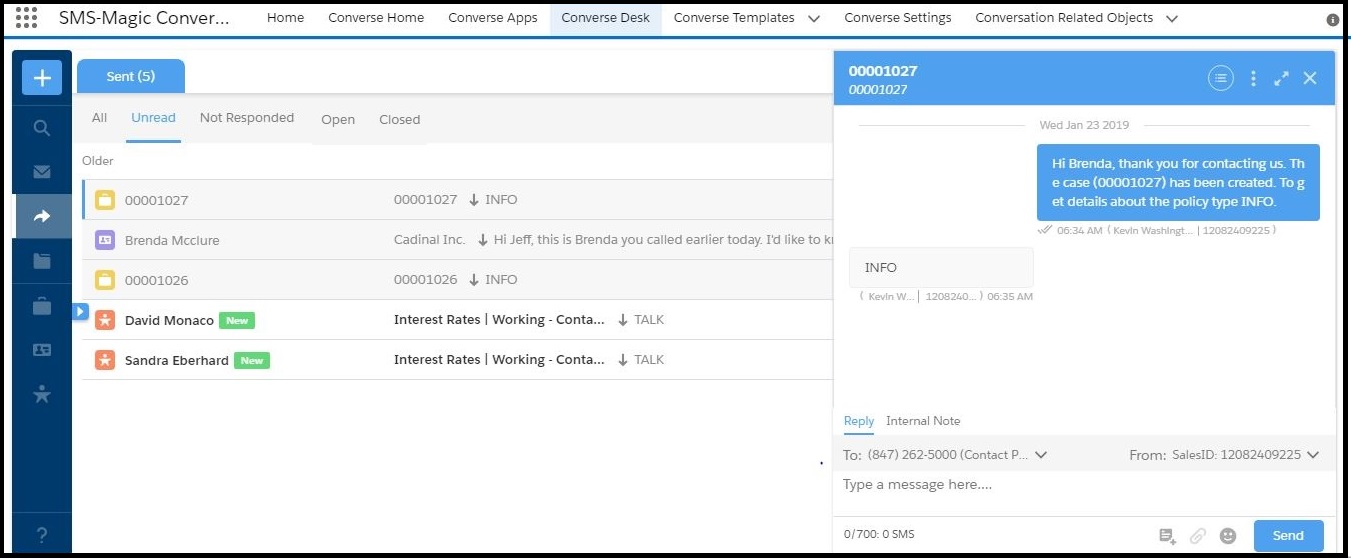
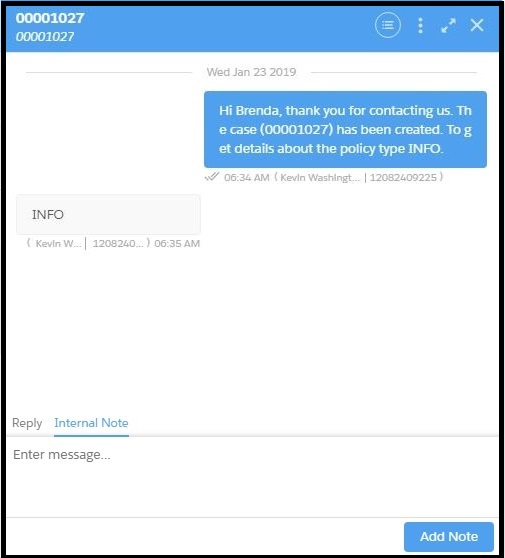
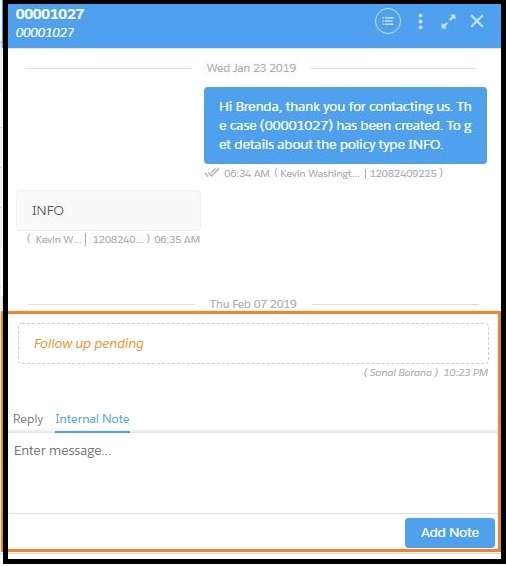
  • Adding an Internal Note to your messages – You can add private messages to the conversations that belong to you. These notes help to act as reference notes for you in carrying forward that conversation.
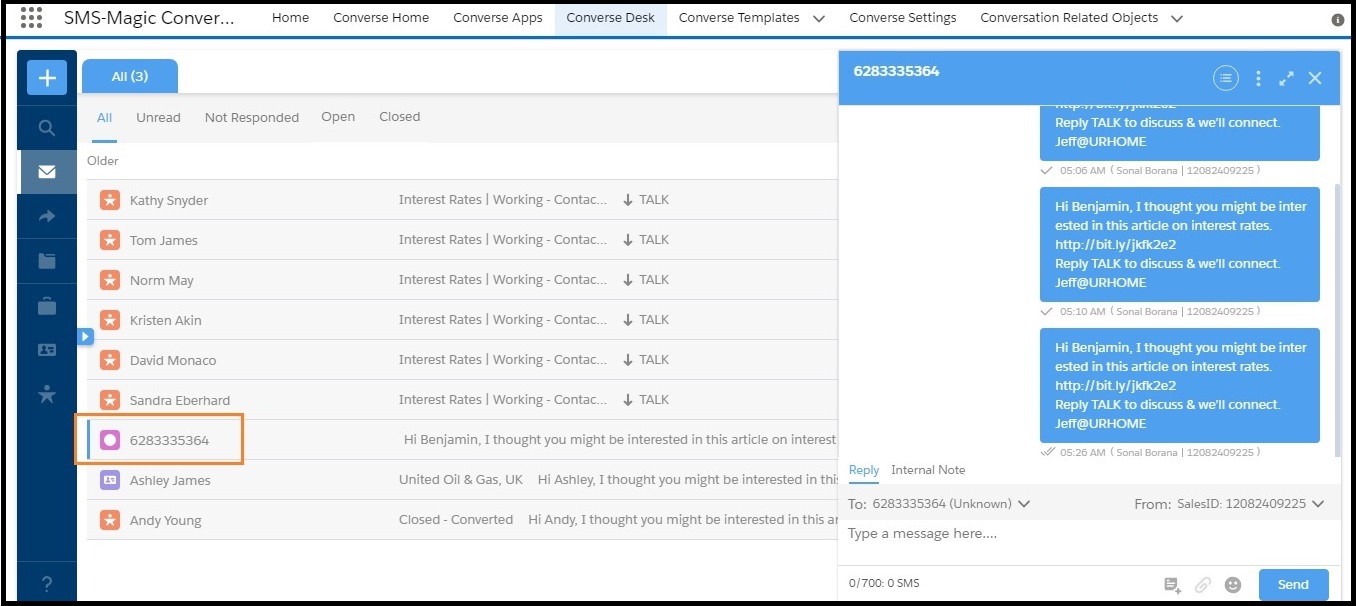
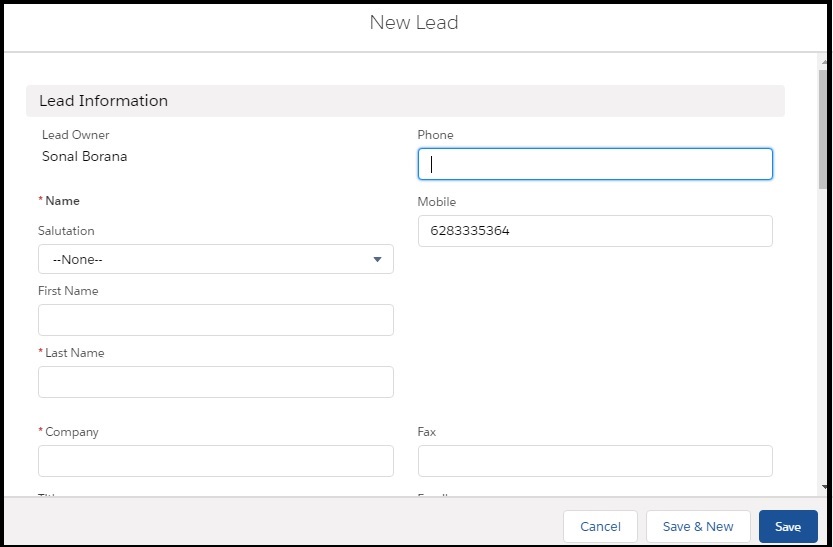
  • Converting Unknown Numbers to leads – You can now convert an unknown phone number to a lead. Any conversation initiated from a number that is not in your current contact list can be included in your lead database as a new lead. The existing conversation, however, will continue to reflect the unknown phone number even after you convert it into a lead. You can begin a new conversation trail with the newly converted lead.
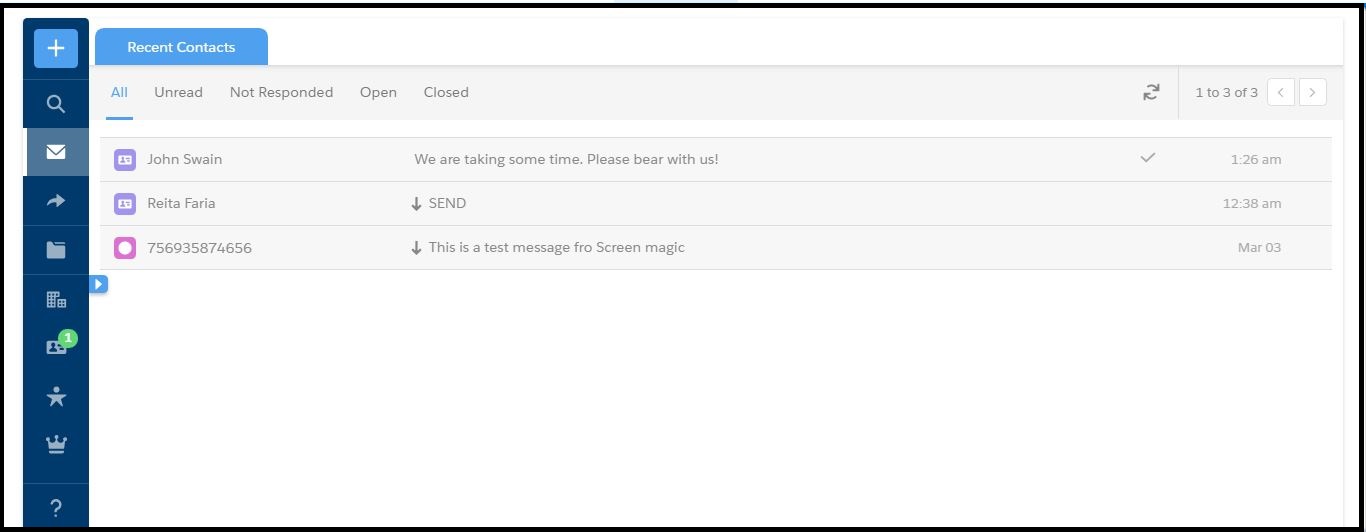
  • View Relevant Conversations – SMS-Magic Converse allows you to get a complete view of all conversations that have been created for a primary object. This includes all conversations that are created with the object’s parent records as well as those with its related records. This is known as viewing a related conversation.

    In other words, under Related Conversation, you can get a complete snapshot of all conversations that are related to the primary object record.

    For example, if you are viewing the conversation of a contact which is a child of the Account object, you will be able to view the conversations that the contact has had with other contacts in the same account as well as if there are any cases that the contact is handling within that account.  

  • This feature is out of the box for all standard objects. However, if you wish to use custom objects for viewing related conversation, you need to configure the relationship manually.
  • The CRM Action New Lead has to be enabled in the Converse Settings for the object Unknown. Contact your System Administrator to complete the configurations.
  • Internal Notes are visible to the conversation owner and the team manager. Other users can view these notes only if they are provided with relevant permissions.


Create a Custom Inbox

  1. In Converse Desk, click Inbox. The list of conversations appear.
  2. Click New Custom Inbox. The Default list view appears under the Conversations tab.
  3.  

    To view this feature, the Custom Filter should be selected while configuring the Converse Desk Layout. Contact your System Administrator to enable this feature.

  4. Click to change list view to All from the header.
  5. Click and then click New under the List View Controls menu that appears. The New List View appears.
  6. Under List Name, enter the name you want to assign to the list.
  7. Under List API Name, enter the API name for the list.
  8. Select the user group to whom you want to make this list available. The available options are:
    • Only I can see this view – Click this to make the list view available to you
    • All users can see this list view – Click this to make the list view available to all users in your organization
    • Share list view with group of users – Click this to make the list view available to selected teams within your organization. You can select the relevant teams from the list that appears.
  9. Click Save. The custom list view is created and the filter screen appears.
  10. Click Add Filter. The add filter fields appear.
  11. Under Field, click the drop-down menu to select the field by which you want to filter conversations for including it in the list view.
  12. Under Operator, click the drop-down menu to select the filter operator.
  13. Under Value, enter the value by which you want to filter the conversations.
  14. Click Done. The filter conditions appear as shown.
  15.  

    You can add a filter logic to select more specific conversations.
  16. Click Save to create the custom Inbox.
  17. On the Converse Desk, click Inbox. The available lists appear.
  18. Search for the Custom Inbox view you have created. The search results appear.
  19. Click the custom Inbox list view name you have created. The conversation list appears.


Assign Conversations

  1. On the Converse Desk, select a filter. The conversation list appears.
  2. Click on the conversation row you want to assign and then click Assign Conversation from the drop-down menu that appears. A selected check box appears next to the conversation.
    • You can also click the icon on the individual message reply panel and then select assign conversations from the drop-down menu that appears to assign single conversations.
    • All users to whom you assign conversations need to have full read permissions. Contact your System Administrator to understand the permission status of individual users.

  3. Select all the conversations that you want to assign.
  4. Click Assign Conversation. The Assign Conversation dialog box appears displaying the number of conversations you have selected for assigning.
  5. In the search box, enter the first three initials of the user to whom you want to assign the conversations.
  6. Select the user name.
  7. Click Assign. The selected conversations are assigned to the user.
  8. The user to whom the conversation is assigned will receive an email notification.

    Conversation Reassignment Notification.


    Here on the top right-hand side of the page, you can see a notification with a message (New Conversation Assigned). The users will be notified that new conversation has been reassigned.


New Conversation Assigned on Utility Bar

Conversation users can now act immediately on the conversations that are assigned to them, thanks to the conversations reassignment updates and notifications on the web, utility bar, thread, and internal note.

  • Click on ‘Converse Desk’ the following page will appear:

Here, as you can see, once a conversation is assigned, a notification with the message ‘New Conversation Assigned‘ will be displayed. The users will be notified that a new conversation has been reassigned.


Mark Conversations

  1. On the Converse Desk, select a filter to view conversation lists. The list of conversations appears.
  2. Click on a conversation row marked as new and then click Mark as Read on the drop-down menu that appears. A selected check box appears next to the conversation.
  3. If the conversation has already been read but you wish to reopen it for further resolution, then you can mark it as unread. The drop-down menu for all such conversations displays Mark as Unread.

  4. Select all conversations that you want to mark as read or unread. The Confirm Selection pop-up window appears.
  5. Click Confirm. The following scenarios occur:
    • If you mark conversations as read, they will no longer be highlighted as New and are moved out of the Unread folder.
    • If you mark conversations as unread, the selected conversations are highlighted in the list view as New and can be viewed under the Unread folder.


View Related Conversations

  1. On the Converse Desk, select a filter to view conversation lists. The list appears.
  2.  

  3. Click a conversation for which you want to view the related conversations. The Message Reply panel appears.
  4.  

  5. Click located on the top right corner and then click Related Conversation from the drop-down menu that appears. The Related Conversations appear.
  6.  

  7. Click any one conversation in the timeline and view the conversation thread.
  8.  

    • Click Back to Related Conversations to return to the related conversations window.
    • On the Related Conversations window, click to return to the message reply panel.


Save an Unknown Number as a New Lead

  1. On the Converse Desk, click a conversation with an unknown phone number. The message reply pane appears.
  2.  

  3. Click on the reply panel header and click New Lead. The New Lead pop-up window appears.
  4. The mobile number is pre-filled in the mobile field.
  5. Enter the details for the new lead.
  6. Click Save.


Create an Internal Note

  1. On the Converse Desk, select a filter to view conversation lists. The list appears.
  2. Click a conversation to view it in the Reply panel.
  3. Click Internal Note located above the message area. The Internal Note area appears.
  4.  

  5. Enter the message you wish to add as a note.
  6. Click Add Note. The message appears within the reply panel as shown.