How to Use Custom Inbox
Custom Inbox
A custom inbox is nothing but the list views (with custom filters/lists) created on objects. The custom inbox appears as a sub-menu of the My Inbox menu in the Converse Desk.
NOTE: Users will be able to access the Custom Inbox only when the Custom Filter checkbox is enabled in the Converse Desk Layouts sub-menu in Conversations, under Converse Settings. Whoever has access to Conversation Object, will be able to create Custom Inbox.
Steps to use the Custom Inbox
- Login to your Salesforce Org using valid credentials. The following page will appear:
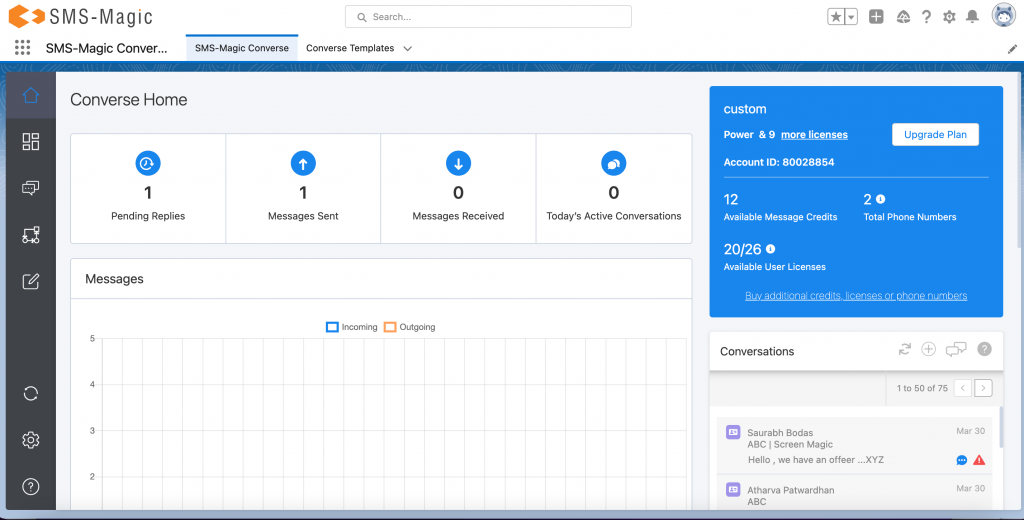
2. Go to Converse Desk:
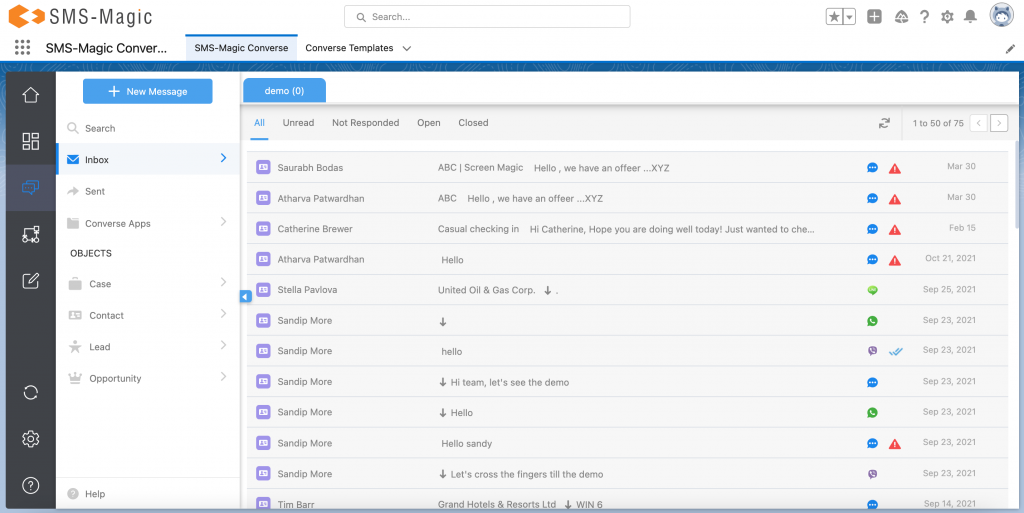
3. Click on the ‘Inbox’, the following page will appear:

4. As the ‘Custom Filter’ was configured and the required filters were added, you will be able to see the Custom Inbox as shown below:
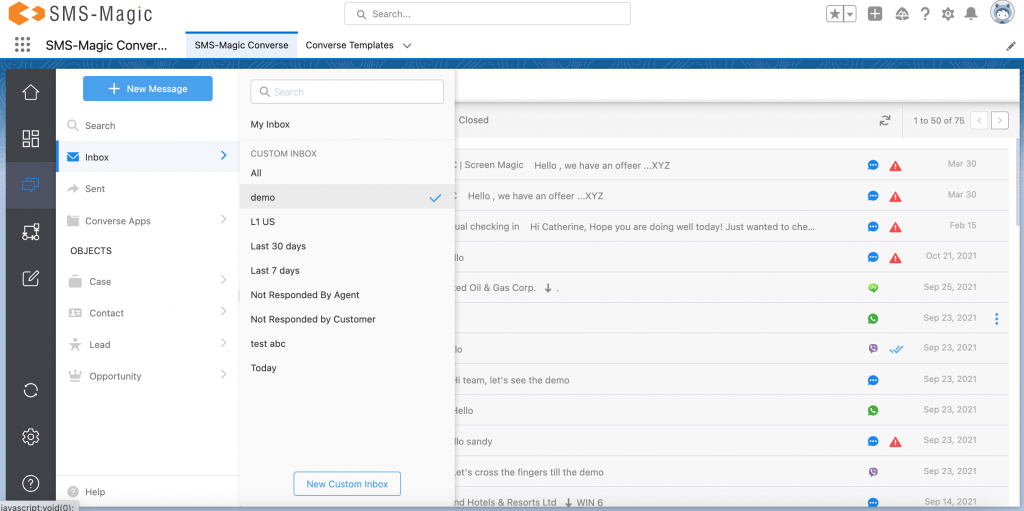
5. For the custom inbox, you can create a list view as per the filter criteria that you want to set. For instance, here as you can see, the custom inbox includes list view items such as All, Last 30 days, Last 7 days, and so on.
6. Click on the ‘New Custom Inbox’ button, the following page will appear:

7. Here you will be able to see all the conversations in the custom inbox. To create a new list view, click on the small gear icon next to the search field and then click on the ‘New’ button. The following page will appear:
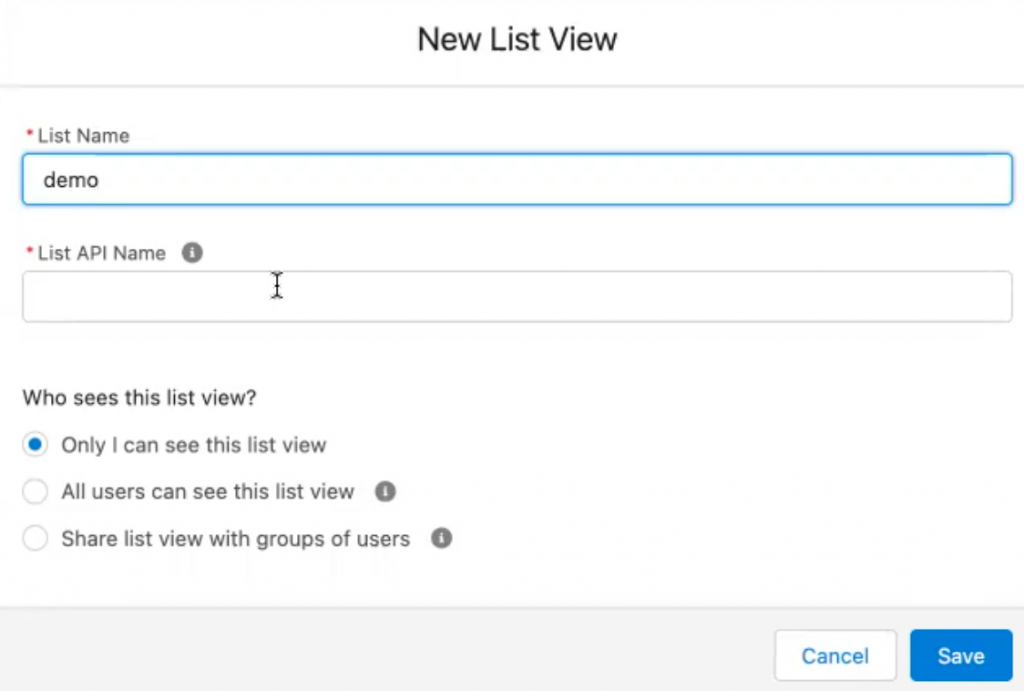
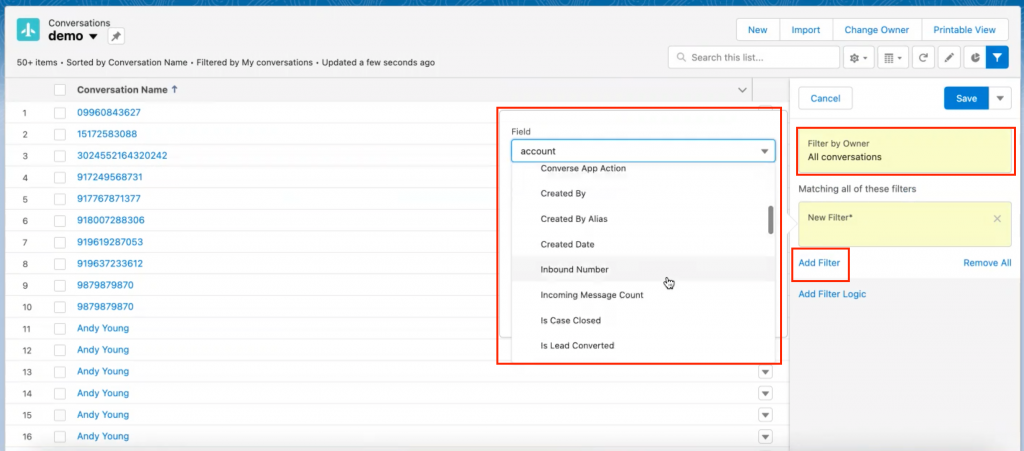
8. Enter the name for the new list view and enter the list API name in the respective fields. Click on the Save button to proceed. The conversations list view page will appear. Here you need to click on the ‘Filter By Owner’ option on the right. Create a new filter and save, as shown below:
9. Once the filters are added, the list view will be updated and it will be available in the Custom Inbox. Whoever has access to Conversation Object, will be able to create Custom Inbox.