Overview
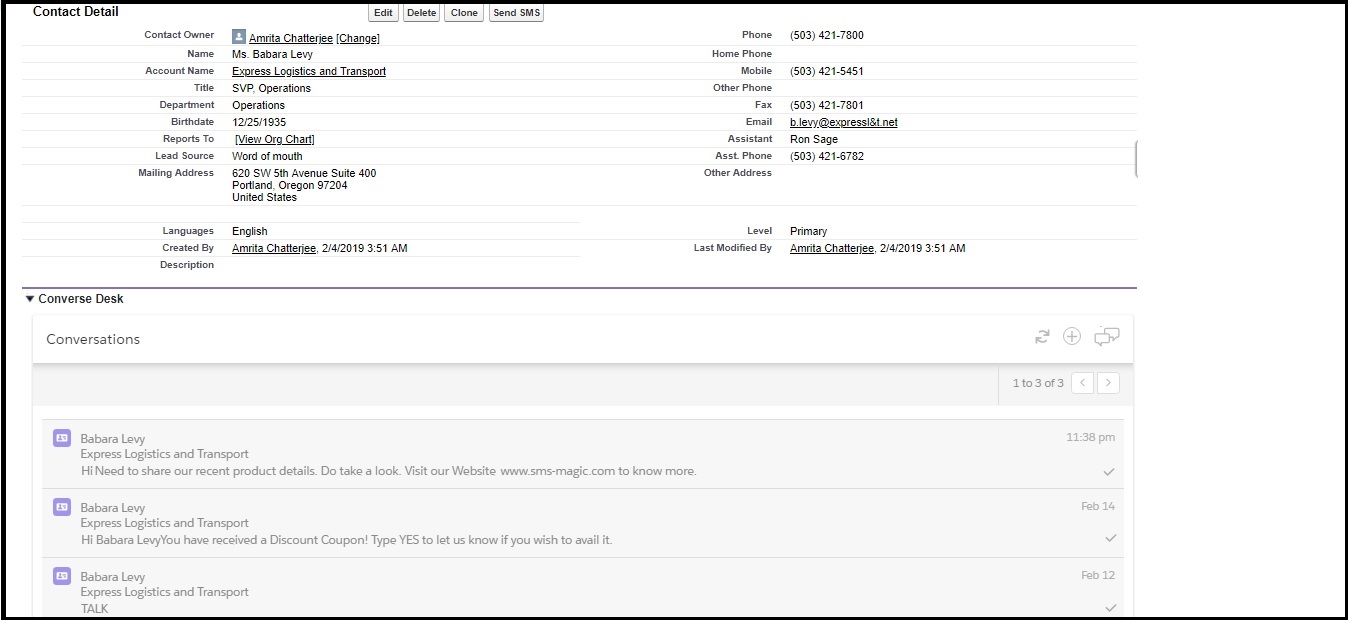
You can get notified about incoming messages from multiple places when you use Converse Inbox. Converse Inbox (available with Grow) shows a list of all SMS Conversations and prompts or alerts on a new message, in a single list inside Salesforce very much like an email Inbox.
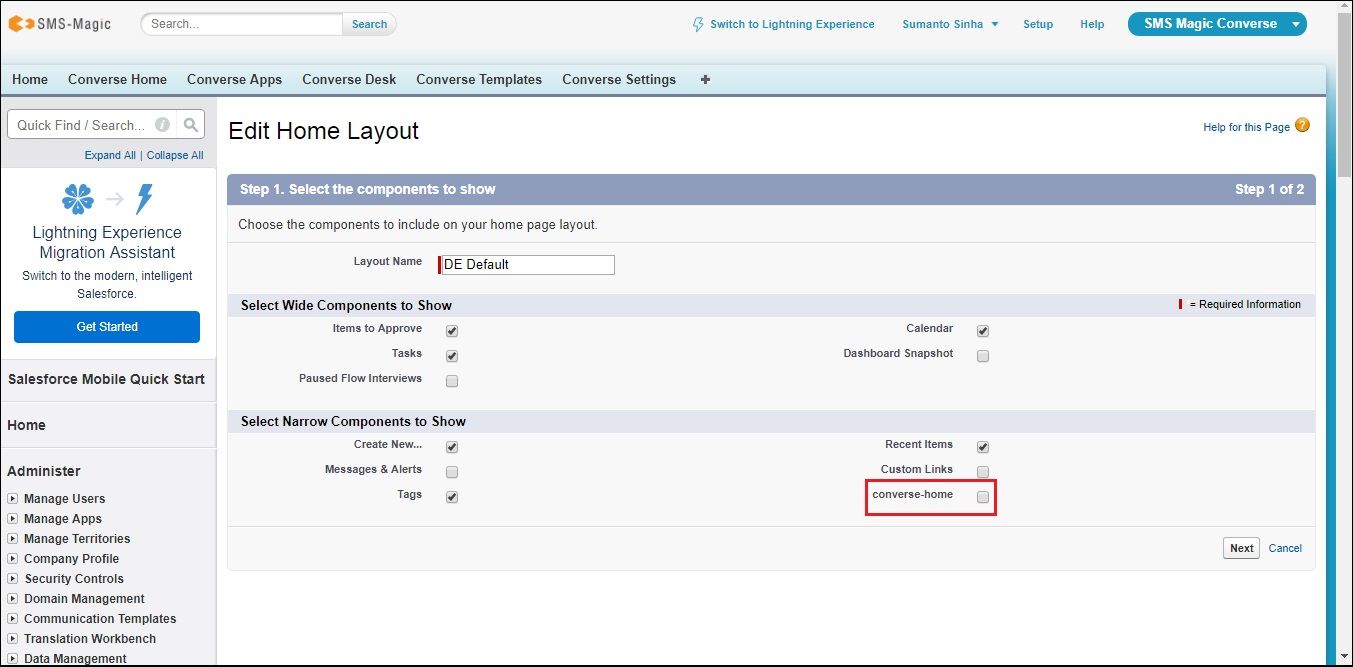
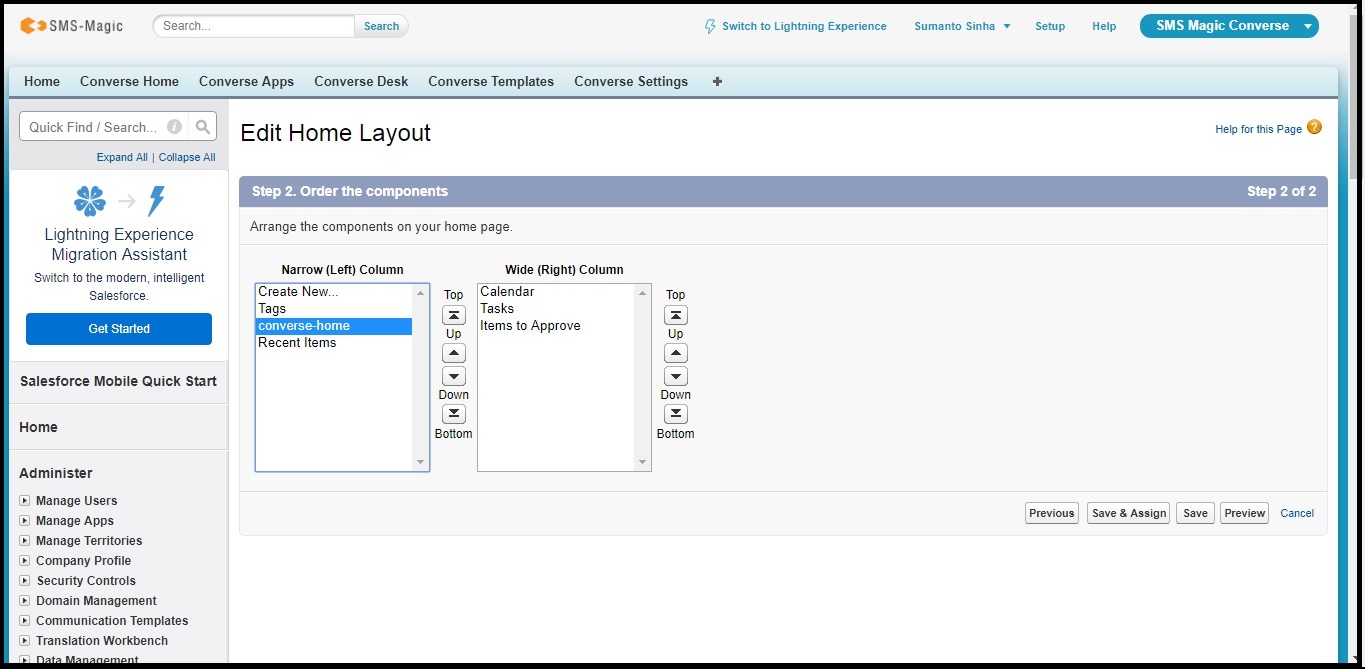
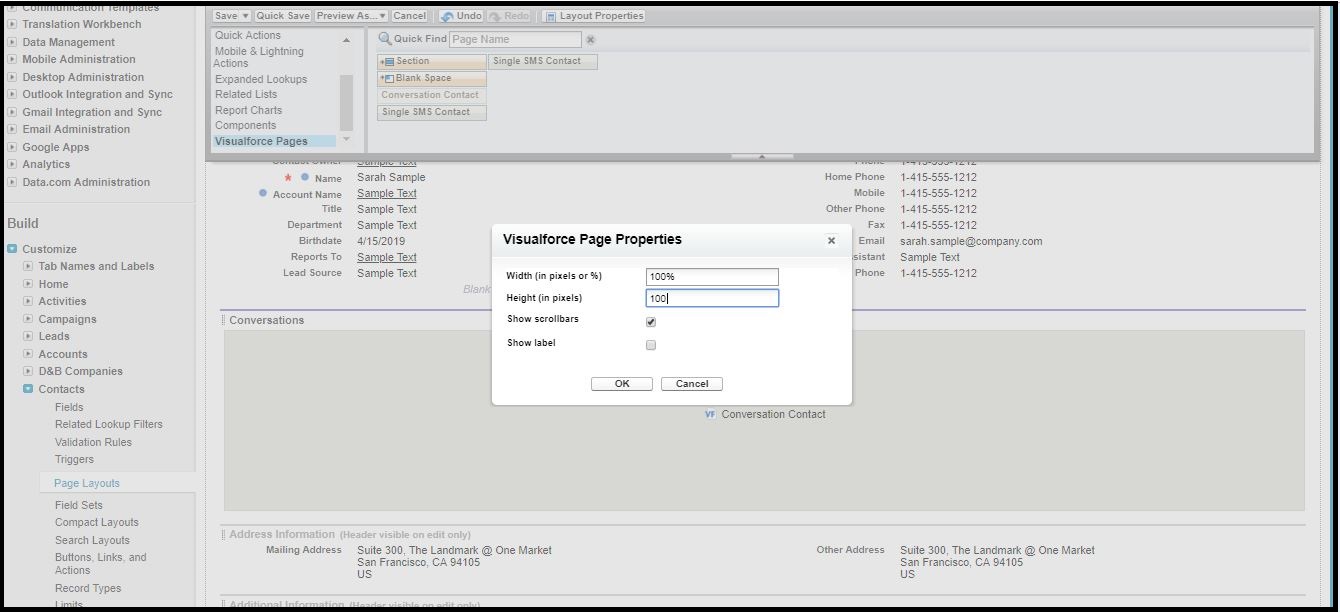
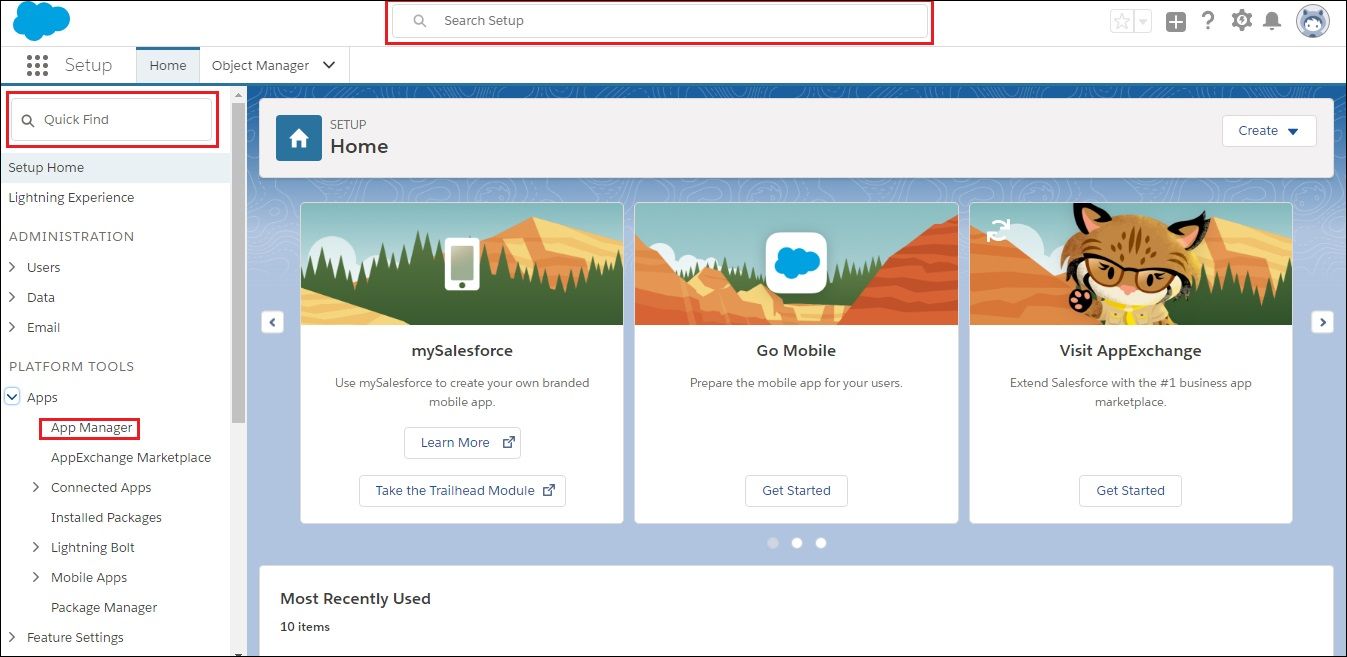
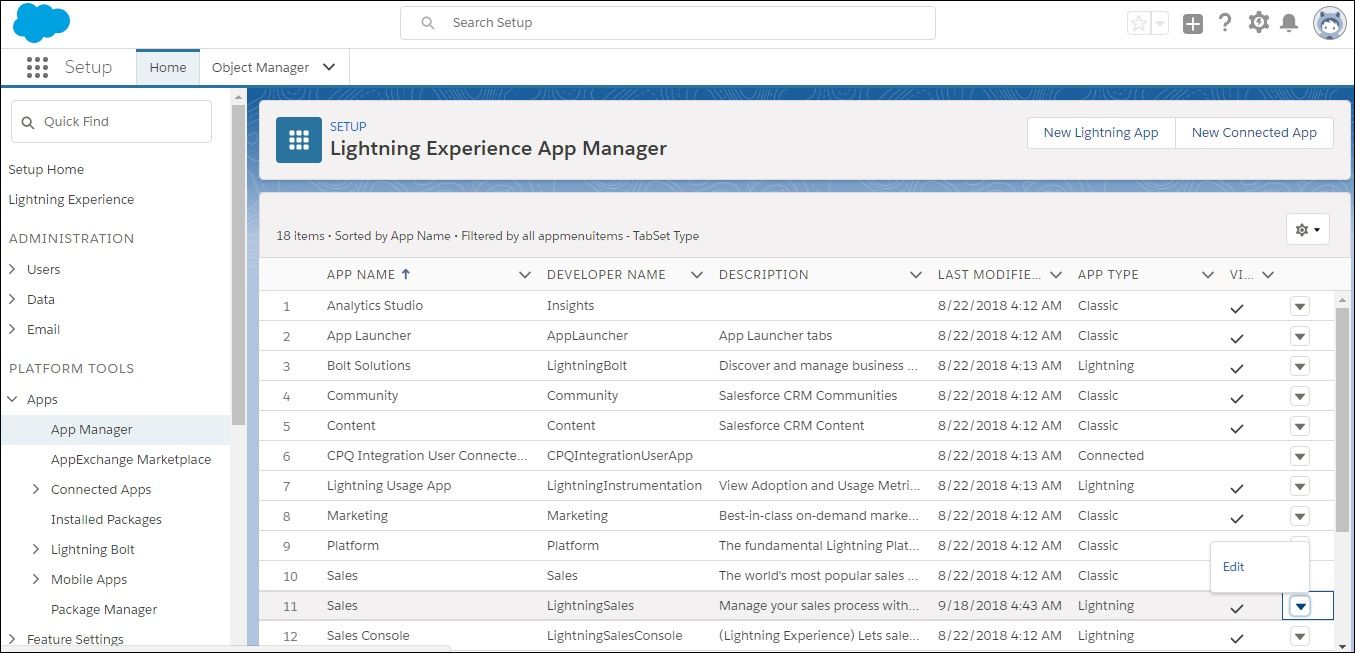
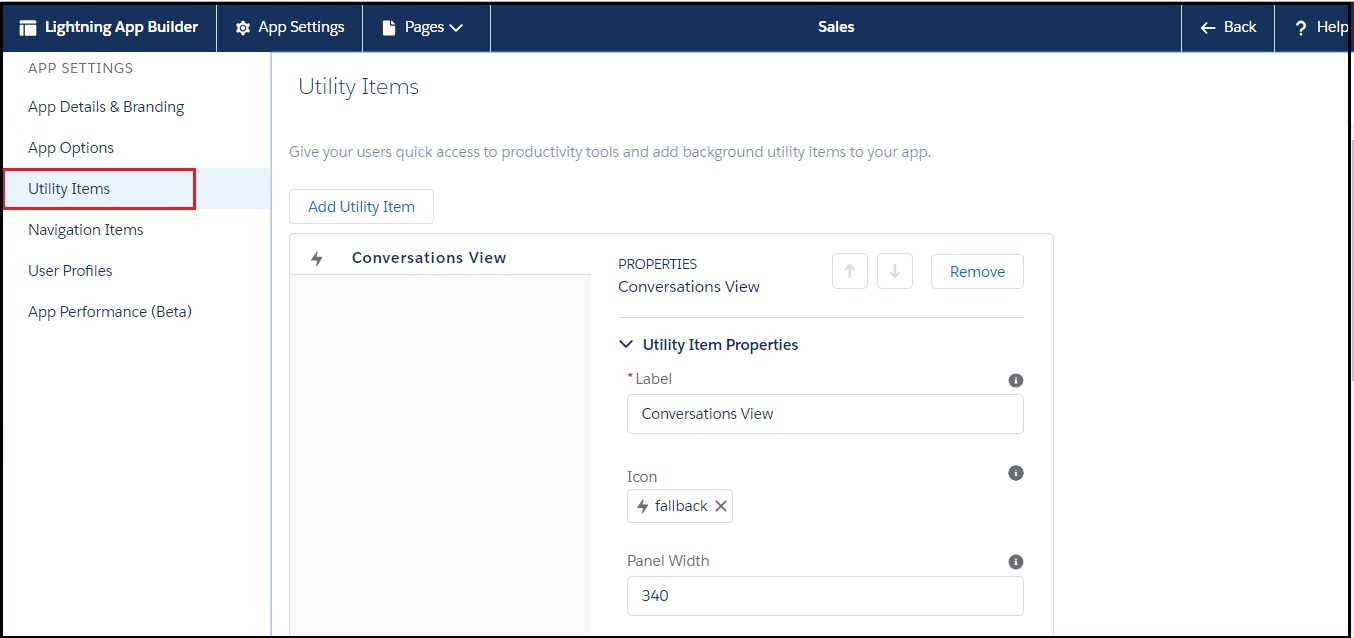
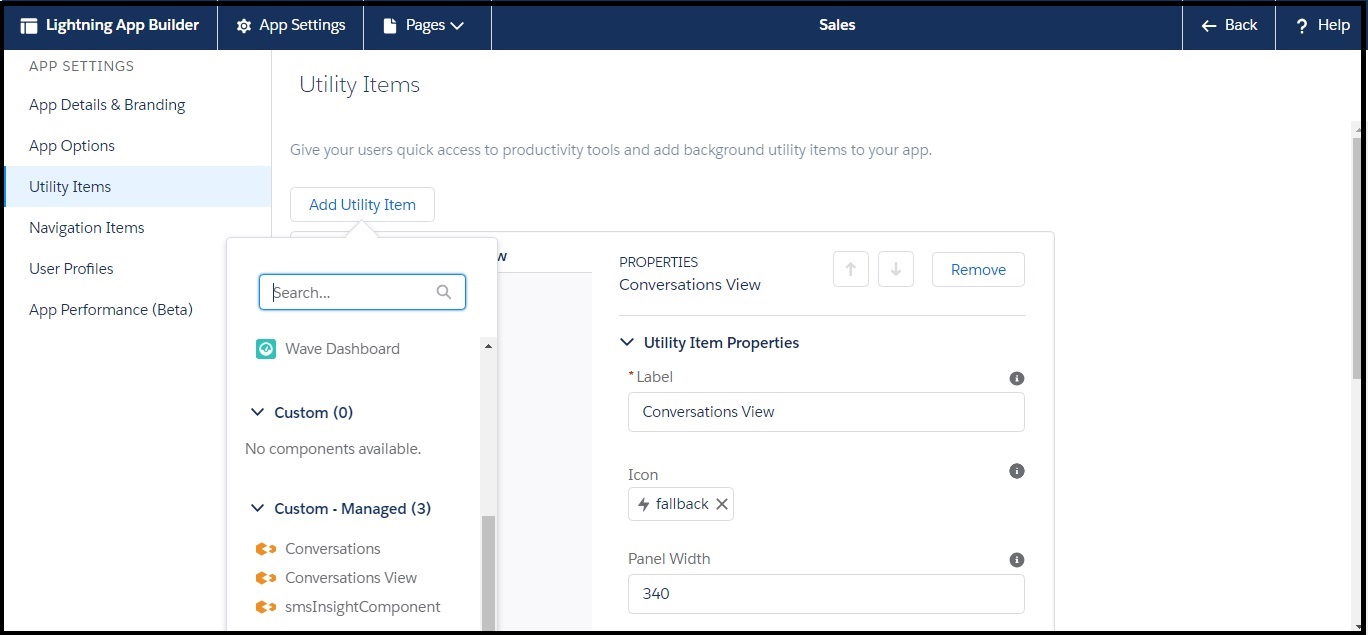
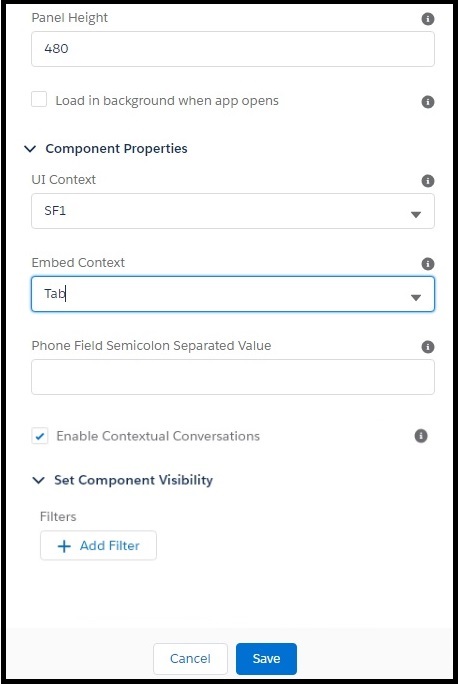
You can configure Converse Inbox on your Utility bar in Lightning or Classic side Panel in the Classic version.
The Inbox:
- Alerts you of new incoming SMS
- Shows list of all (My) Unread and New Conversations
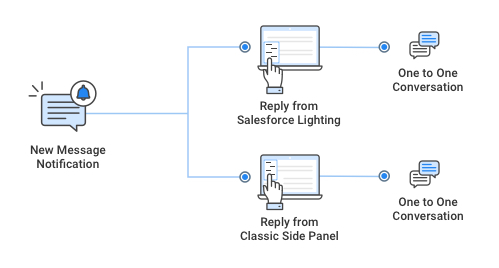
Notification (available with Start) – This shows a list of all unread incoming messages and gives you the capability to reply to incomings. You can configure this component on your utility bar in the lightning or Classic version. The Notification:
- Alerts you of new incoming SMS
- Shows list of all (My) Unread and New messages
It is a compact version of the Converse Desk with minimal functionality focusing on reading and replying to the unread and new messages. For Salesforce Lightning, you can configure the Converse Inbox in the Lightning Utility Bar, and for Salesforce Classic, you can set it up in the Classic Side Panel.
Prerequisite
Before using Converse Inbox, the following prerequisite needs to be completed:
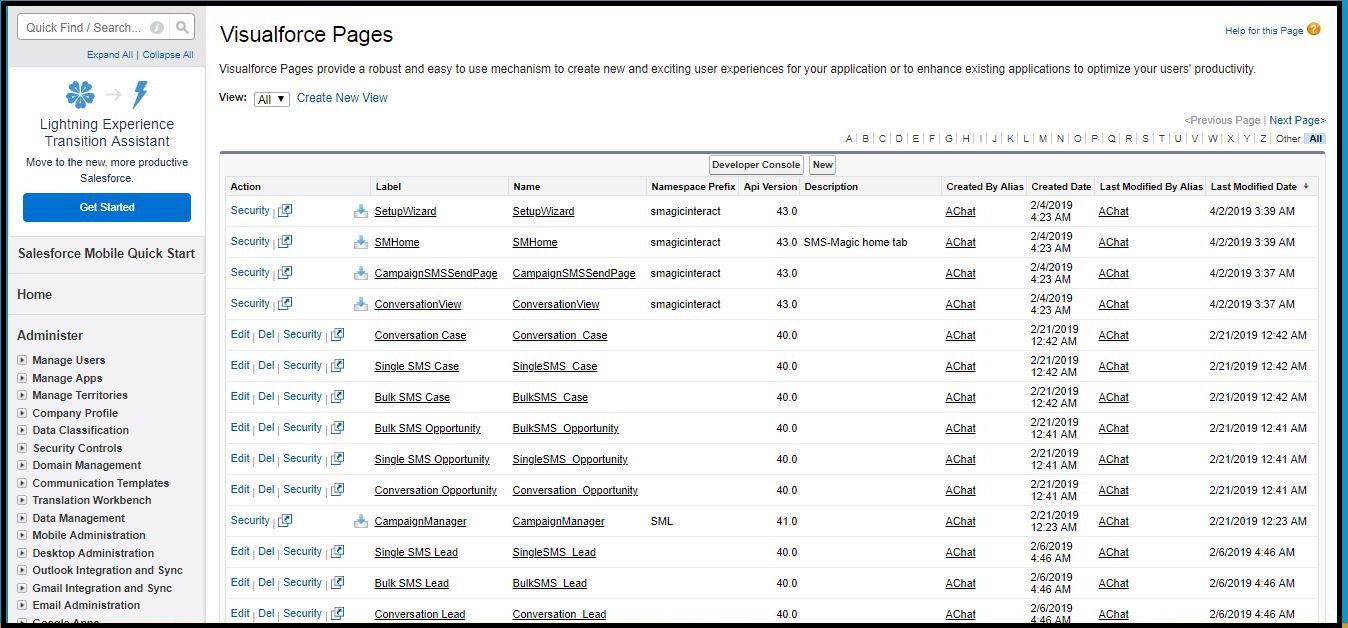
- The application is version 1.54 and above.