1

Overview

A Campaign is a series of activities that you perform to promote or sell your products and services to your target audience. 

Common Use Cases for Text Messaging Marketing Campaigns:-

  • Sales and Promotions
  • Product Announcements
  • Surveys
  • Alerts and Reminders
  • Loyalty Programs

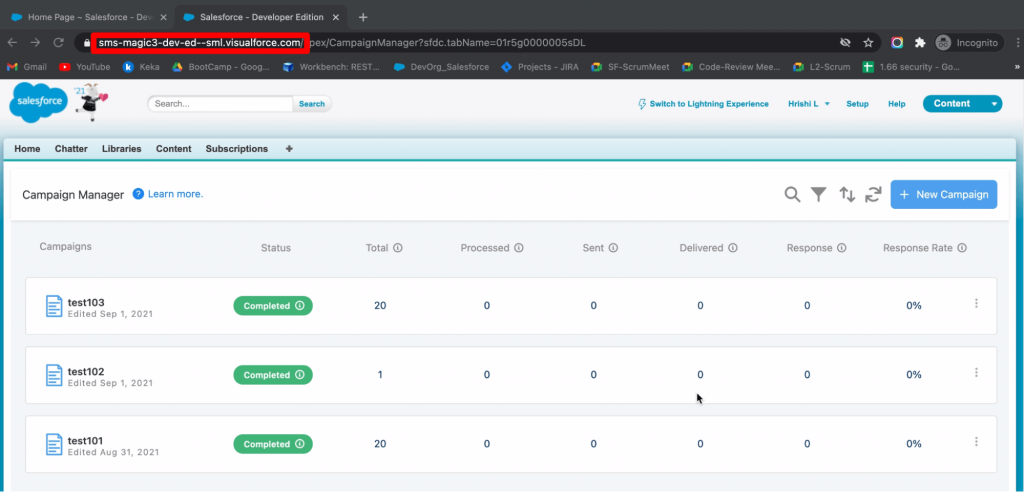
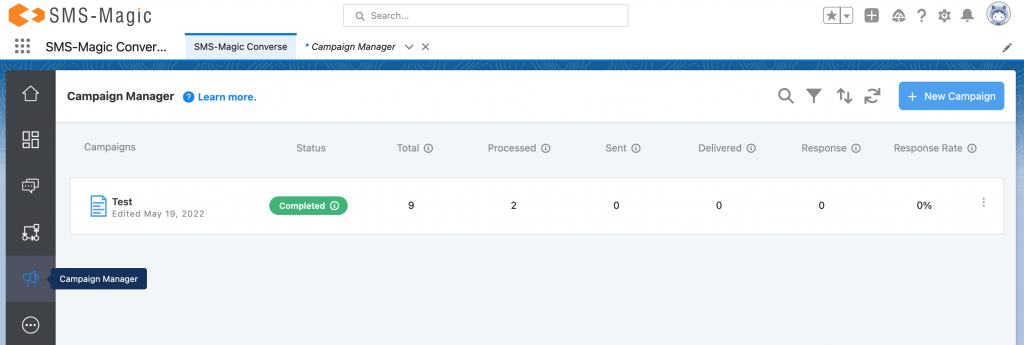
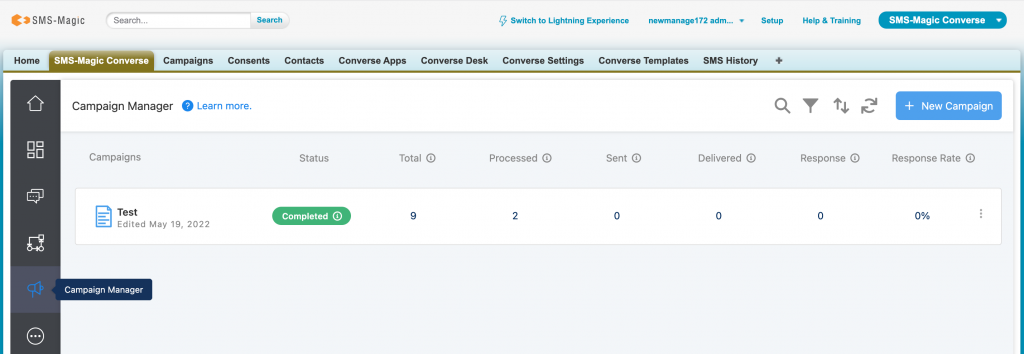
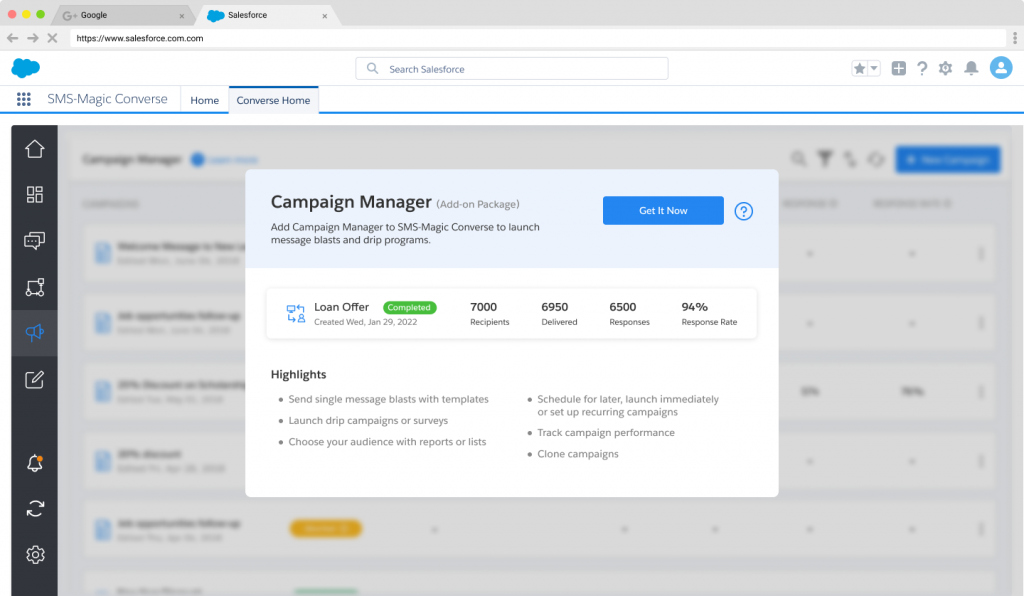
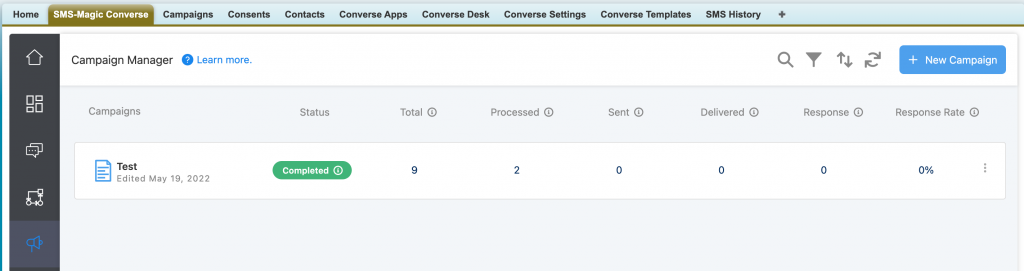
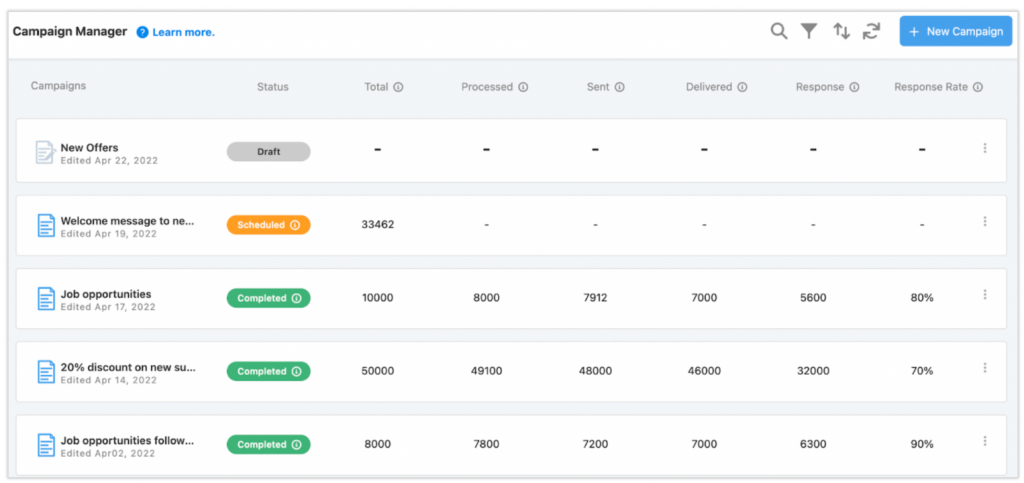
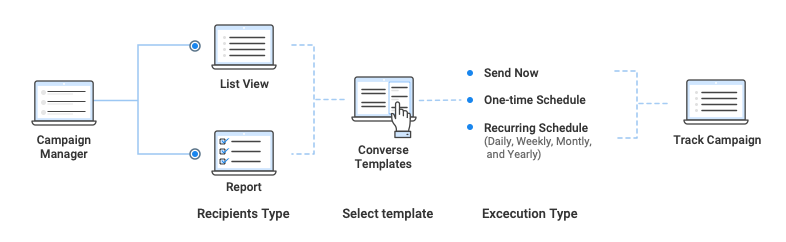
The Campaign Manager is an add-on package to the SMS-Magic Converse app on Salesforce that allows you to run campaigns with standard Salesforce List View and Reports using converse templates.

Features:-

  • Run campaigns using standard Salesforce List View and Reports
  • Track campaign success in terms of sent, delivered, response, and success rate
  • Running campaign using a report [tabular format] having multiple standard objects or custom objects for predefined report types 
  • Running campaign using a report [tabular format] having multiple standard objects or custom objects for custom report types 
  • Running a campaign using a report having 2000+ records
  • Compliance support with Campaign Manager
  • Running campaign using list view supported for community users [Using report not supported for community users]
  • Scheduling recurring campaigns of type daily, weekly, monthly & yearly
  • Supports URL Shortening and Tracking


Prerequisites

  • The version of the Campaign Manager works only with the SMS-Magic Converse base package 1.58.25 and above
  • Admin users, non-admin users, and community users must be assigned with the newly introduced “Campaign Launcher Permission Set” in order to use Campaign Manager.
  • To use Campaign Manager, all the users will have to first configure the remote site settings for the respective endpoint URL.
  • Steps to register remote site setting
  1. Open Campaign Manager

2. Copy the domain URL

Copy The Domain URL
  1. Add this URL to the remote site setting at Setup->Security->Remote site settings->New Remote Site.
Remote Site Base URL
  1. And save.
  • If your SMS-Magic Converse base package version is Spring 2021 and above, users should be assigned with a License having access to the Campaign Manager feature.


Compliance

  1. If you have enabled opt-in/opt-out compliance configuration in your org, please note that messages will be sent based upon the compliance enforcement
  2. To enforce the ‘New Compliance’ configuration with the Campaign Manager, you need to install the Campaign Manager with the SMS-Magic Converse version of 1.60.14 and above.


Accessing Error logs

All the error logs that may arise due to errors while users are creating and running campaigns will get captured in the ‘Error Logs’ object. Here, you can get to know the user-specific errors which will further help in the investigation and resolution of the issue.

Lightning UI

You can access the error log details by adding the error logs tab in the personalized navigation bar in Lightning UI.

Classic UI

You can access the error log details by the error logs tab from the All Tabs view page in Classic UI or by adding the tab in the ‘customize my tabs’ view.


Access Campaign Manager

The Campaign Manager is well-integrated with the SMS-Magic Converse modules and helps you create and execute campaigns efficiently.

The Campaign Manager add-on package (for both, the Classic and the Lightning view) can now be accessed via a single navigation panel on the Converse Home page. If the user already has the add-on package installed, on click of the icon, the Campaign Manager UI will open inside the app navigation view. If the add-on package is not installed, the user will be shown a page with installation instructions.

You can access the Campaign Manager from the Salesforce Classic header tab row or directly from the app navigation view (for both, the Classic and the Lightning), as shown in the images below:

  1. Log in to Salesforce. Click on ‘Campaign Manager’ inside the converse apps or on the header tab row. The following page will appear if the add-on package is not installed already:

2. Once the user installs the Campaign Manager add-on package and launches it, the following page will appear:

3. Click on the ‘New Campaign’ button to add new campaigns:

Once the campaigns are added, they will appear in a list view as shown in the image above. Here, you can see campaign details such as Status, Total, Processed, Sent, Delivered, Response, and Response Rate.

Here, users can search, filter, reorder, and refresh the campaigns. Click on the ‘View Details’ option on the right to view the campaign details. Click on the ‘Clone’ option to create a clone copy of the campaign.


Email Notification

Campaign Failure

We have added a new custom setting ‘Campaign Manager Email Notification’ using which you can enable or disable email notification that your users would receive whenever any campaign fails failed. By default this setting would be enabled hence upon campaign failure, the user who initiated the campaign will receive an email notification as shown below:

Campaign manager email notification

In order to enable or disable this setting,

  1. Go to the custom settings and click on custom setting named ‘Email Notification for Campaign manager
Email notification campaign manager

2. To enable or disable it, click on manage and then click on edit to update the checkbox field ‘Email Notification on Campaign Failure

Edit email notification for campaign manager


Exporting Campaign Statistics

You can export the data of Campaign Statistics as per your requirement by creating a custom report using objects Converse Campaign and Recurring Statistics. Following is the step-by-step process for the same:

Create Report Type

Report Types
  1. Click Setup. For classic click on Setup and for lightning click on Gear Icon ⚙️ > Setup.
  2. In Setup search for Report Types
  3. Click on New Custom Report Type
  4. In step one: Define the Custom Report Type
    • Select Primary Object as Converse Campaigns
    • Give any value to Report Type Label and Report Type Name
    • Add Description
    • Select Store in Category as Administrative Reports
    • In Deployment Status select Deployed
    • Click Next
Custom Report Types
  1. In step two: Define Report Records Set
  • Click on Click to relate another object
  • Select another object as Recurring Statistics
  • Select A to B Relationship as “A” records may or may not have related “B” records
  • Click Save
Converse report types

Create Custom Report

  1. Go to the Reports tab
  2. Click on New Report
  3. In Report Type, search the report type that you have created earlier in the above steps
  4. Select the report type and click create/continue
Create New Report
  1. You will land on the report creation page. Here you have to choose desired columns that you want in your report.
  2. First Click on Remove All Columns Option. This will remove all columns from the report.
Remove columns
  1. Next, in the quick find box of the Field section, search for Converse Campaign ID.
  2. You can double-click on the field or drag and drop it into the report.
Drag fields
  1. Similarly, do the same for the following fields. (follow steps 7 and 8)
Object Field Description
Converse Campaign Name  Name of the Campaign
Converse Campaign Converse Campaign ID ID of the Campaign 
Recurring Statistics Recurring Statistics ID ID of the Recurring Campaign
Converse Campaign Converse Template: Converse Template Number Template used for the Campaign
Converse Campaign isRecurring Describes if the Campaign is Recurring
Recurring Statistics Status Status of the Campaign

Converse Campaign Failed Reason Failed Reason for the failed Campaign
Converse Campaign Created Date Created Date of the Campaign
Converse Campaign End Date End Date of the Campaign
Recurring Statistics Executed Date Last Executed Date of the Campaign
Converse Campaign Next Scheduled Date Next Scheduled Date of the Campaign
Converse Campaign Object Object selected to run the Campaign
Recurring Statistics Total Records It is the total number of records that were present in your List view or Report at the time of processing
Recurring Statistics Processed It is the number of valid records processed from List view/ Report to trigger messages. Records that do not have phone field value won’t be processed.
Recurring Statistics Sent It is the total number of messages sent after processing valid records from the List view/ Report,  excluding messages failed in the system with SMS-History status as ‘ERROR’ or ‘FAILED’.
Recurring Statistics Delivered It is the total number of messages delivered successfully 
Recurring Statistics Response It is the total number of incoming messages received against the delivered messages
Recurring Statistics Response Rate It is the percentage of the number of incoming messages received divided by the total delivered messages
Recurring Statistics Credits Consumed Total credits consumed for the Campaign
  1. You can add Filters from the Filters Section i.e. range of created dates must be from <x> to <y>.
Run Reports
  1. Click on Run Report
  2. Click on Save As
  3. Add Report Name, Report Description, Report Unique Name, Report Folder, and click on Save
  4. Your report is saved now
  5. You can customize it again by clicking on your Report and clicking on Customize
Export Report
  1. To export your report data in Excel form, click on Export Details
  2. Select desired Export File Encoding and Export File Format and click on Export
Select export encoding