SMS Magic Converse Package Upgrade Guide
1. Upgrade from version 1.58 to 1.72
2. Upgrade from version 1.48 to 1.72
3. Upgrade from version 1.55 to 1.72
4. Upgrade from version 1.68 to 1.72
Note:
To upgrade your existing Converse App package to the latest version 1.72, you need to connect with the customer support team who will then execute the required steps manually.
1. Upgrade from version 1.58 to 1.72
Here are the steps that you need to follow to upgrade your Converse App Package from version 1.58 to the latest version 1.72:
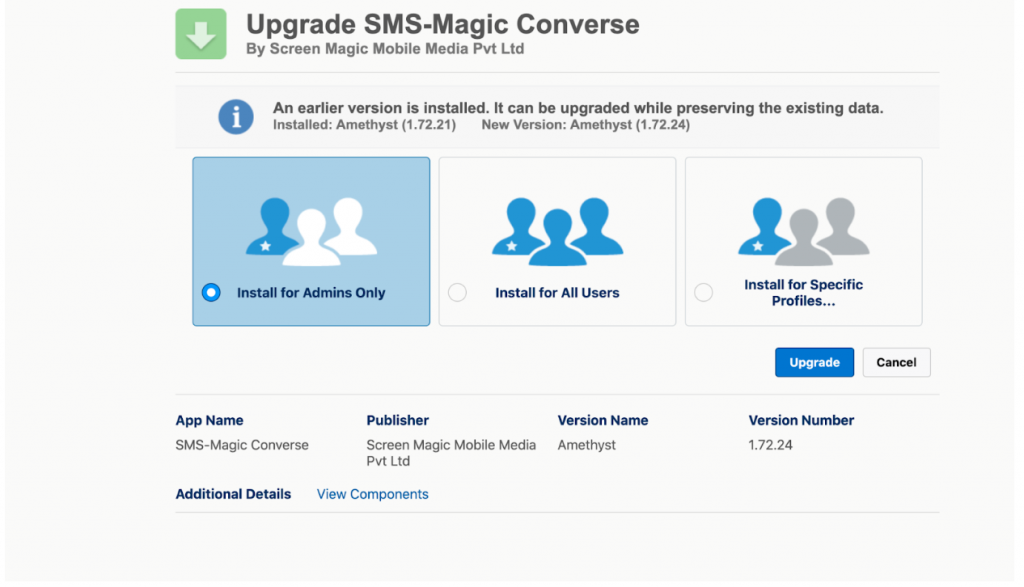
You can choose to install/upgrade your Converse package for Admin users, for specific users, or for all users.

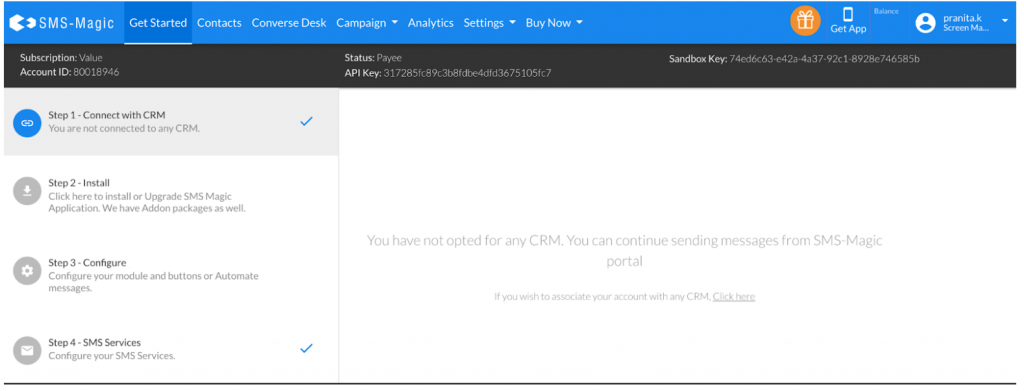
- The status of the account on the portal should be ‘Payee’ and not ‘Trial’
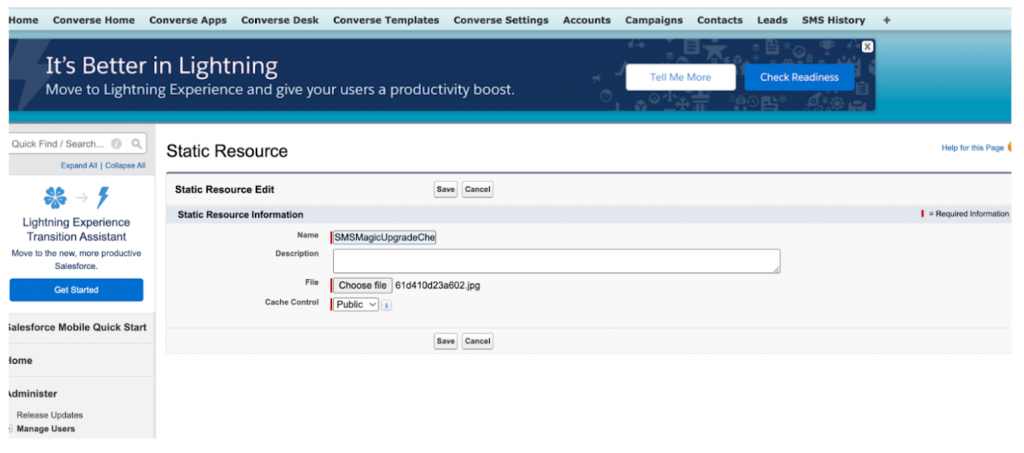
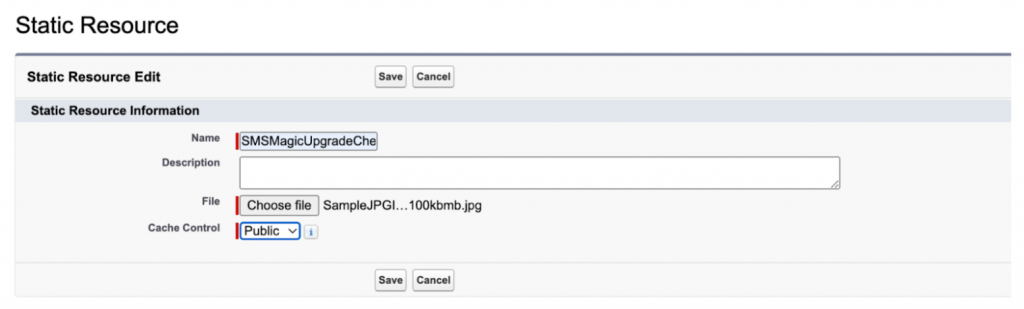
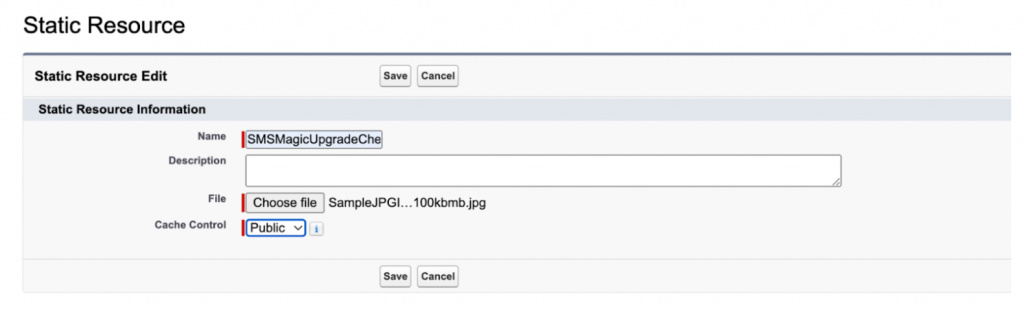
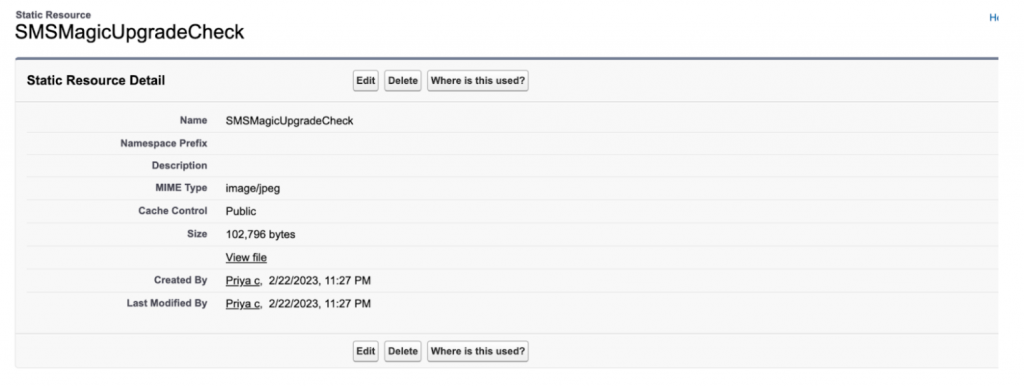
- Add static resource (name = SMSMagicUpgradeCheck, Cache Control = Public , File = any)
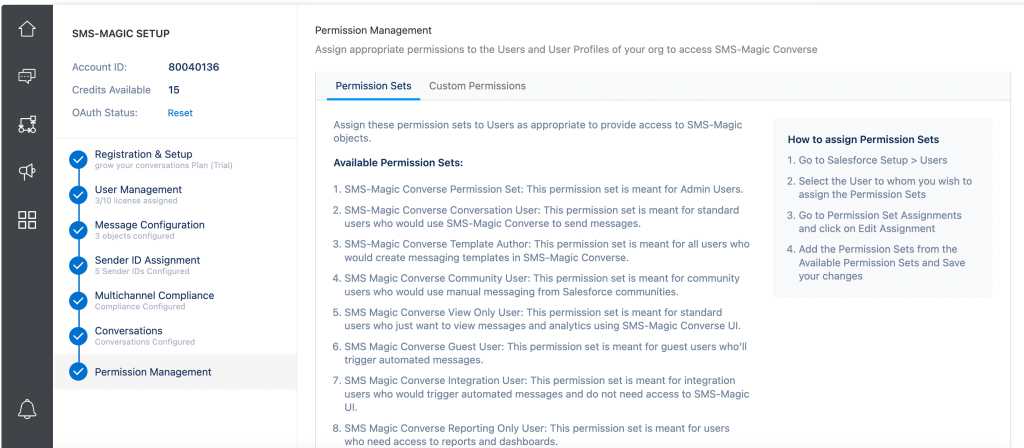
- All users should have the SMS Magic permission set assigned. Check if the respective user is assigned an SMS Magic permission set.
Once the required licenses are assigned, make sure that the permission sets are assigned too. If the permission sets are not assigned, users will not be able to access SMS Magic objects.
- Then upgrade the package to 1.72

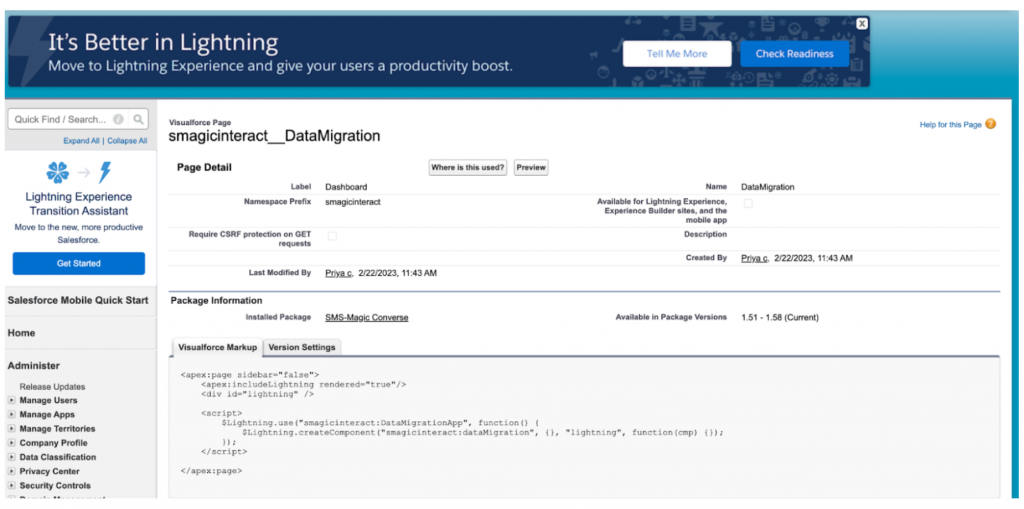
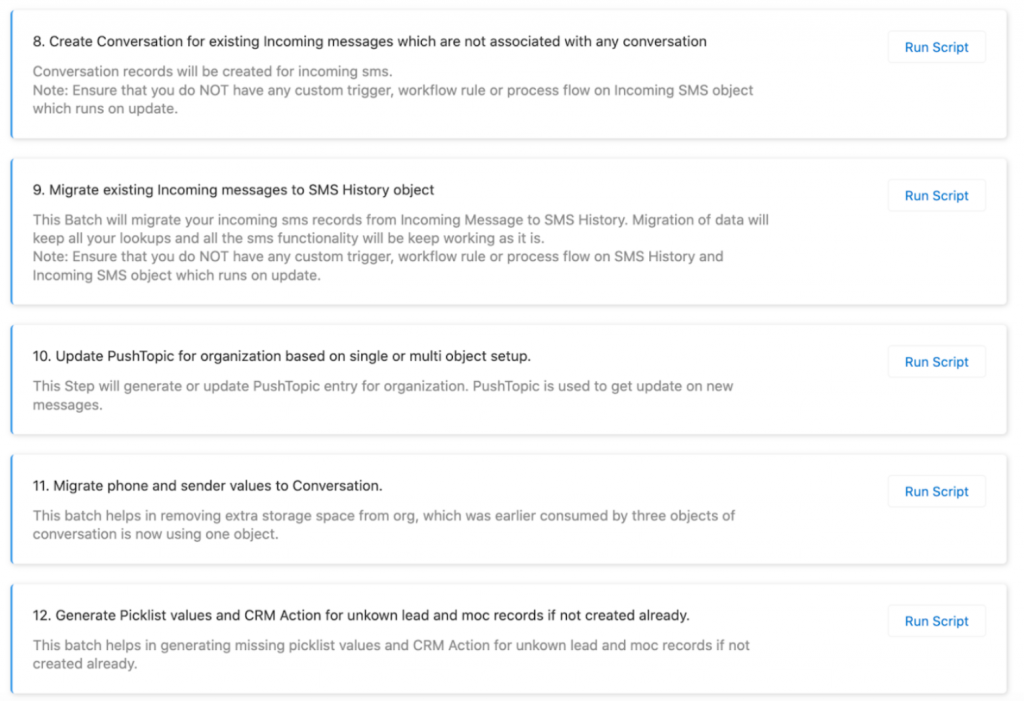
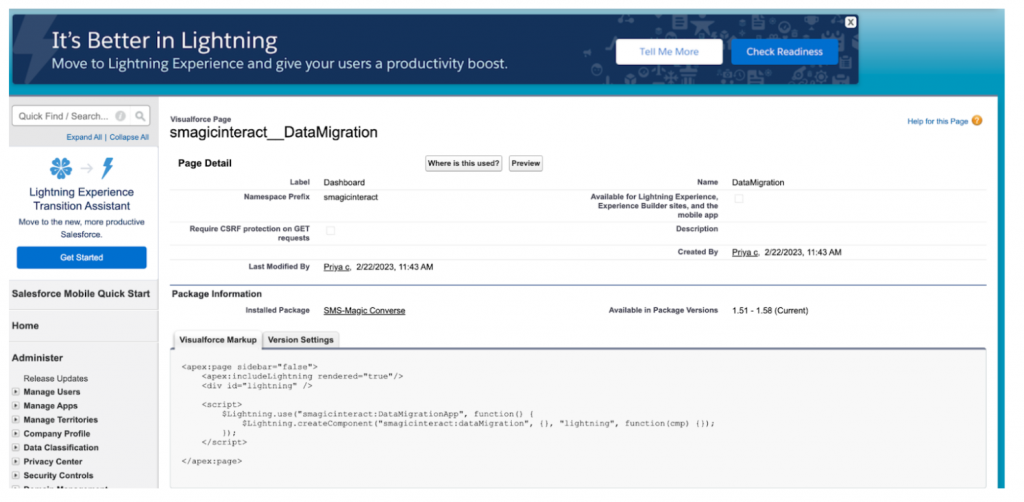
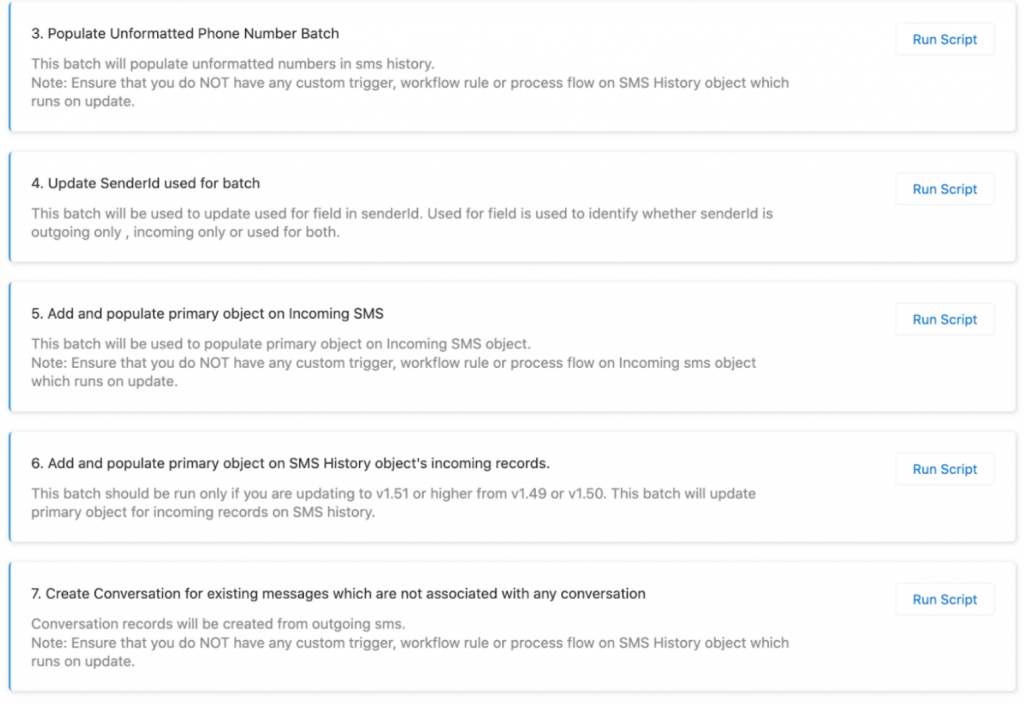
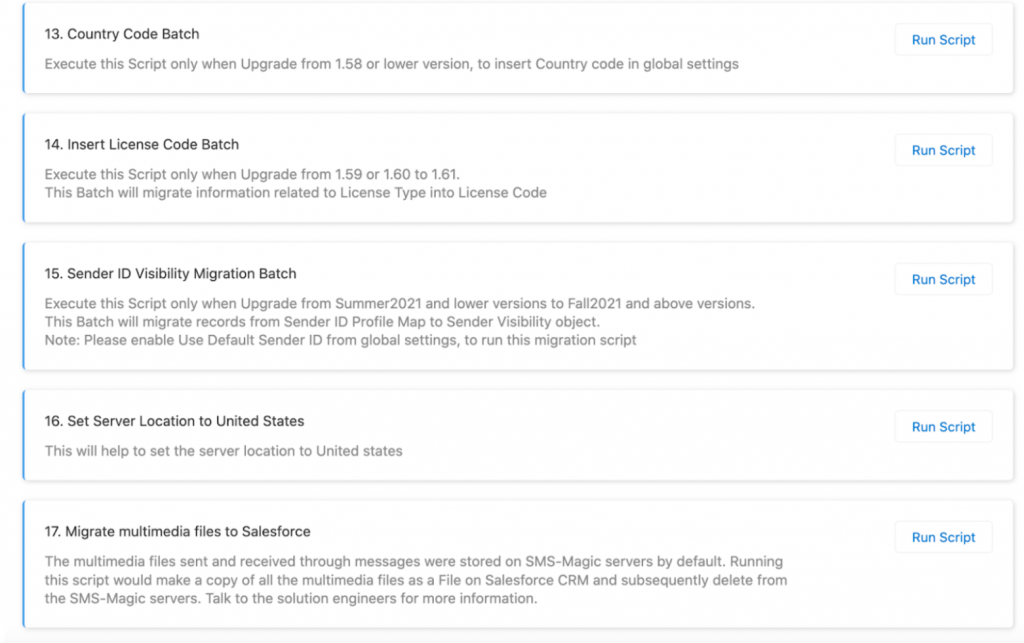
- After upgrading the package to the 1.72 version, run data migration scripts for Converse Desk


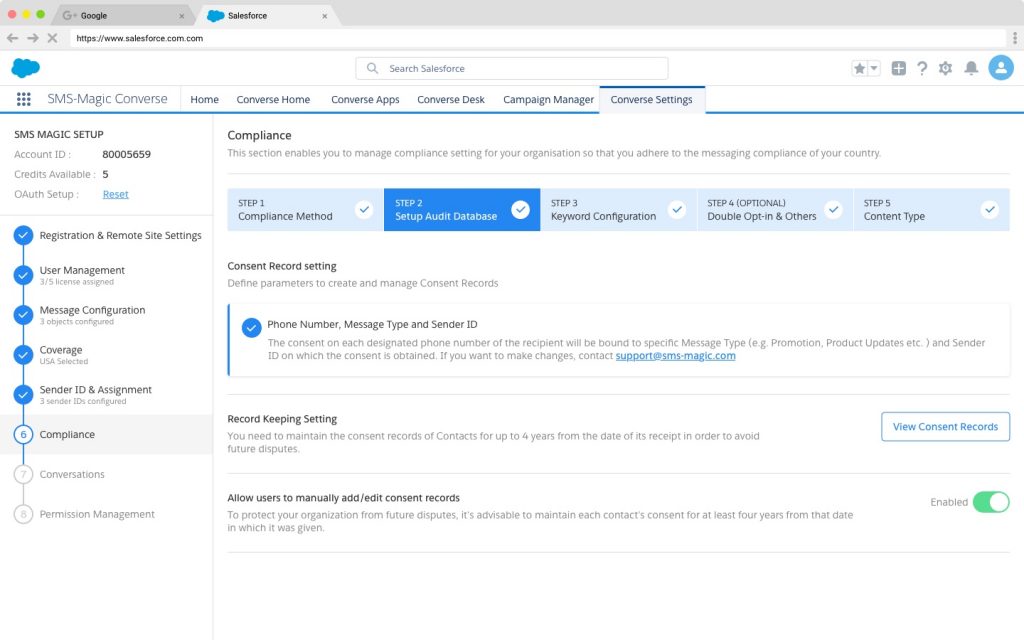
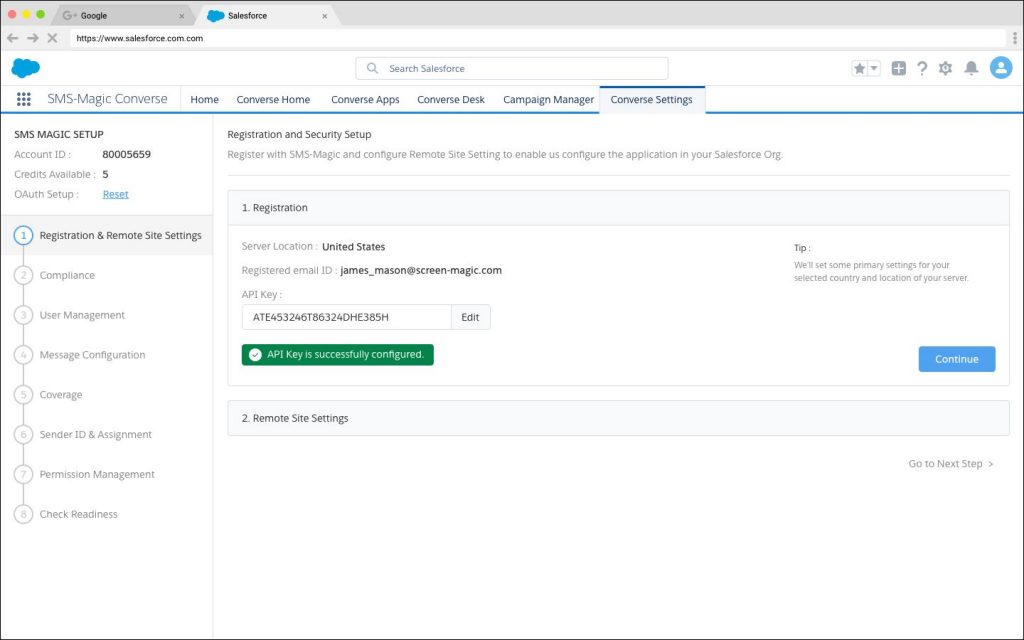
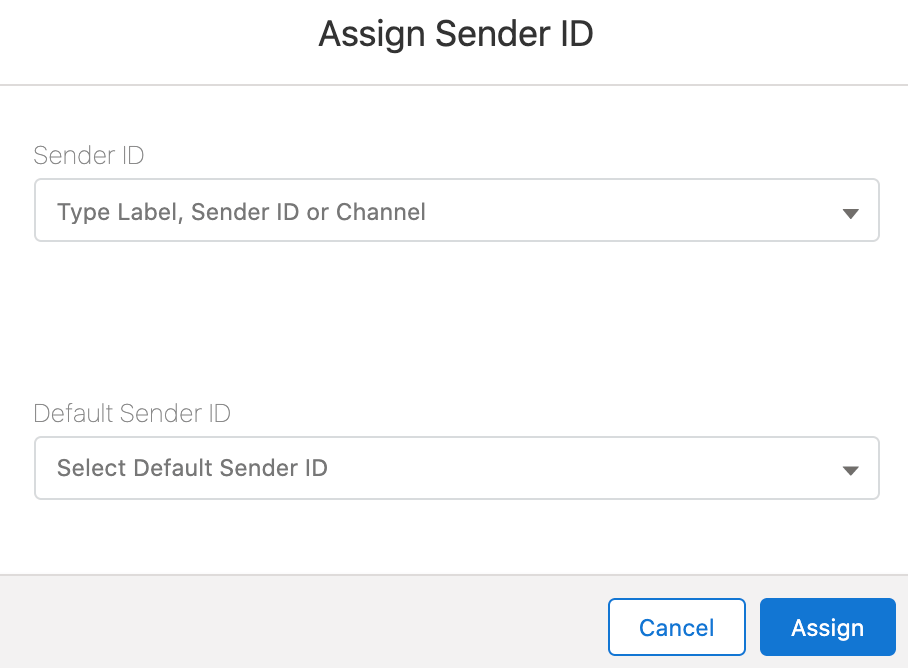
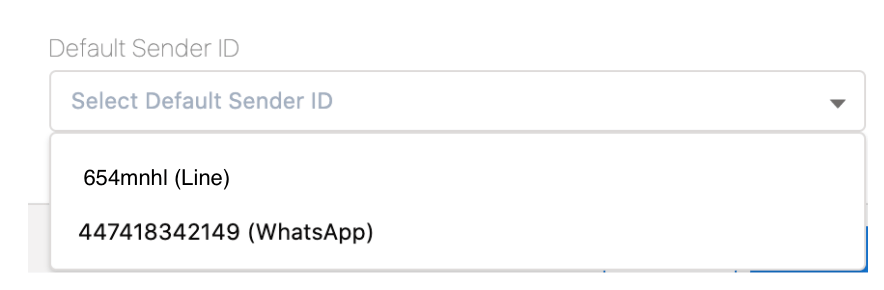
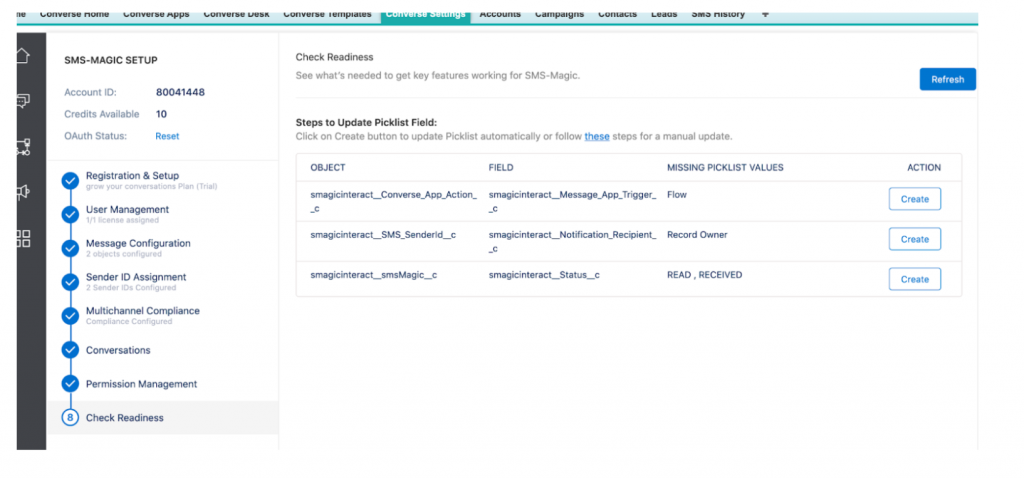
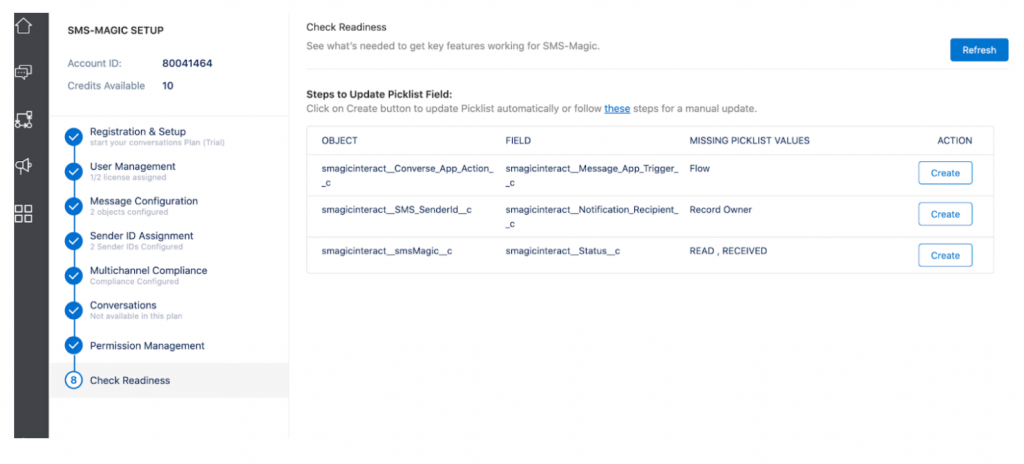
- Then go to the Converse Setting tab and reset the OAuth/Sync OAuth/Retry in the registration step

- In the plan selection section, make sure that the ‘Start your conversation’ plan is selected

- This completes the package upgrade from version 1.58 to the latest version 1.72
NOTE: Please reach out to care@screen-magic.com for any assistance
2. Upgrade from version 1.48 to 1.72
Here are the steps that you need to follow to upgrade your Converse App Package from version 1.48 to the latest version 1.72:
- The status of the account on the portal should be ‘Payee’ and not ‘Trial’
- Add static resource (name = SMSMagicUpgradeCheck, Cache Control = Public , File = any)
- All users should have the SMS Magic permission set assigned
- The upgrade from older version 1.48 to 1.68

- After upgrading, run data migration scripts (one by one)


- Then go to the Converse Setting page and reset the OAuth/Sync OAuth/Retry in the registration step
- In the plan selection section, make sure that the ‘Start your conversation’ plan is selected
- This completes the package upgrade from 1.48 to 1.68
- Now follow the steps to upgrade the package from version 1.68 to the latest version 1.72
- After upgrading, run data migration scripts (one by one)
- After upgrading the 1.72 manage package, you should go to Converse settings
- Go to the Converse Setting page and reset the OAuth/Sync OAuth/Retry in the registration step
- In the plan selection section, make sure that the ‘Start your conversation’ plan is selected
- This completes the steps to upgrade Converse App package 1.48 to 1.72
NOTE: Please reach out to care@screen-magic.com for any assistance
3. Upgrade from version 1.55 to 1.72
Here are the steps that you need to follow to upgrade your Converse App Package from version 1.55 to the latest version 1.72:
- The status of the account on the portal should be ‘Payee’ and not ‘Trial’
- Add static resource (name = SMSMagicUpgradeCheck, Cache Control = Public , File = any)
- All users should have the SMS Magic permission set assigned
- Then upgrade the package version 1.55 to the latest version 1.72
- After upgrading, run data migration scripts (one by one)
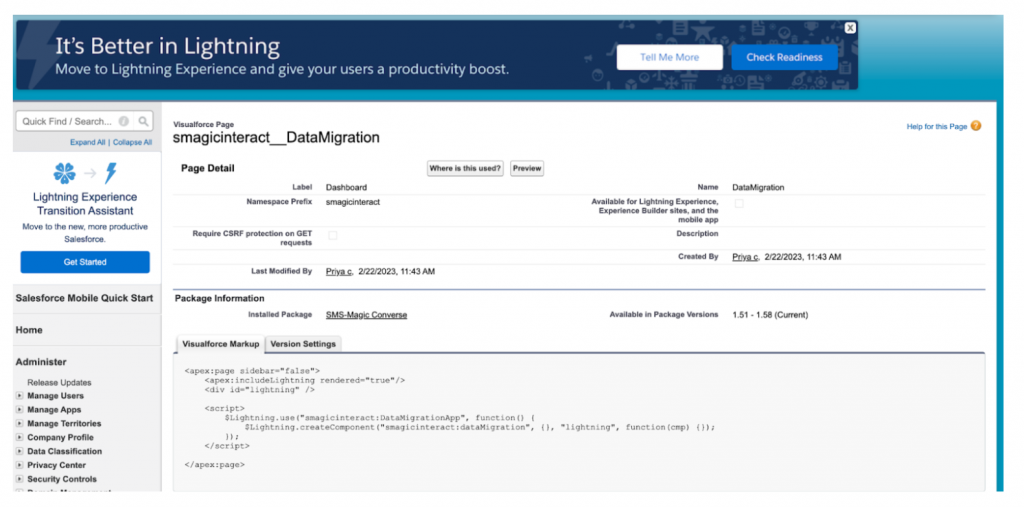
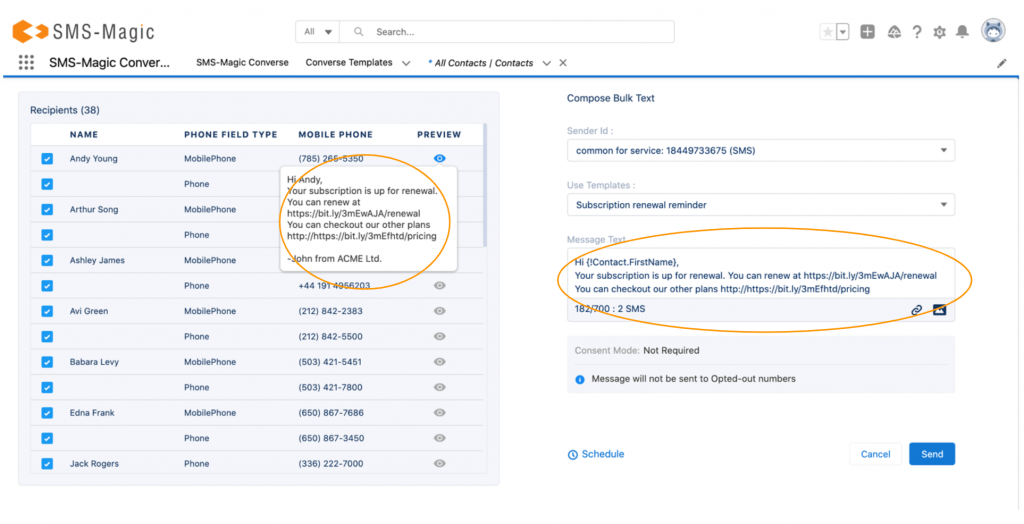
- Click on the Preview button as shown in the above screenshot
- Refer to the Data Migration For Converse Desk steps above
- Then go to the Converse Setting tab and reset the OAuth/Sync OAuth/Retry in the registration step
- In the plan selection section, make sure that the ‘Start your conversation’ plan is selected
- This completes the package upgrade from version 1.55 to the latest version 1.72
NOTE: Please reach out to care@screen-magic.com for any assistance
4. Upgrade from version 1.68 to 1.72
Here are the steps that you need to follow to upgrade your Converse App Package from version 1.68 to the latest version 1.72:
- Run the data migration steps (same as mentioned in the above versions)
- After upgrading the 1.72 manage package, navigate to the Converse settings tab
- Go to the Converse Setting page and reset the OAuth/Sync OAuth/Retry in the registration step
- In the plan selection section, make sure that the ‘Start your conversation’ plan is selected
- This completes the package upgrade from version 1.68 to the latest version 1.72
NOTE: Please reach out to care@screen-magic.com for any assistance
Upgrade your old version to the latest SMS Magic Converse package and enjoy more control over your conversations
With the latest version of the package, sales, marketing, and admin users will now enjoy more control over their customer conversations. They will now be able to take charge and personalize user experience, manage multimedia conversation smarter, tame their conversation templates, find conversation flows easily with a search option, and level up their campaign game.
Moreover, they will be able to strike the right conversation at the right time, every time, and keep their conversations always on, with released enhancements preventing conversation interruptions and helping in faster issue resolution.
By upgrading to the latest version, here is what you will get:
- Personalized permission sets
- Personalize Your Workspace With Conversation Component Resizing
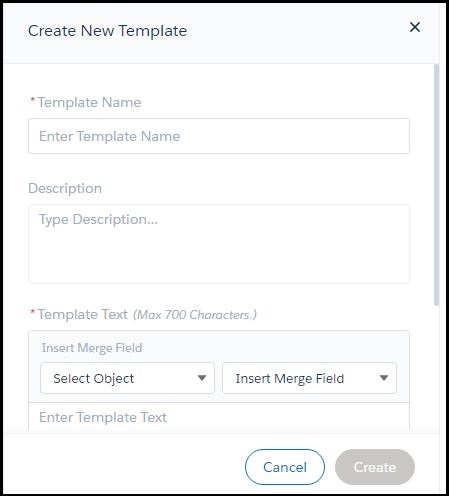
- Manage Multi-Media Conversations Smarter
- Store Multimedia Files In Salesforce Storage
- Associative Media Files With Salesforce Records
- Find your conversation flows easily by searching your Converse app with name or PA-Key
- Track Your Conversations From Start To End
- On-demand syncing
- Managing OAuth when it is revoked
- Track all SMS-Magic user activity in one place
- Coordinate better with the SMS-Magic support team to resolve issues
- Spot new messages from the app icon notification badge